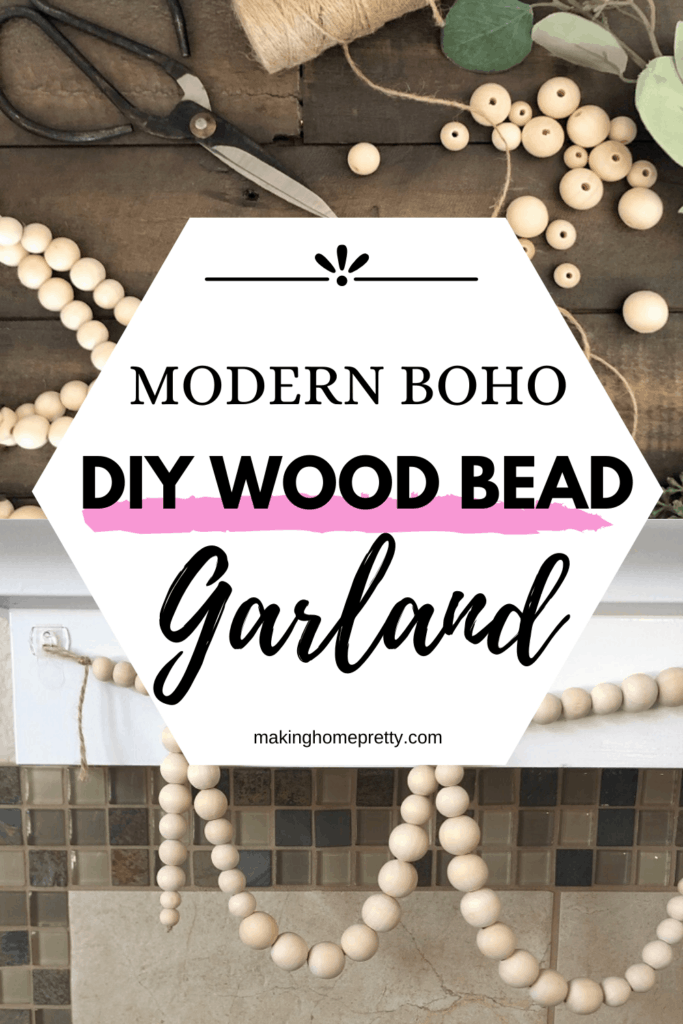
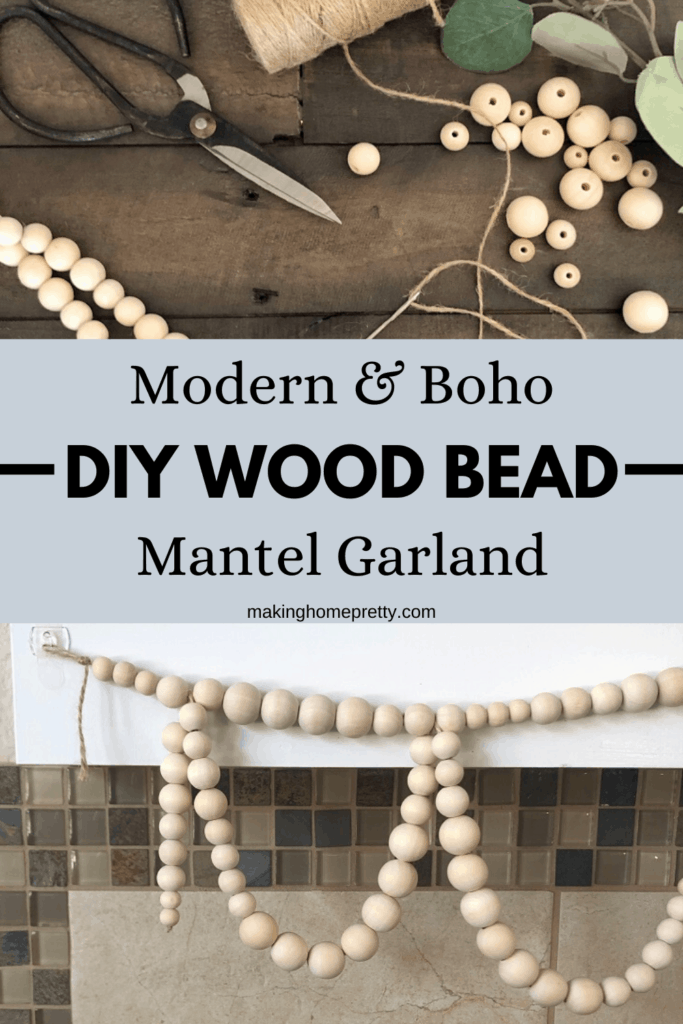
Looking to make a wood bead garland for your mantel? Check out this easy and cheap DIY tutorial with a modern boho twist!
This post contains affiliate links. You can read my disclosures policy here.
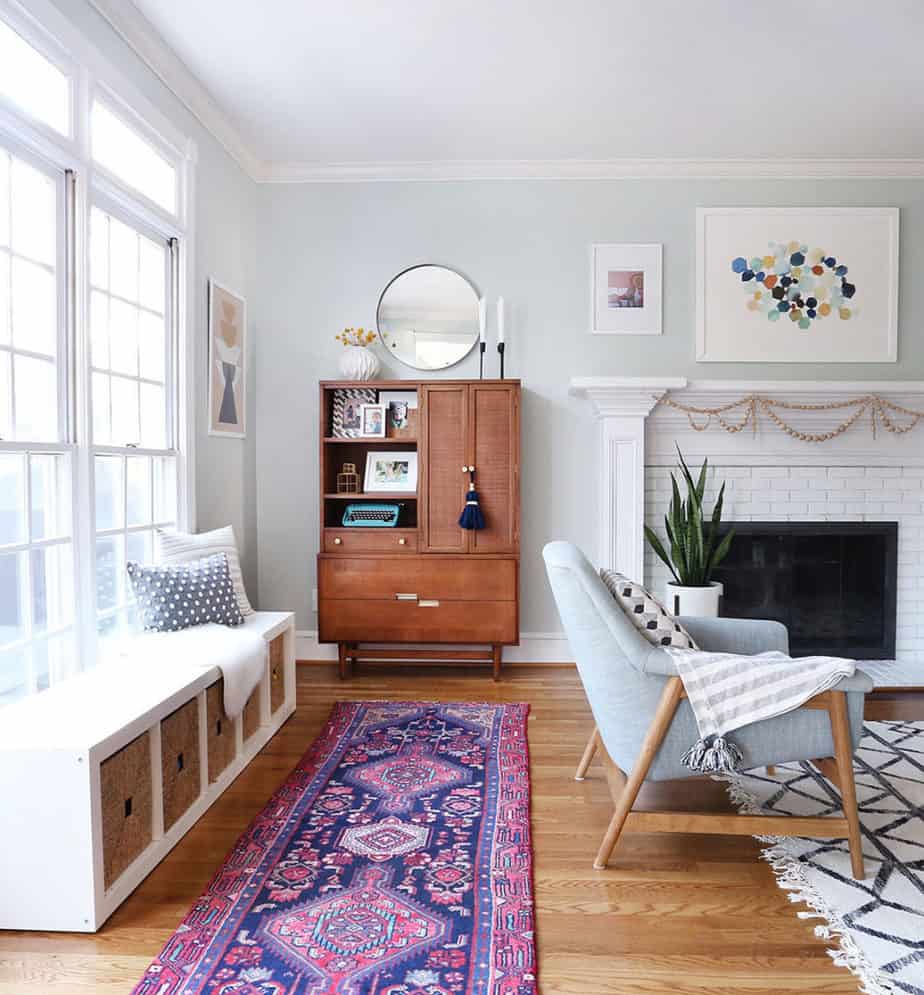
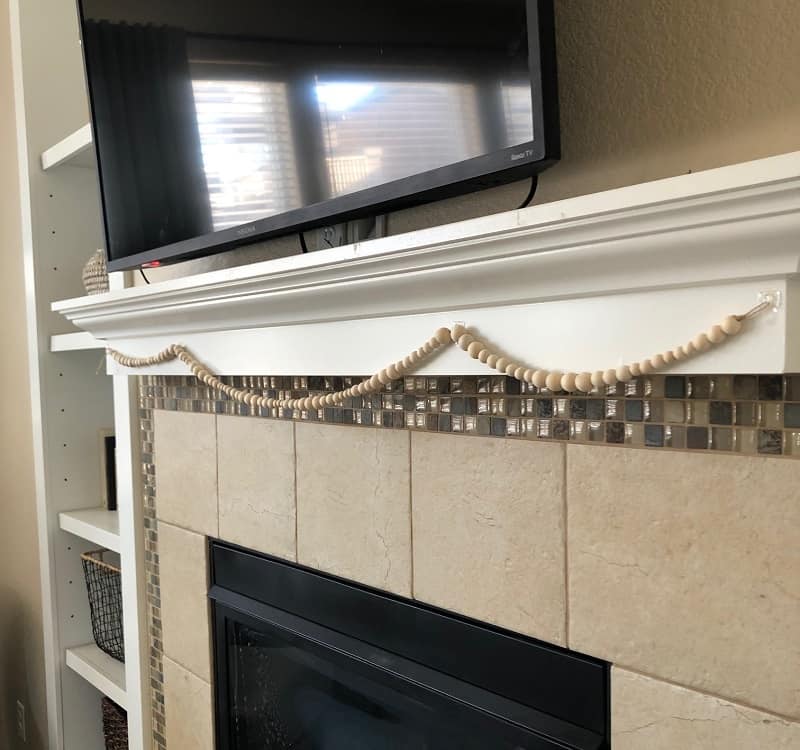
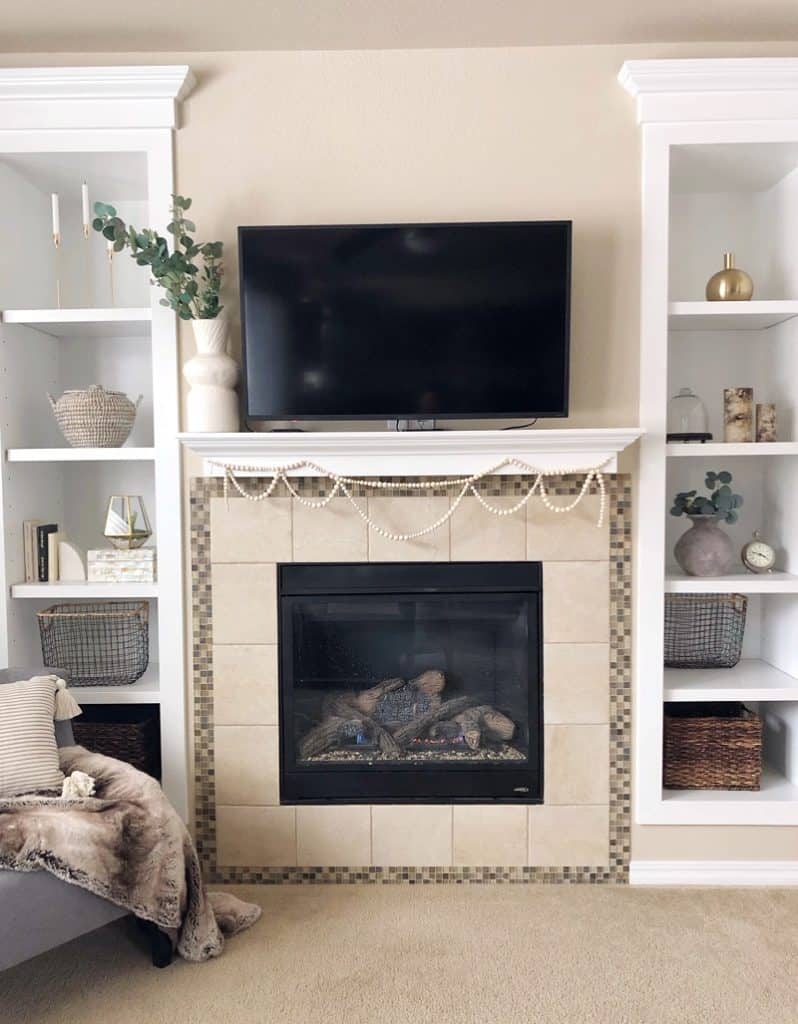
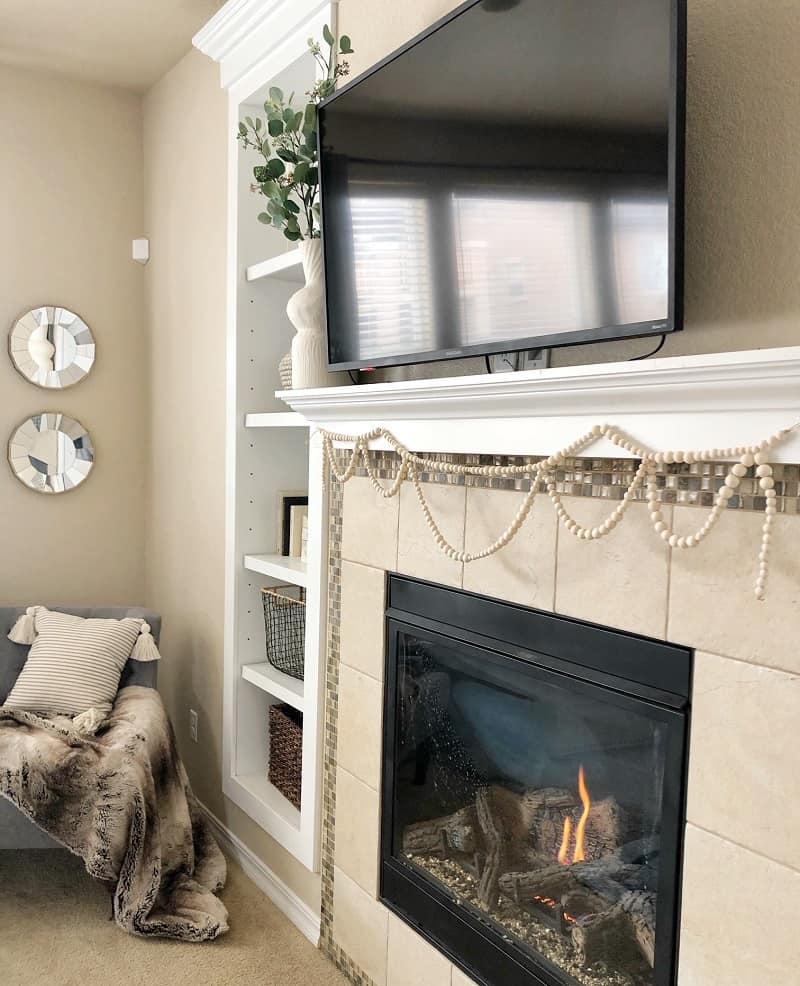
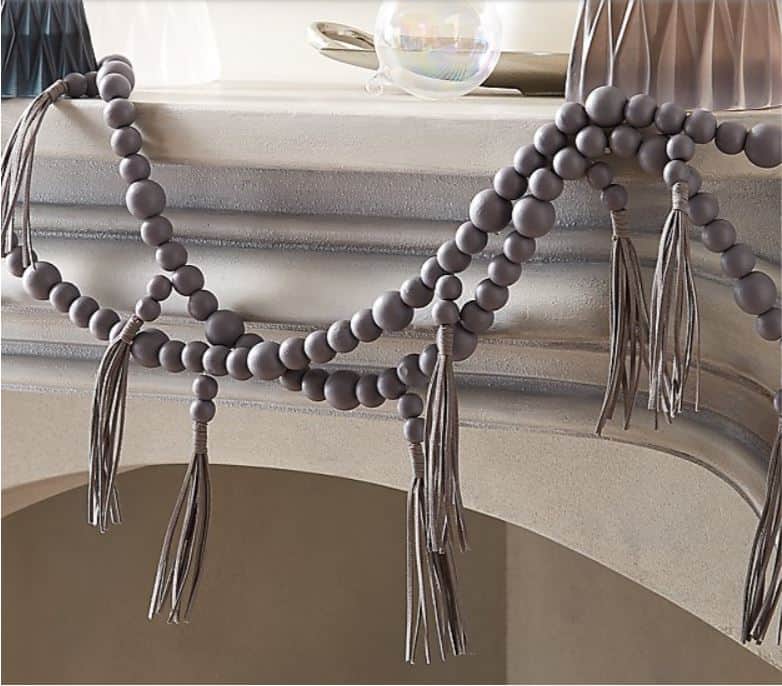
I saw this beautiful modern wood bead garland in the home of Sunny Circle Studio and absolutely loved it! The way the garland is draped gives it a modern and boho feel, which I really love and is also something that can be kept up all year round.
Unfortunately, I couldn’t find anything like it online to purchase, so I figured I could just make it myself. And you know what? It was so easy and very cheap to make! Plus that is kind of my personality. If you can’t find it, try to make it. Or if it’s too expensive, figure out a way to make it yourself!
I originally made it during Christmas and still have it up after the holidays. Beaded garlands are perfect transitional pieces that can go from Christmas to winter. Yay, double win!
And if you aren’t in the mood to make your own wood bead garland for your mantel, I am also linking some online sources for you to check out at the end of this tutorial.
Okay, let’s get into it!
DIY Wood Bead Garland Tutorial
For this garland, I had to create two separate garlands and draped them together to create this modern look.
If you want to learn how I did it, check out my easy and cheap wood bead garland tutorial below! It is perfect to hang on your mantel and is draped in a way that gives both a modern and boho feel to your fireplace.
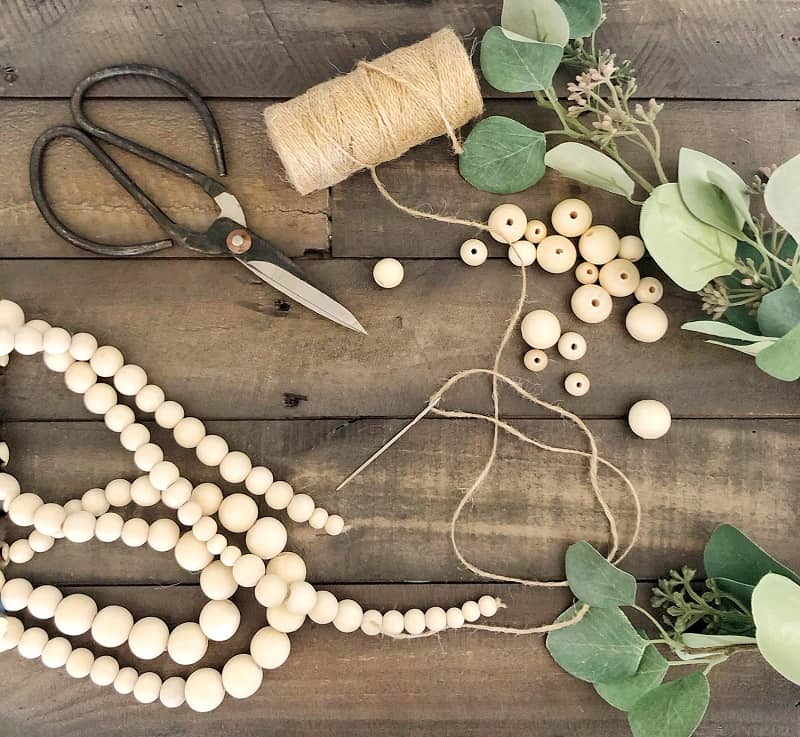
Materials And Supplies Needed
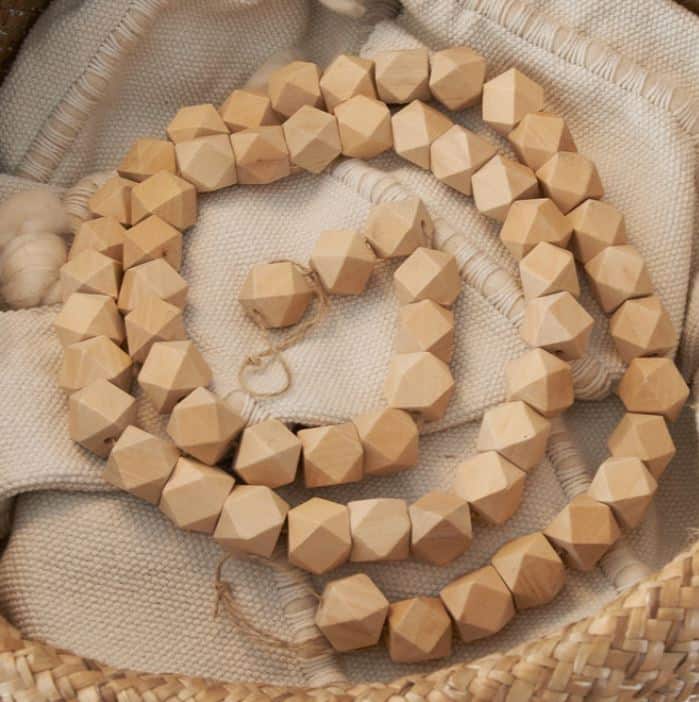
- Bag of Different Sized Wood Beads
- Jute Twine
- Scissors
- Needle (helps with beading)
- Command Hooks (for hanging on your mantel)
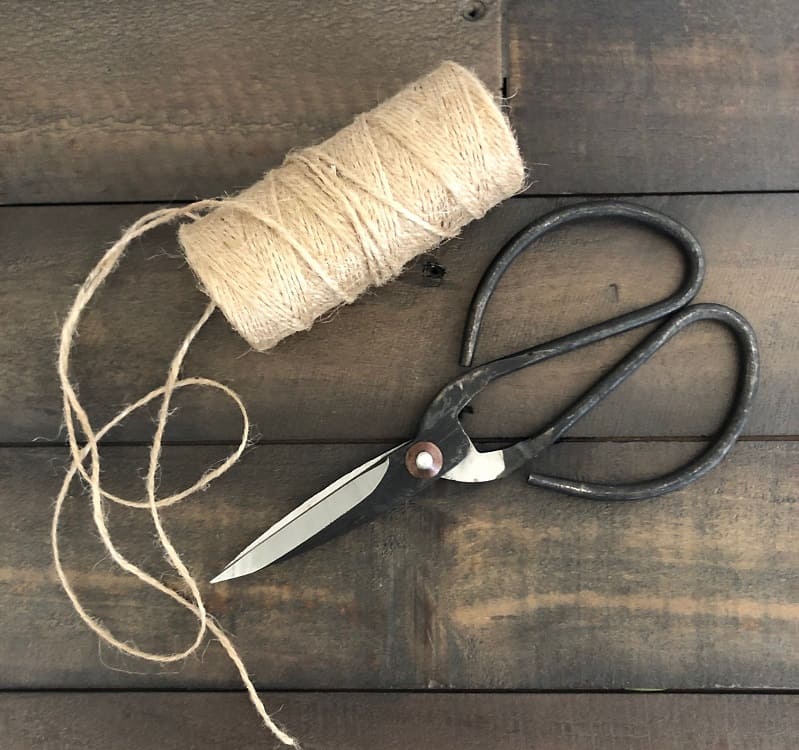
Step 1: Measure & Cut Twine For 1st wood Bead GArland
I first measured out the length I wanted for the first garland and cut the twine. It’s okay to go a little longer so that you have some wiggle room (you can always trim it shorter later if needed).
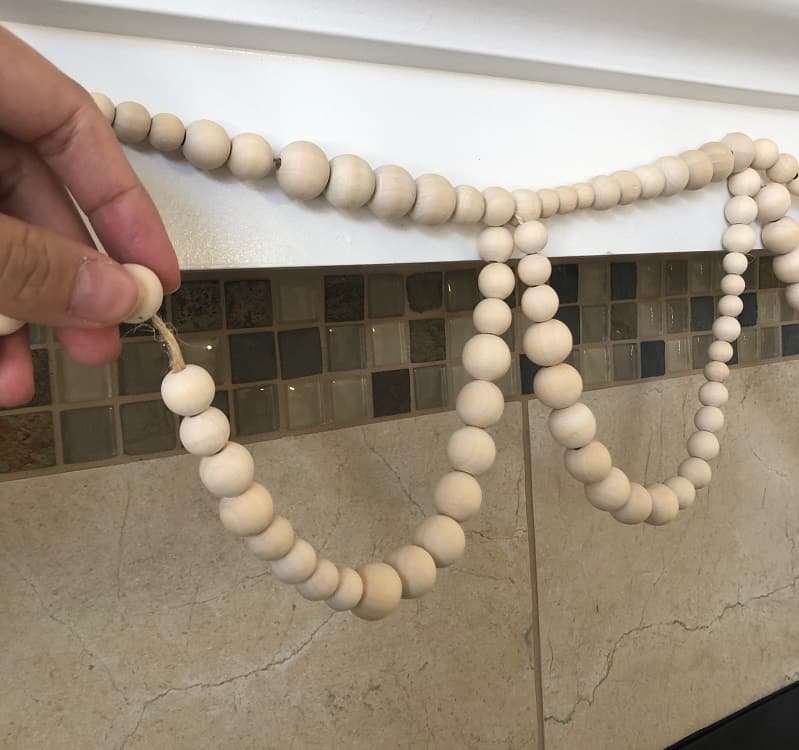
Step 2: Create a Knot with a loop and Start Beading
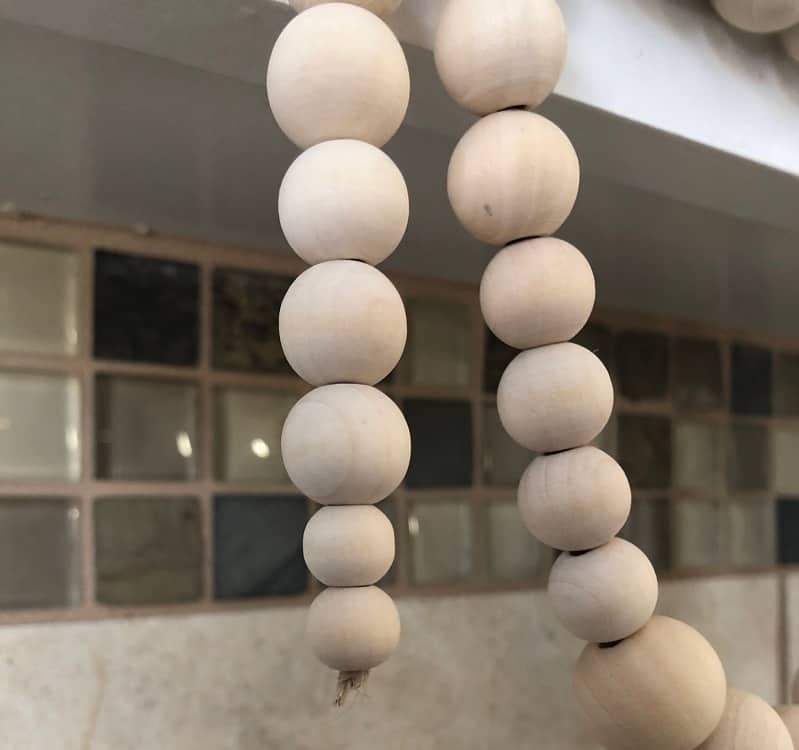
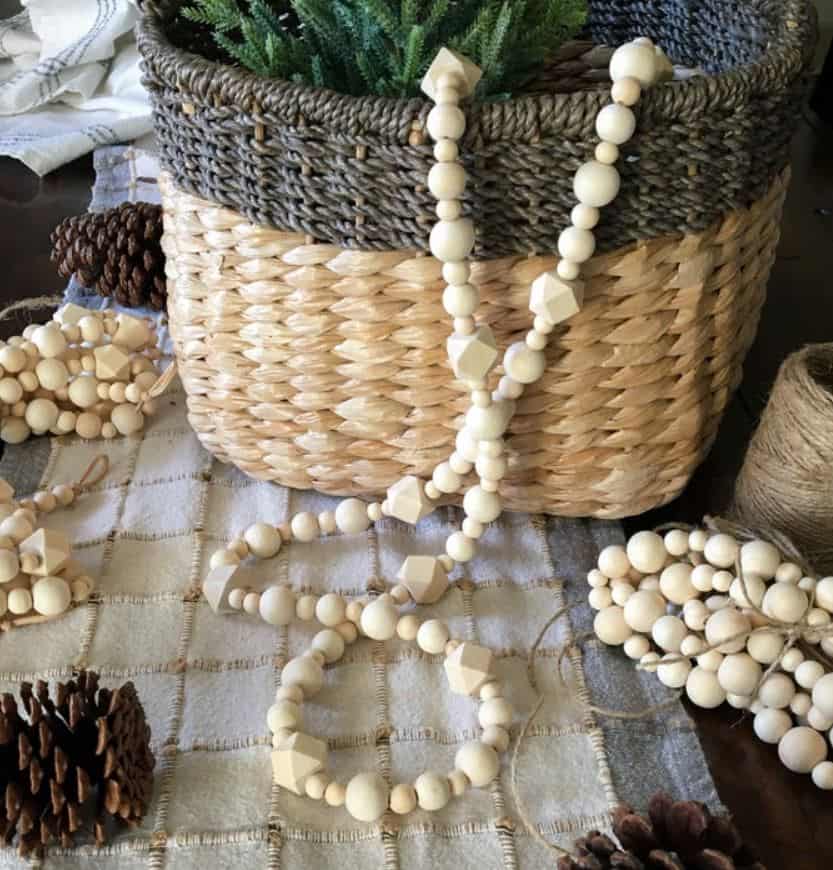
Start by creating a knot on one end that has a loop that you can attach onto a command hook. Once that knot is set up, you can begin stringing the beads onto the twine. For my garland, I added several different sized beads to give the garland some variation but didn’t really follow an exact pattern. Do whatever pattern you like!
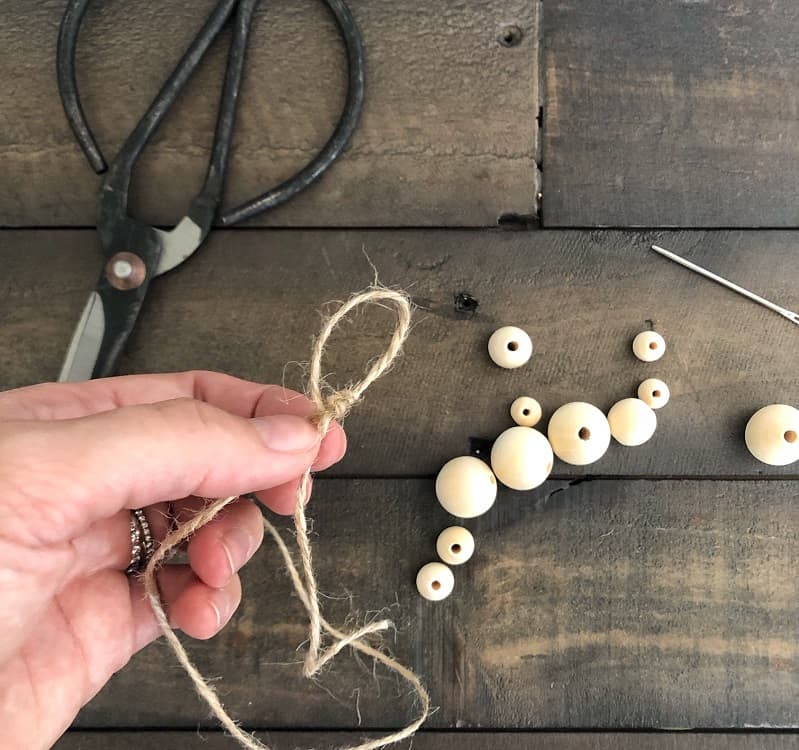

Once you are done beading, create a loop knot on the other end.
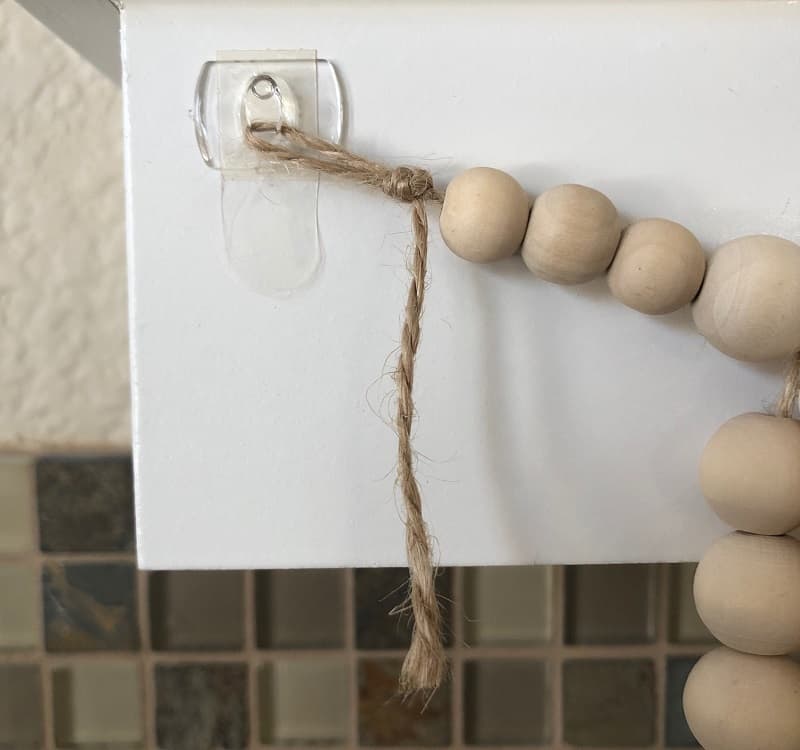
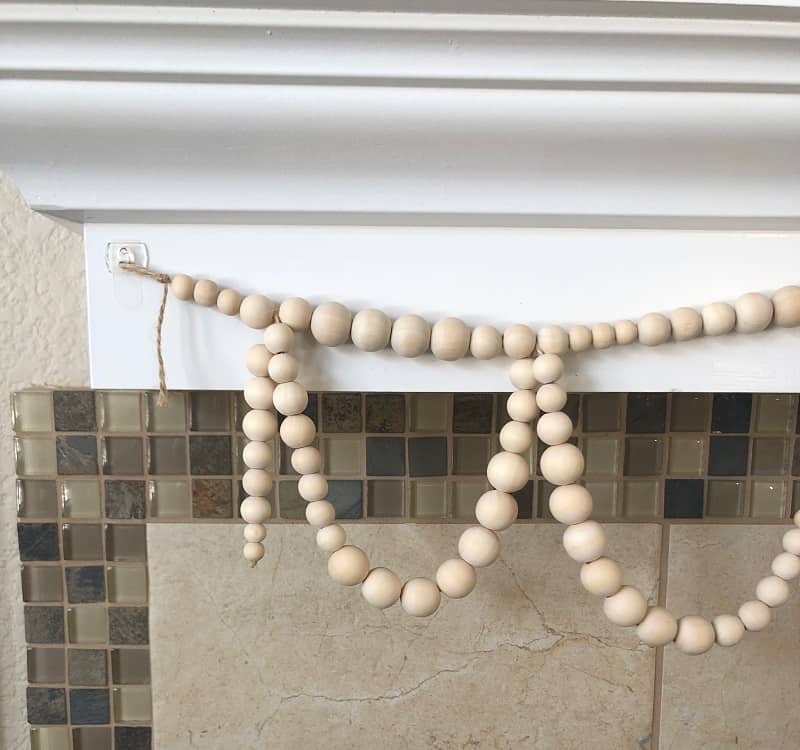
Step 3: Hang First Garland With Command Hook
Now it’s time to hang your first pretty little garland up! The loops you created on each end will attach onto the command hooks or whatever hook you decide to use on your mantel. I also added two hooks in the middle to give the garland more shape.
Step 4: Measure and Cut Twine for 2nd Wood Bead Garland
Next, you will be measuring out the length of the second garland. This garland will be the one that we drape over the first so make sure to create that draped looked while you measure. I just eyeballed it and made sure to have a little extra length just in case I needed it.
Step 5: Create a knot and bead Your 2nd Garland
With this second garland, you will create a regular knot at the end. I had to knot it a few times to make sure the knot was thick enough to hold a bead in place (you don’t want your beads to fall through the knot!).
Once you have a good size knot, you can start beading. I started this garland with a few smaller beads (the holes are smaller and won’t slip through your knot as easily).
Again, I followed a random pattern of various sized beads.
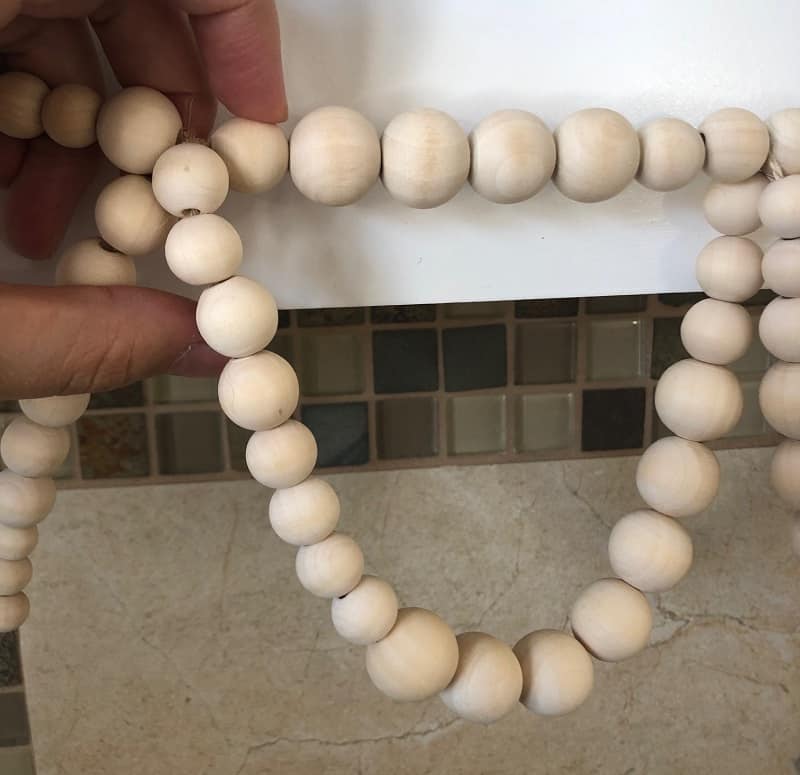
Step 6: Drap 2nd Garland Onto The 1st Garland
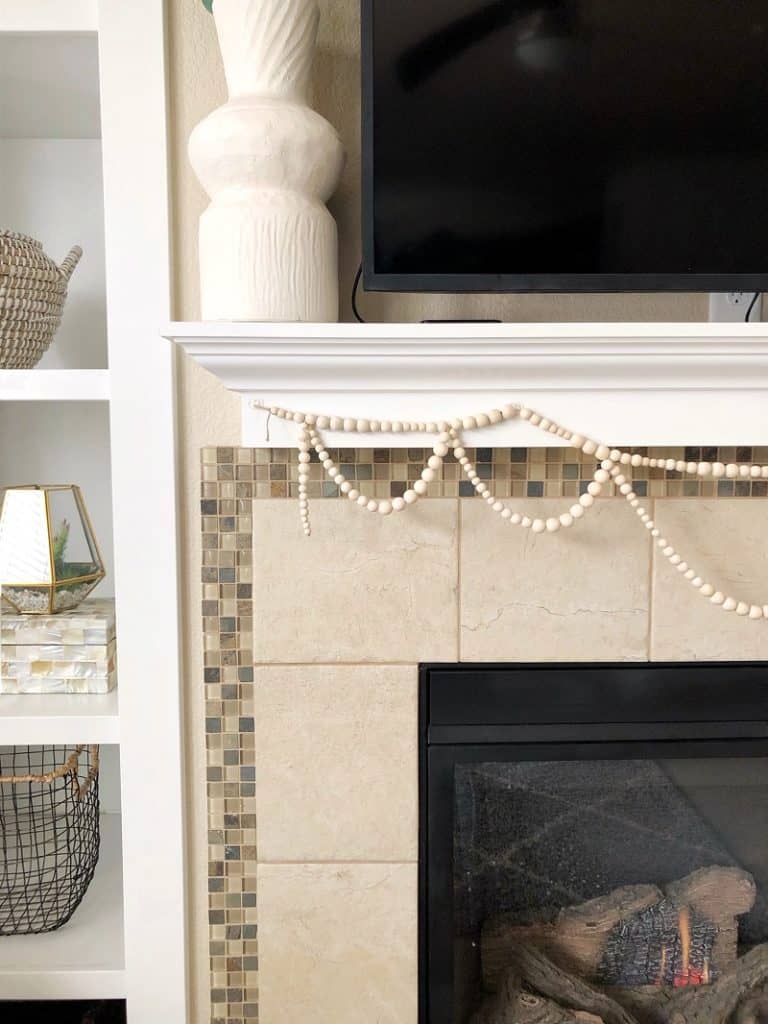
Now is the fun part! I started on one end and started draping the garland to create the look I wanted. While draping, I wrapped the garland a couple of times before moving along to the next draped section.
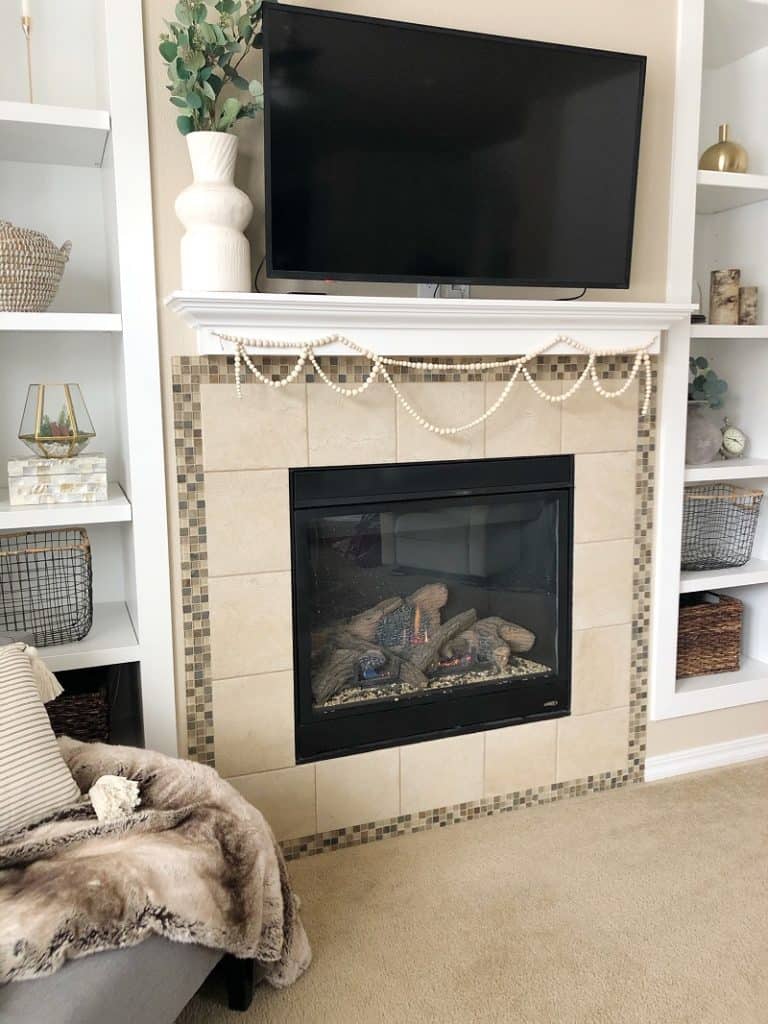
I did a total of five draped sections, with the middle section being the largest.
And You Are Done!
Thank you for following along. I hope you were able to make this modern garland for your fireplace mantel! It was really easy and cheap to make and gives your mantel a cute, styled look.

Where To Buy Wood Bead Garlands
But if you don’t have time to make one yourself and are looking for beaded garland sources to buy online, I have put together a list of a few places for you below!
1. CB2
2. Shades of Light
3. Etsy Shop “Marquisweaves”

4. Etsy Shop “DecoAzul“
5. Hobby Lobby
Another DIY YOu Might Like
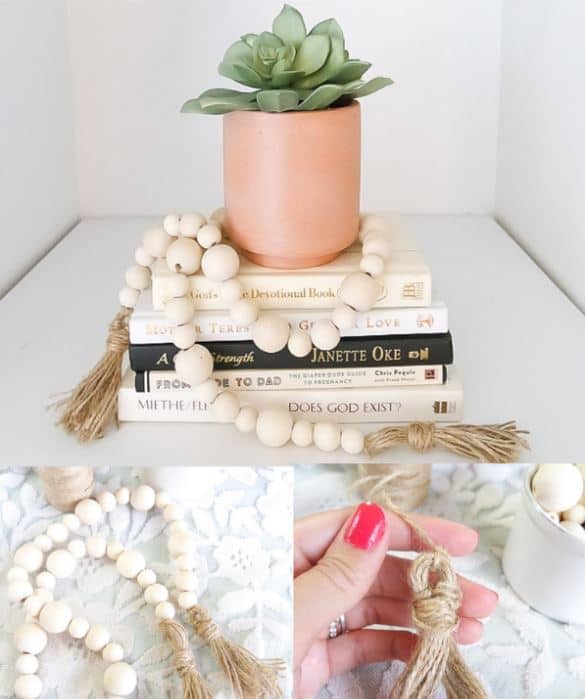
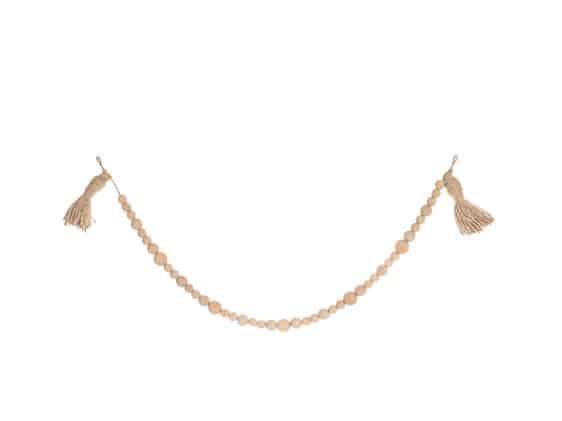
Check out this easy DIY Wood Bead Garland with Tassels tutorial. It is perfect for decorating around vases, shelves, and bowls!
Thank you for following Along
Thank you for checking out my tutorial and I hope it will help you make a beautiful and simple DIY Wood Bead Garland to hang on your mantel too.
And if you like this tutorial and want to save it for later, make sure to PIN this post. Have a great day!