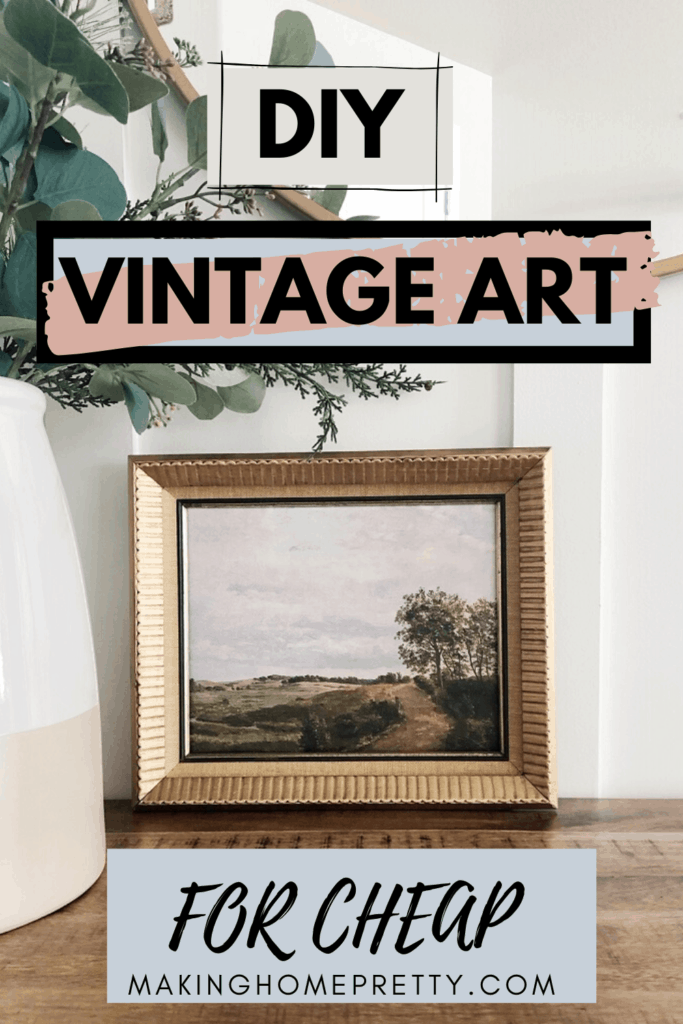
Want to create your own vintage art for cheap? Instead of spending $100+ on a framed vintage art piece, I decided to create my own for much less! Check out how I did it below.
This post contains affiliate links. You can ready my disclosures policy here.
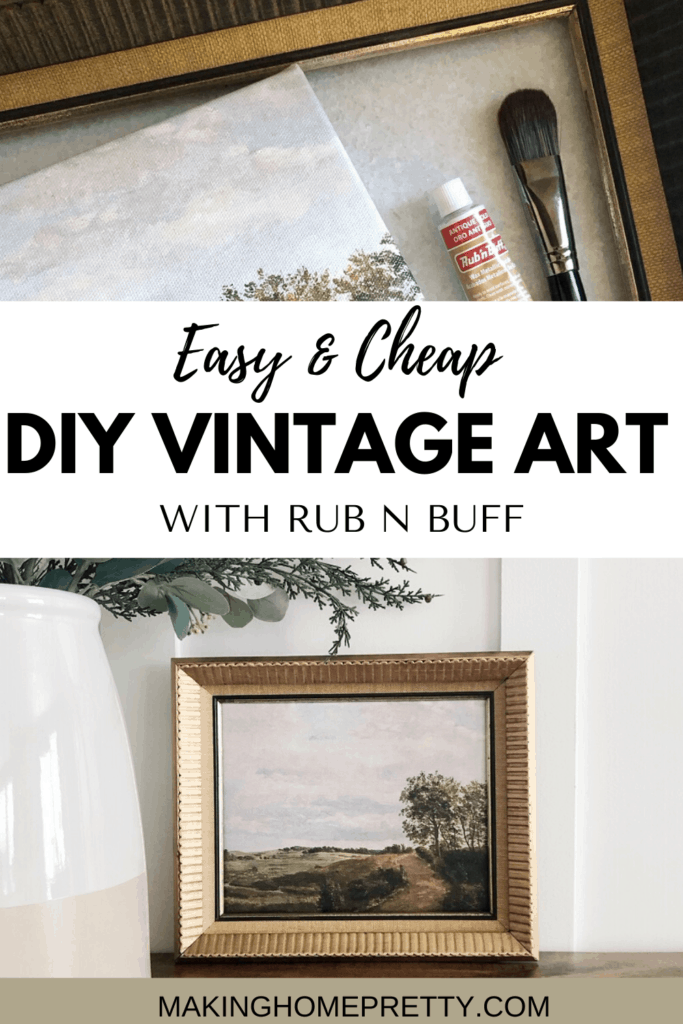
If you haven’t noticed yet, adding vintage art and vintage pieces to your home has become a trend for many designers and home decor bloggers. Vintage art has especially become very popular and is a really easy way to add character and warmth to your home. One of my favorite designers Studio Mcgee has some gorgeous framed vintage art pieces, but they are very expensive! So instead of spending over $100, I decided to create my own version for around $40.
I was especially inspired when I saw home decor blogger Erin from Francois Et Moi use Rub N Buff on an old frame to spruce up a vintage art piece. Have you ever heard of Rub N Buff? Well if you haven’t, it’s pretty amazing stuff! I always wanted to try it and I finally did with this little DIY art project.
What Is Rub N Buff?
I was super impressed with this magical product and now see why it’s so popular for many DIY lovers. Here is what it says on the website:
“Formulated from imported carnauba waxes, fine metallic powders and select pigments, this unique blend provides a finish no paint can duplicate. Rub onto a clean, dry or previously painted surface with a finger or soft cloth, then gently buff to a beautiful luster. The more you buff, the more it shines. Perfect for restoring cherished antiques, decorating home décor and craft projects, adding finishes to frames and stenciling items”.
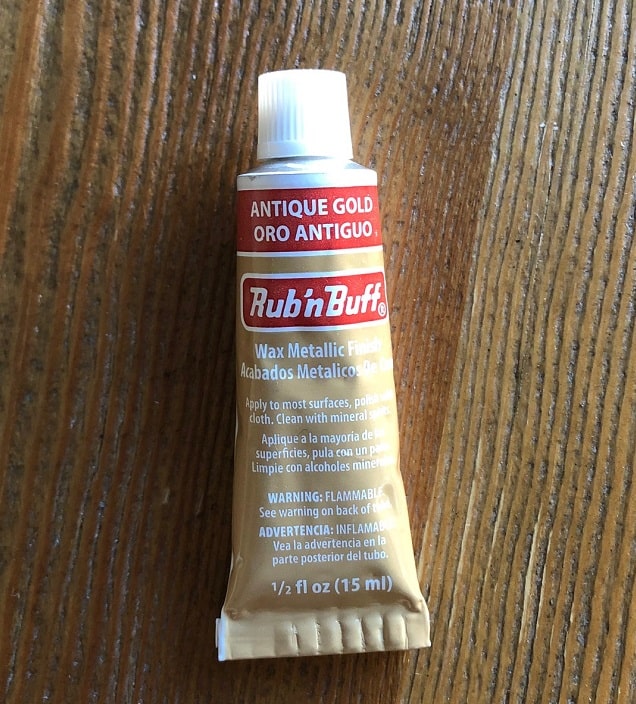
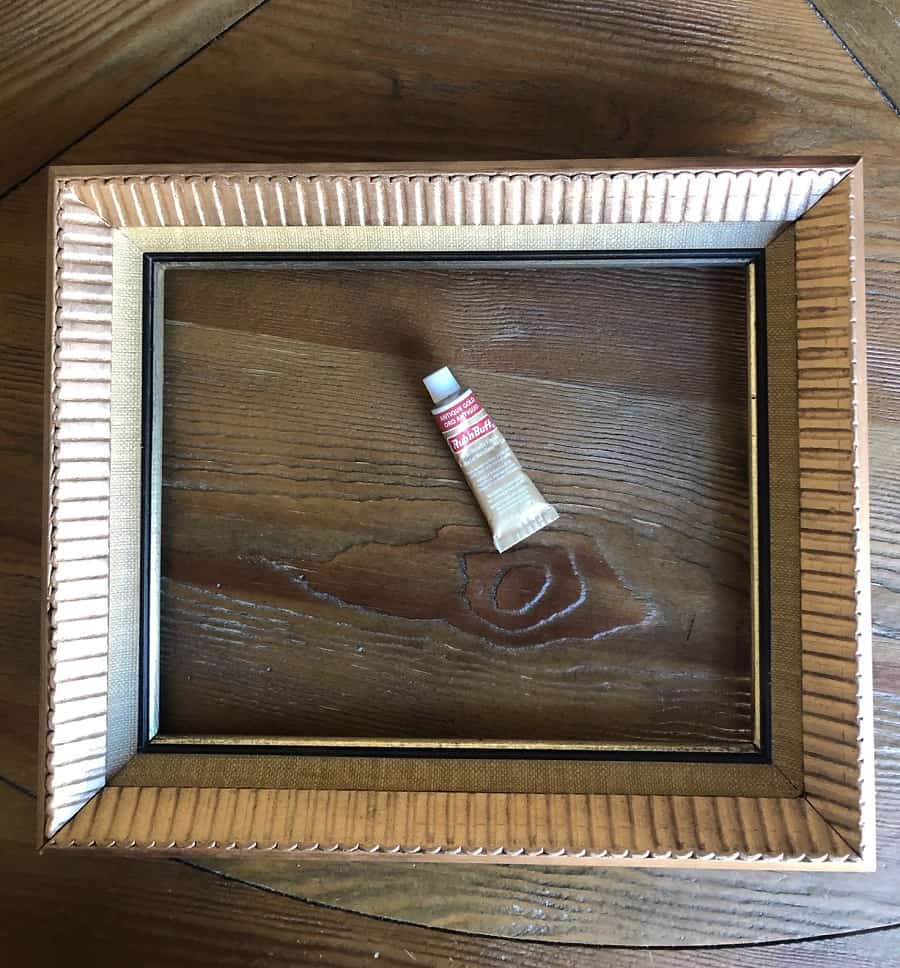
I decided to buy the Rub N Buff in the antique gold color, which is a beautiful gold shade that pulls more bronze/coppery. And there are several other shades offered too. Amazon sells a kit with several different gold shades if you wanna play with them all!
Pros about using Rub N Buff:
- A little goes a long way.
- Dries very quickly.
- An affordable way to update an old frame.
vintage Art Inspiration
McGee and Co has some gorgeous art pieces and I especially loved this one:
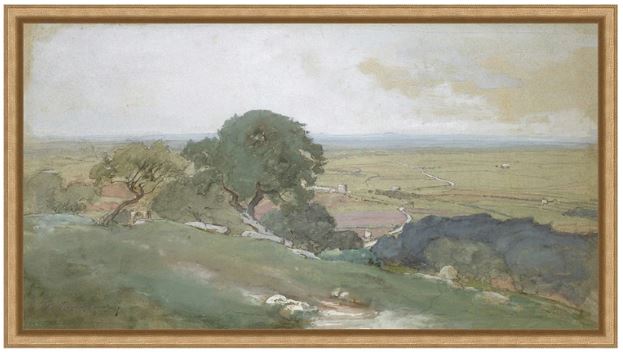
But it costs $165! And like my usual DIY self thinks, I knew I could probably create something similar for less. Plus with this COVID-19 stay at home situation we are in, I needed a fun little art project to help keep my sanity!
DIY Vintage Art With Antique Gold Rub N Buff
So here is how I created my very own pretty DIY Vintage Art piece for only $40. And it literally took me 10 mins or less to put together!
Step 1: Buy An Old Vintage Frame
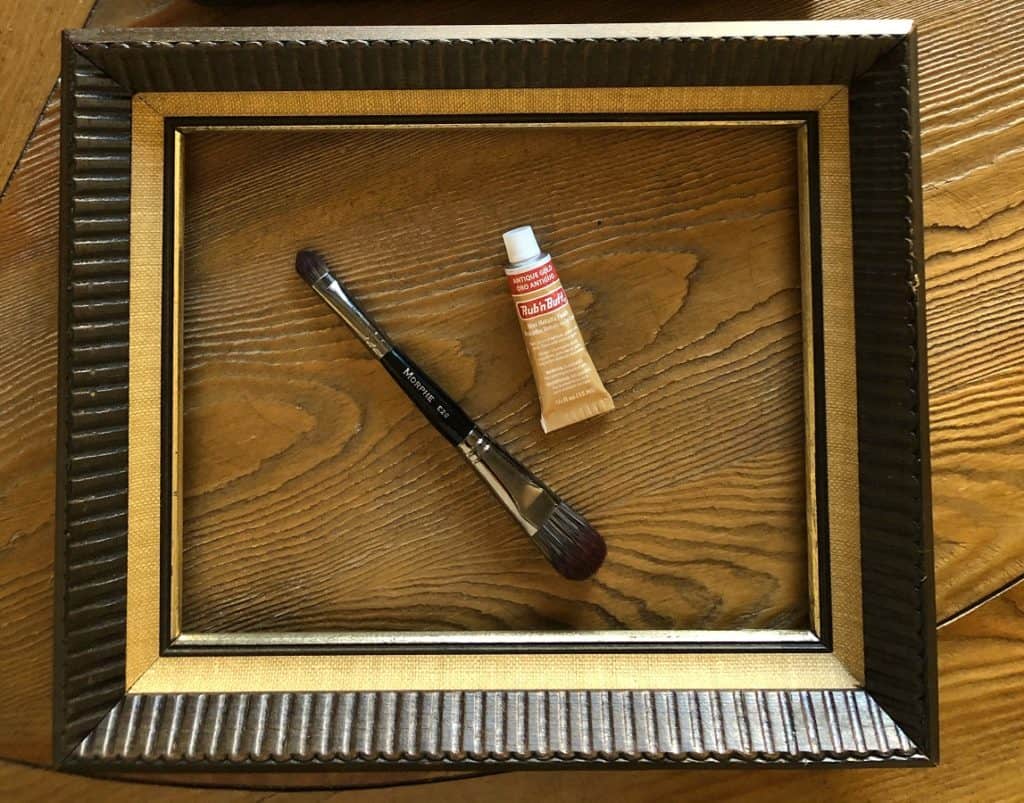
Before this stay at home order took place, I had bought several old vintage frames off of Facebook Market. The frame I used for this project cost me $5. If you don’t see any available on your local FB Market page, you can check out thrift and vintage stores where they sell old frames for cheap.
The frame I used was for an 8×10 canvas.
Step 2: Buy A Downloadable Vintage Art Print
So many vintage art prints are available for us to download and print ourselves now! And is the most affordable way to add vintage art to your home.
I bought my downloadable print off of Etsy for $9 from the shop ShopVintageSupplyArt. This seller has really beautiful landscape vintage art prints, which you should totally check out!
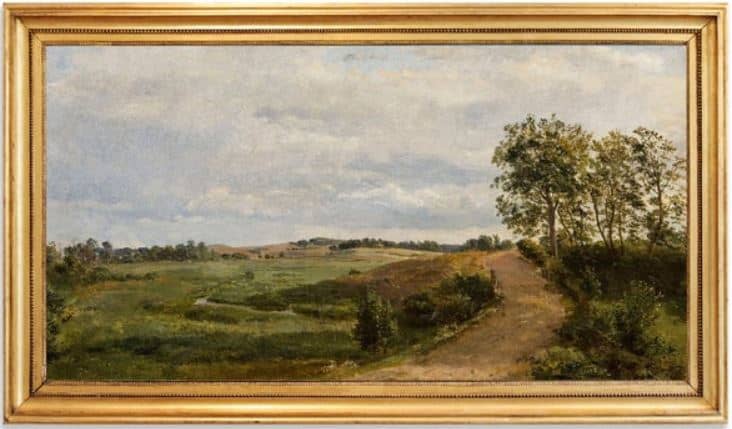
I really loved this landscape print because it reminded me of the McGee and Co one and also had some nice colors and textures. It’s so pretty and incredibly affordable!
Step 3: Print The Art On A Canvas
To print the art, I used this online canvas printing shop called Simple Canvas Prints. This was the most expensive part of the project, costing me $21 for an 8×10.
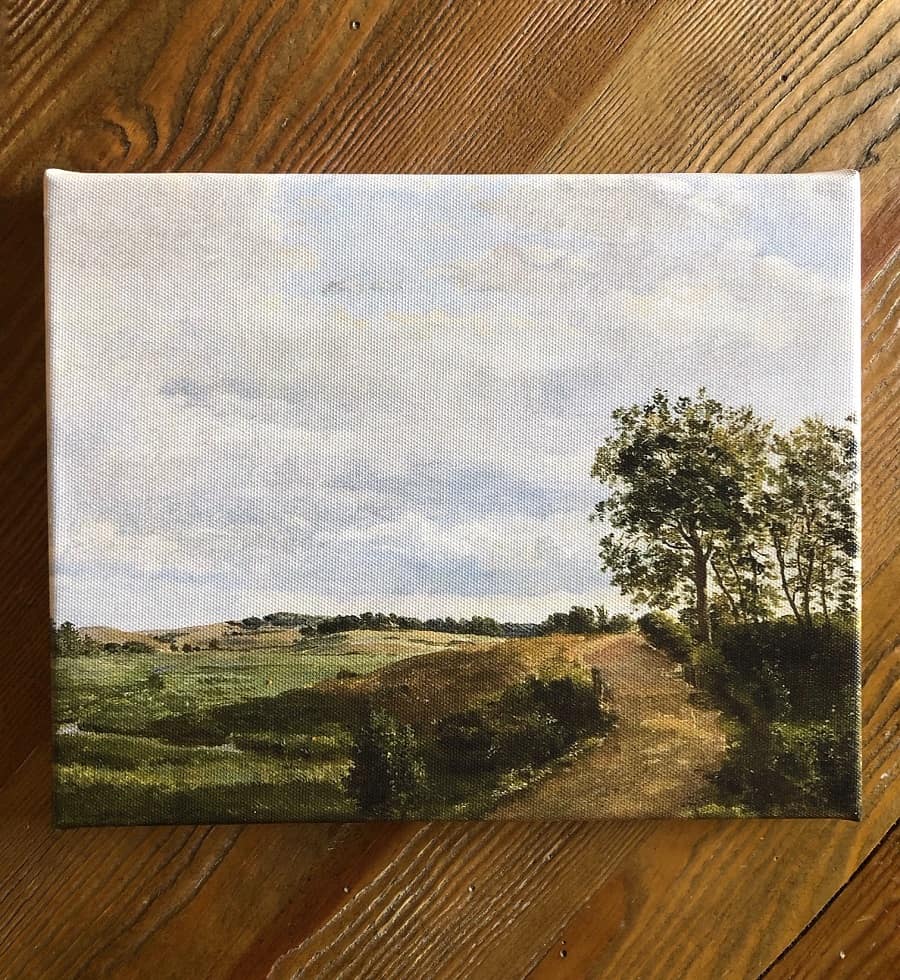
There are many other places you can go online to print your art on canvas, which seem to always have coupons and deals going on. So shop around to see which print shop has the best deals!
Or if you don’t want to do the canvas and vintage frame, you can of course print it directly at home and put it into a normal picture frame.
Step 4: Apply rub N Buff On Frame
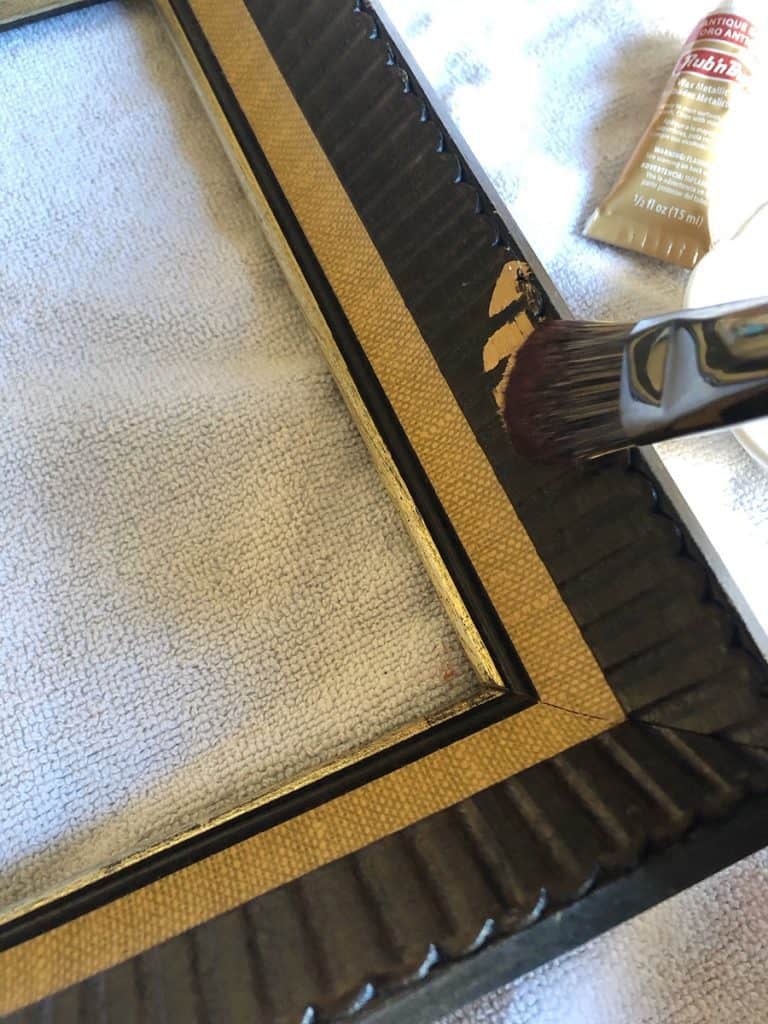
So to make my old frame go from blah to pretty, I used Antique Gold Rub N Buff to spruce it up! To apply it I used an old makeup brush, but you can also use your fingers or an old cloth and just rub it on.
Step 5: Attach The Canvas To The Frame
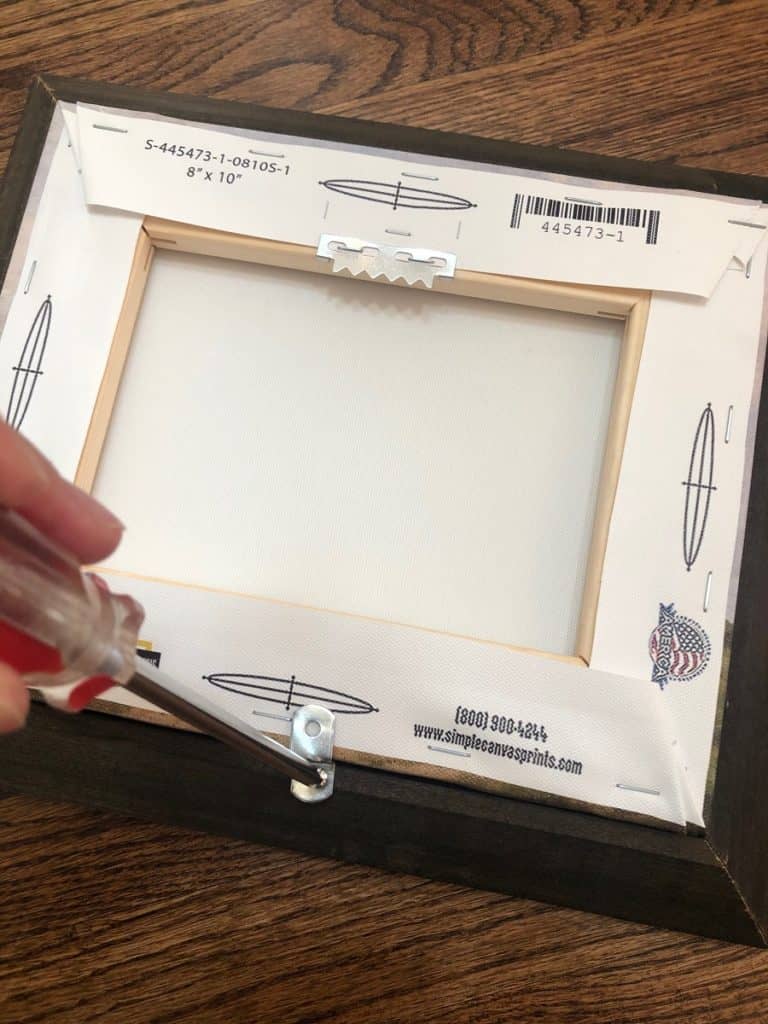
Now that the Rub N Buff is on, I attached the canvas to the frame using these 1/2″ canvas clips that I got from Amazon. I only used two of the brackets to keep the canvas in place and you are done!
And your DIY Vintage Art is done!
I love the final look of this simple DIY Vintage Art and the Rub N Buff in antique gold really helped beautify the frame! It makes me happy every time I look at it and can’t believe I did it for much cheaper than the other art I was looking at. Super win!
This type of artwork is also perfect to style on your entry table, bookshelves or kitchen counter. Pretty sure this art piece will be moving around my home because every spot I put it makes the space feel so much prettier!
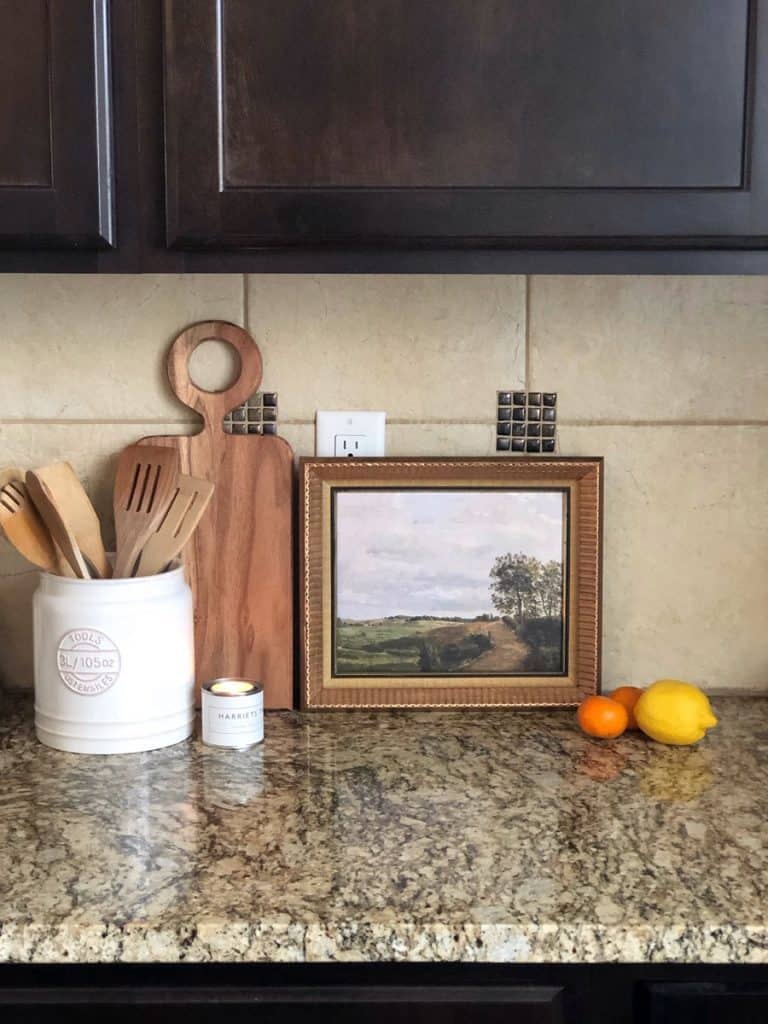
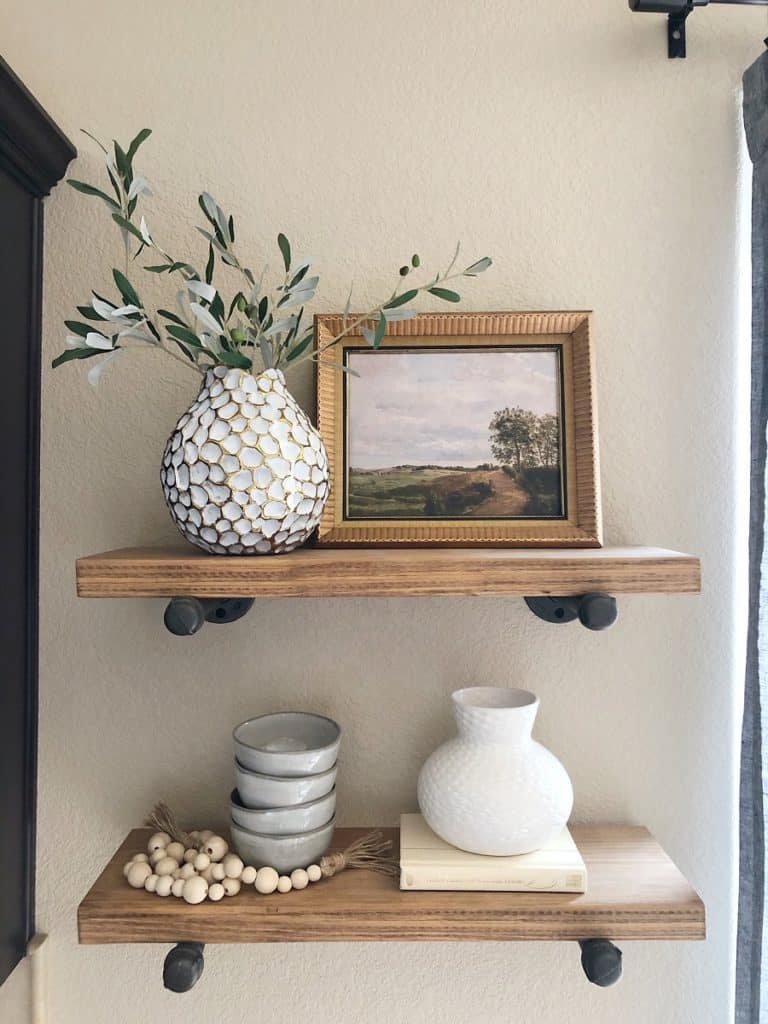
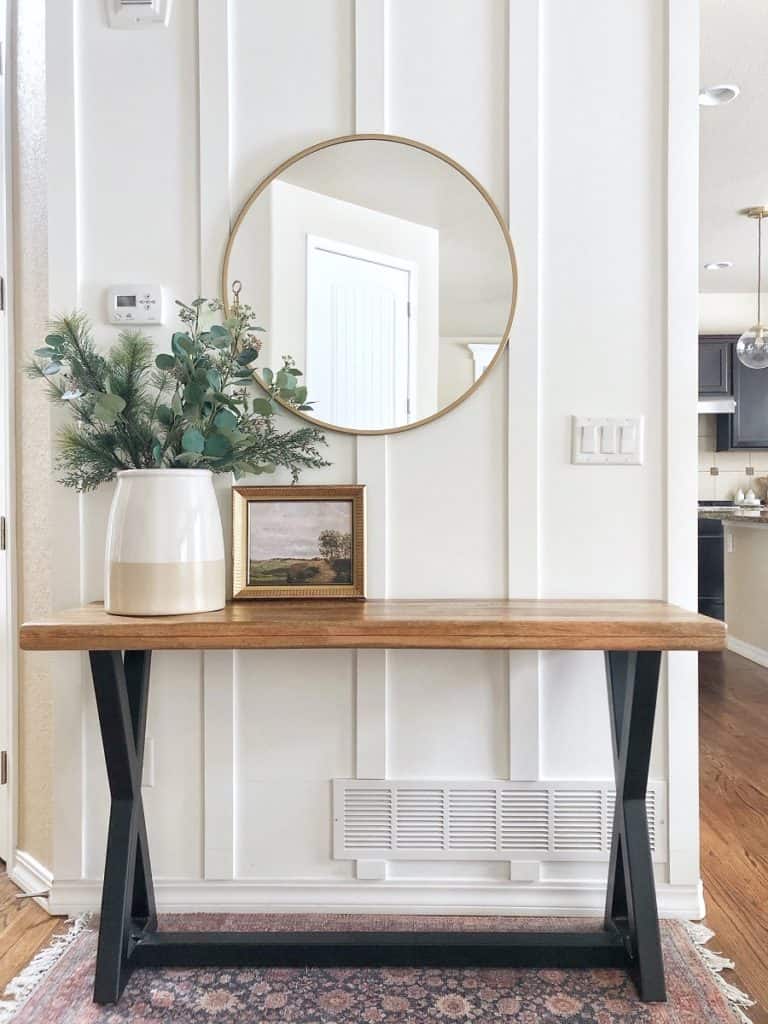
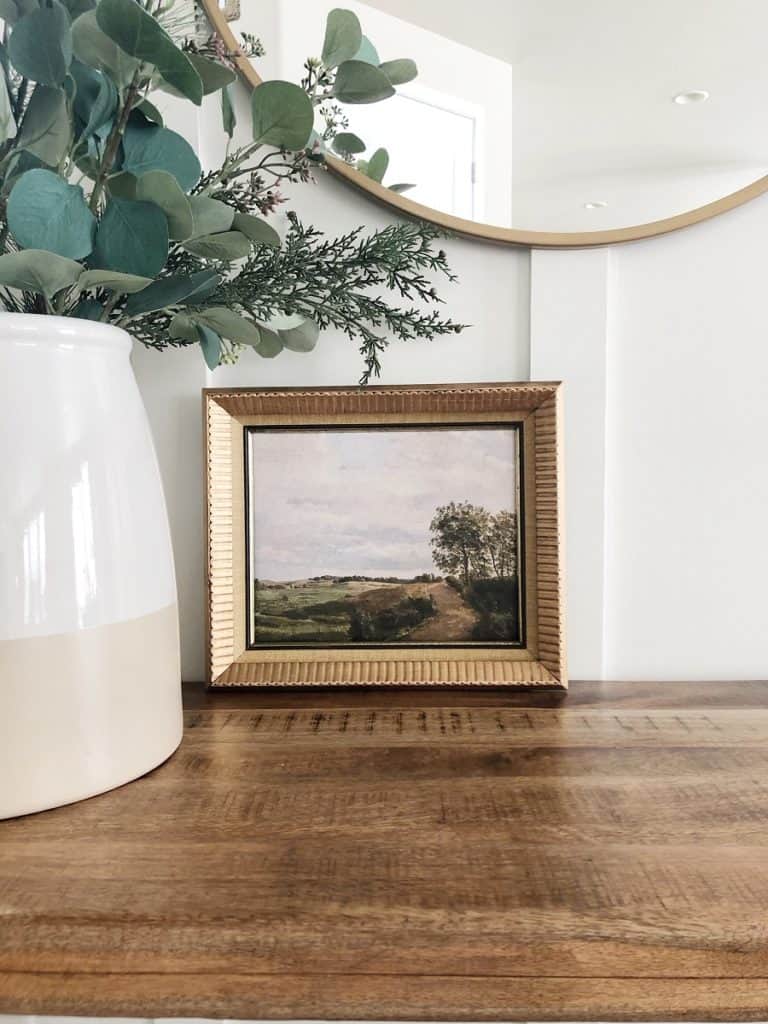
If you end up doing this DIY, tag me on Instagram @makinghomepretty and let me know! And I also have a highlight under my profile called DIY Vintage Art if you want to see me in action making this piece. Thank you so much for following along!

Looking for other great online sources for affordable art? Check out this BLOG POST.
