After doing two other DIY accent walls in our house, we decided to do one more in our entry! We decided to do a vertical paneled wall, which gave our boring beige textured wall beautiful character. Check out my step-by-step tutorial below if you want to do the same thing in your home!
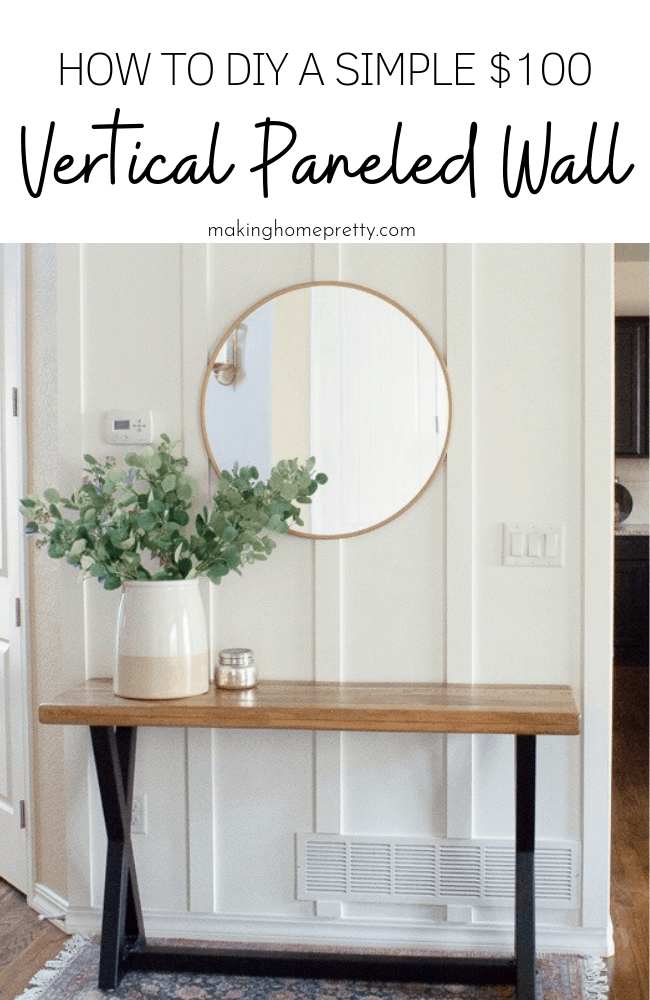
Earlier this summer, my husband and I did a dark DIY Shiplap Wall and also a DIY Board and Batten Wall, which added so much character to each space! And I was excited to do something similar to our entry foyer area. We have a wall that was perfect for an accent wall and decided on a design that was a mix of modern and traditional….a DIY Vertical Paneled Accent Wall.
It is basically a board and batten wall, but with a vertical paneled design.
We decided to use the paint color “Chantilly Lace” by Benjamin Moore to match our living room accent wall. The vertical paneling was honestly so easy to do and definitely achievable for a first-timer or beginner.
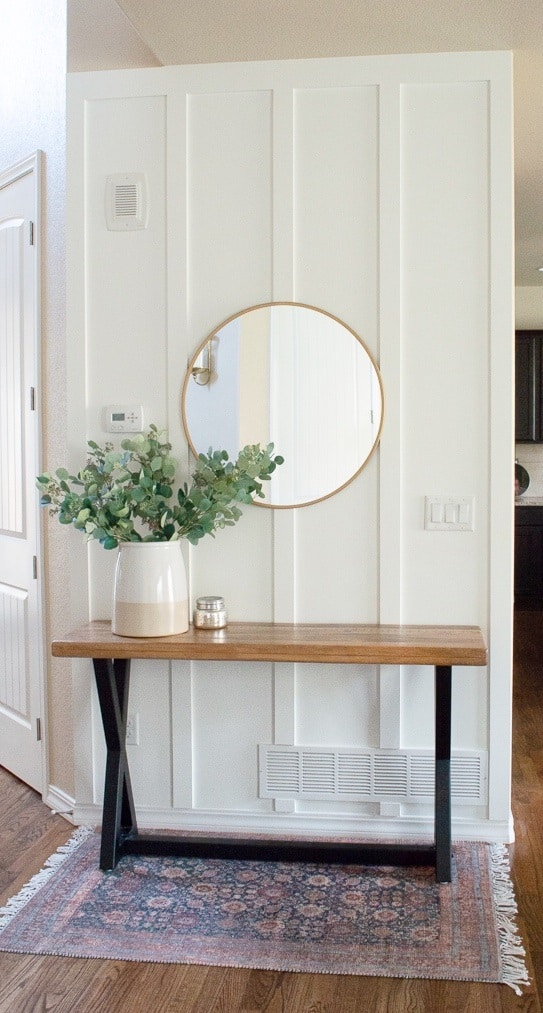
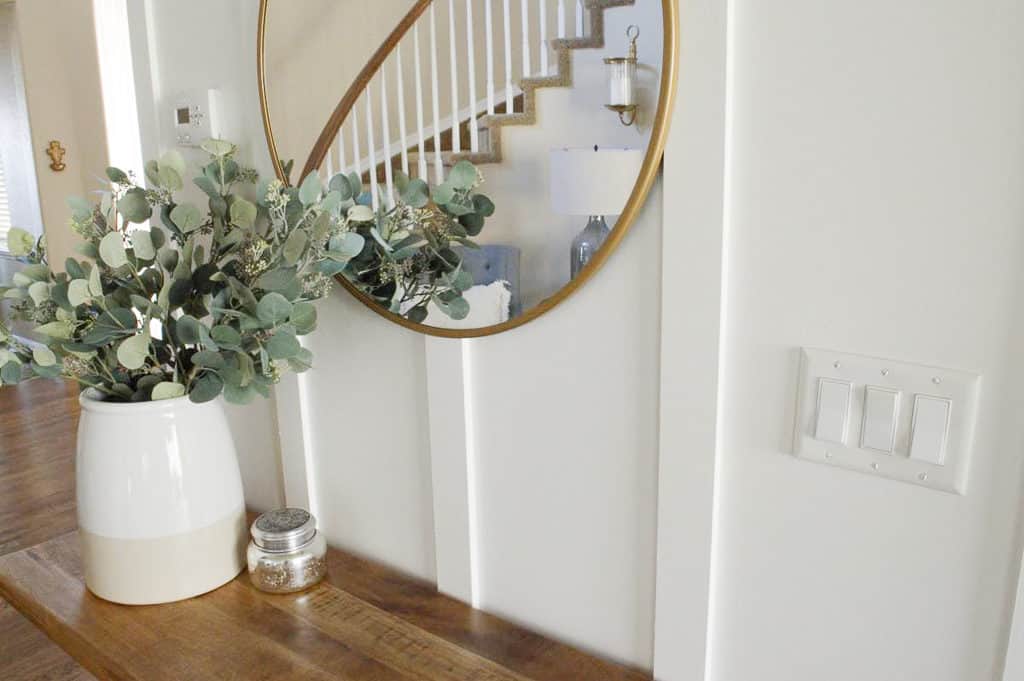
My husband did most of the heavy lifting since I was in my third trimester when we started the wall, and it turned out so beautifully! Yay for supportive husbands!
If you are wanting to add character to a wall in your home but want something different from the shiplap or traditional board and batten grid look, this vertical paneled design might be an option to consider.
Inspiration pictures for The accent wall
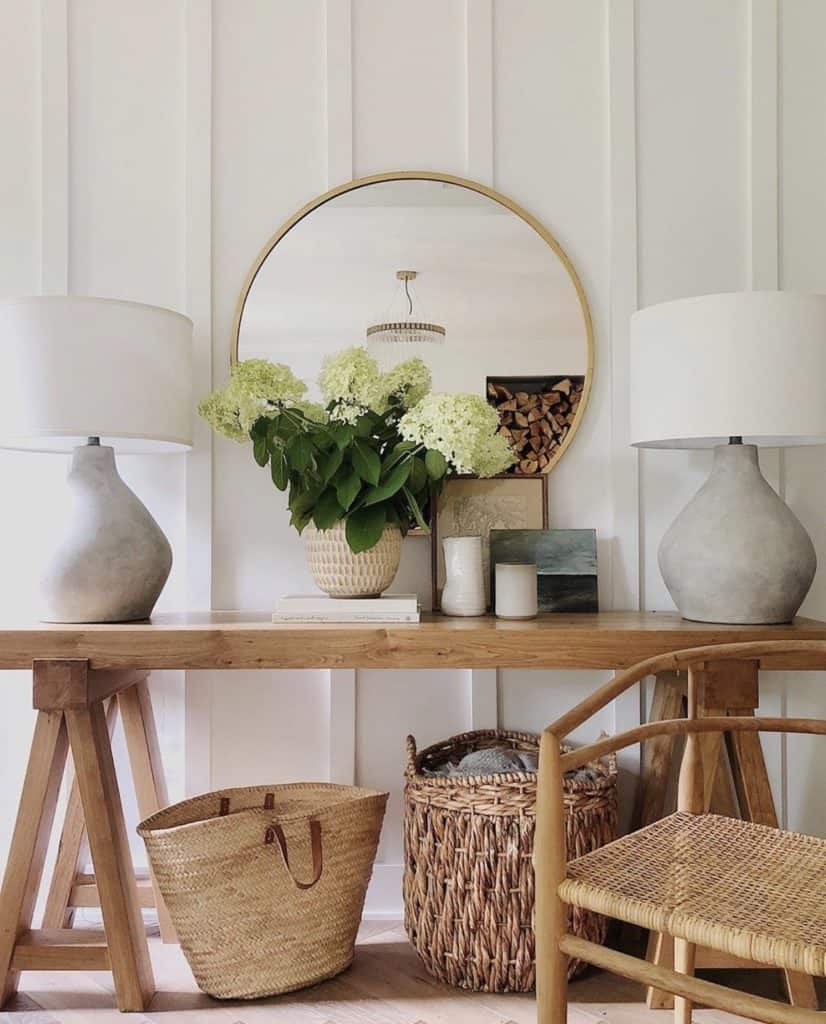
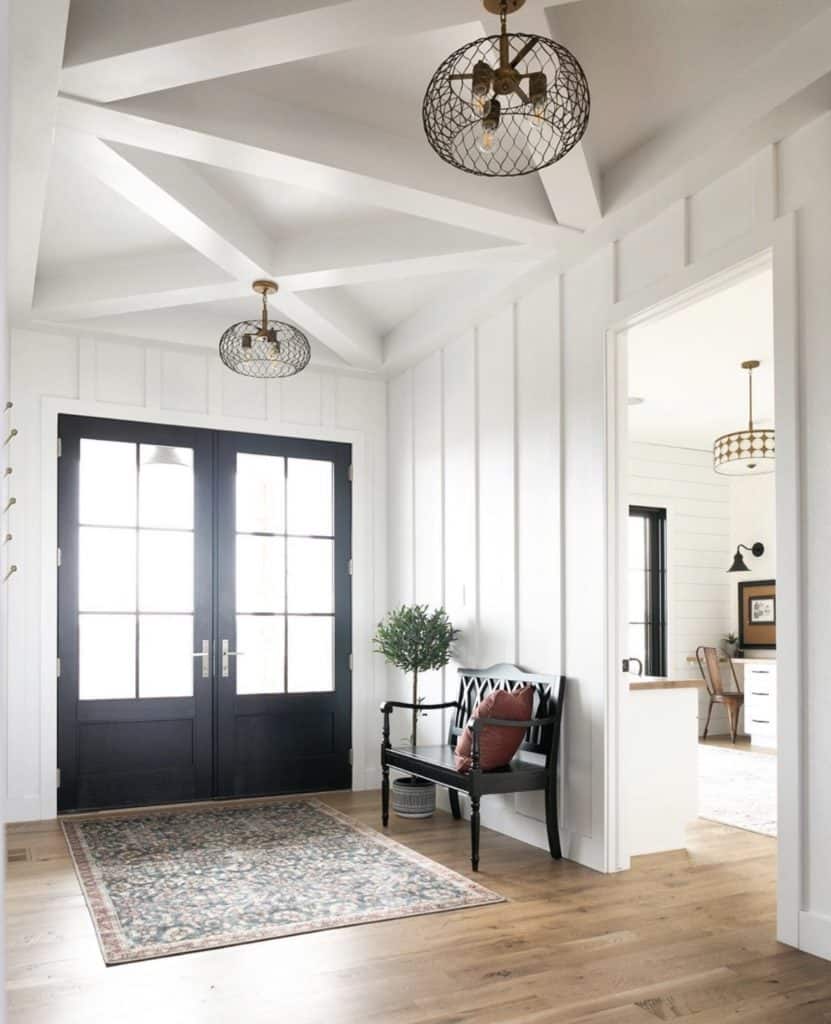
Before we get started on the tutorial, I just wanted to show you a couple of pictures of two other homes that have similar wall designs. These designers really inspired me to go for this look!
Anissa at House Seven Design
Tiffany at “Growing Up Gowler”
Tutorial: DIY Vertical Paneled Accent Wall
Below I am sharing my beginner-friendly step-by-step tutorial if you want to achieve this look in your home too!
Before we get started, I wanted to point out that the wall cost us around $100 to do. This is wayyyyy cheaper than hiring someone to do it.
But keep in mind, we already owned all the tools needed. And the total cost for you will depend on the size of your wall and what tools you already own.
Materials List
- 1/8″ 4×8 Hardboard Panels (2)
- 1/2″ 4×8 MDF Board (1)
- Paint (we used Benjamin Moore’s, Chantilly Lace) — click here to find out how we got it for much cheaper!
- Caulk
- Wood Filler
- Brad Nails
- Liquid Nails
Tools List
- Ryobi Miter Saw
- Ryobi Table Saw
- Circular Saw
- Ryobi Jigsaw
- Frog Tape (best painters tape for straight lines, especially on textured walls!)
- Ryobi Nail Gun
- Sand Paper
- Long Level
- Caulking Tool (highly recommend this tool for a professional caulking finish!)
- Paint Brush & Rollers
Step 1: Plan out Your wall design
You will first want to map out the size of your wall and determine the design and exact measurements. By doing this, you will get an accurate idea of how much material you will need to buy and what size cuts to make.
Here is the design we made on PowerPoint.
We measured the hardboard backing that will be placed on top of the textured walls and then measured out the MDF panel strips that will go on top of that.
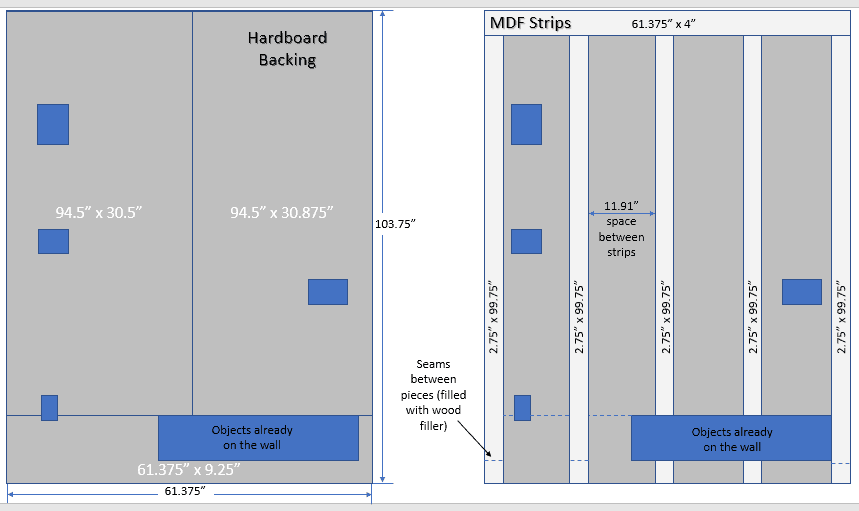
For the vertical strips, we decided to do 2 3/4″ inch wide MDF panels with a 4″ inch wide panel across the top of the wall. We decided to not run a panel along the bottom since the wall already had a baseboard there.
Step 2: Prep the Wall
After we created our design and bought all the materials we needed, the next step was to prep the wall. This involves:
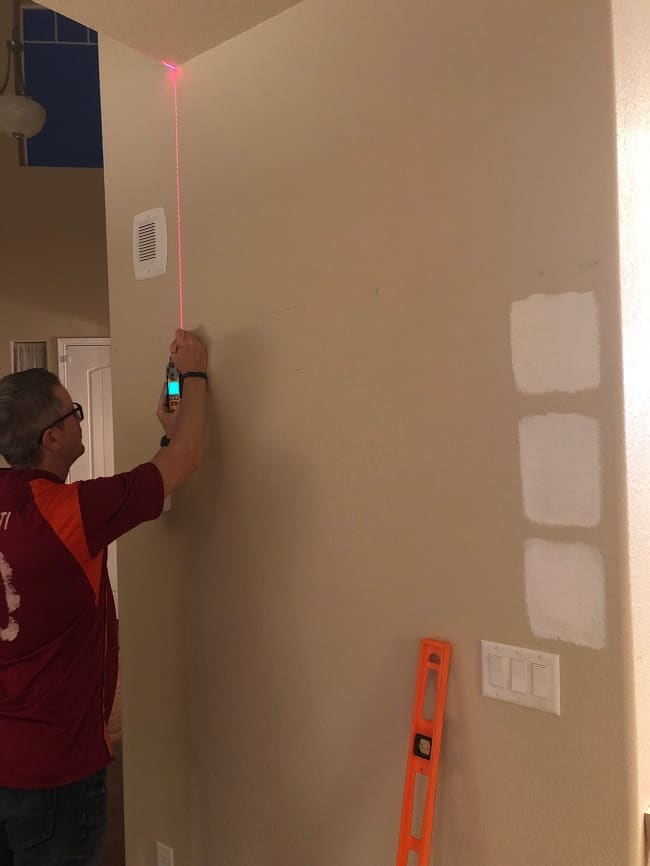
- Marking the studs with a stud finder.
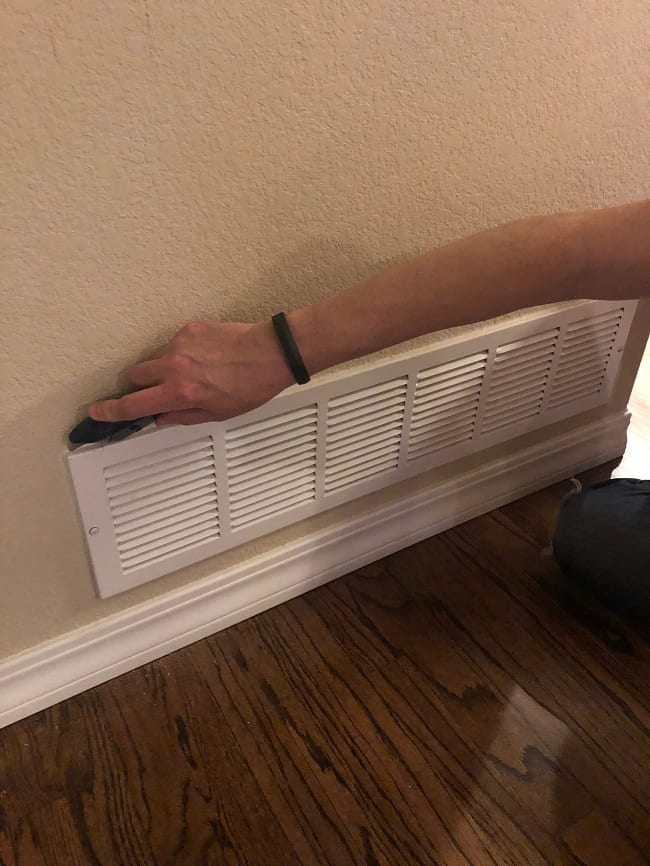
- Removing all outlet and vent covers. (we had 5 covers to work around, which is alot!).
step 3: Cut the wood
You can get your wood cut at home depot or lowes, but since we already owned all the tools, we decided to do all of our cutting at home.
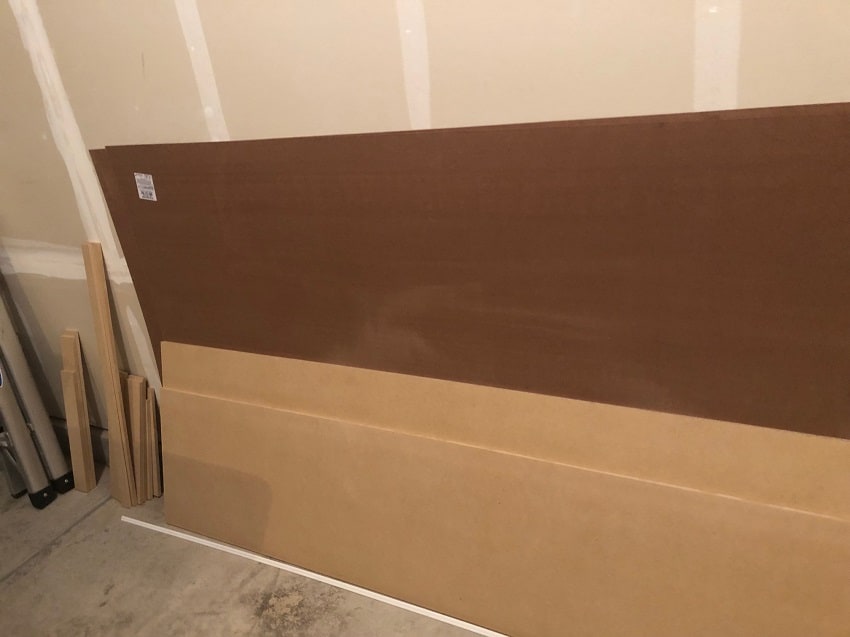
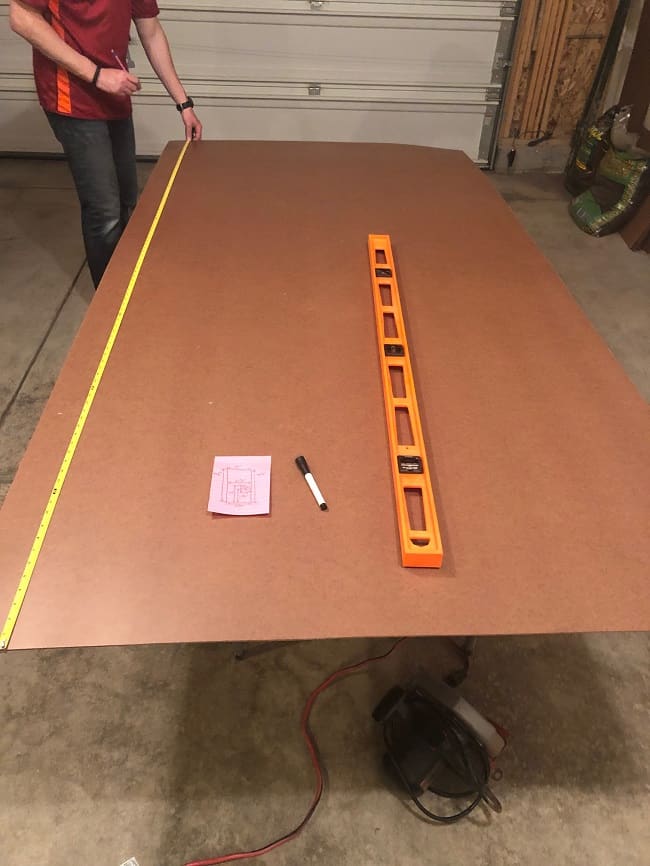
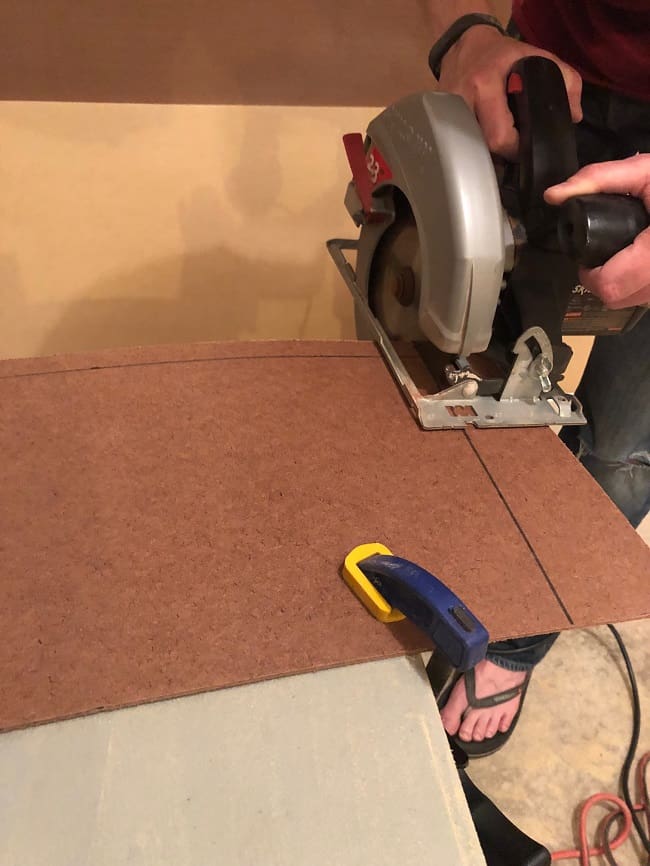
To cut the hardboard panels, we used a circular saw and drew out the measurements on the boards before cutting.
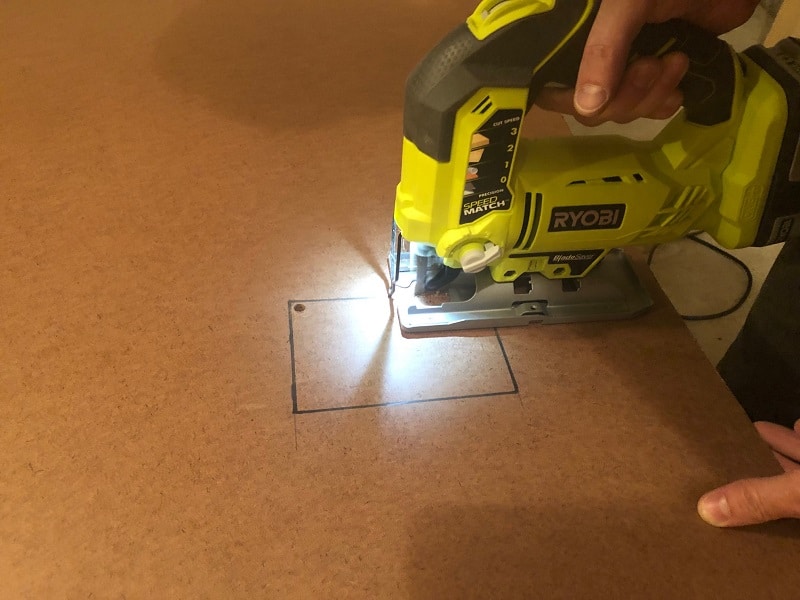
For precise cuts around outlet covers, we used a jigsaw. This is the perfect tool for cutting smaller, odd-shaped cuts.
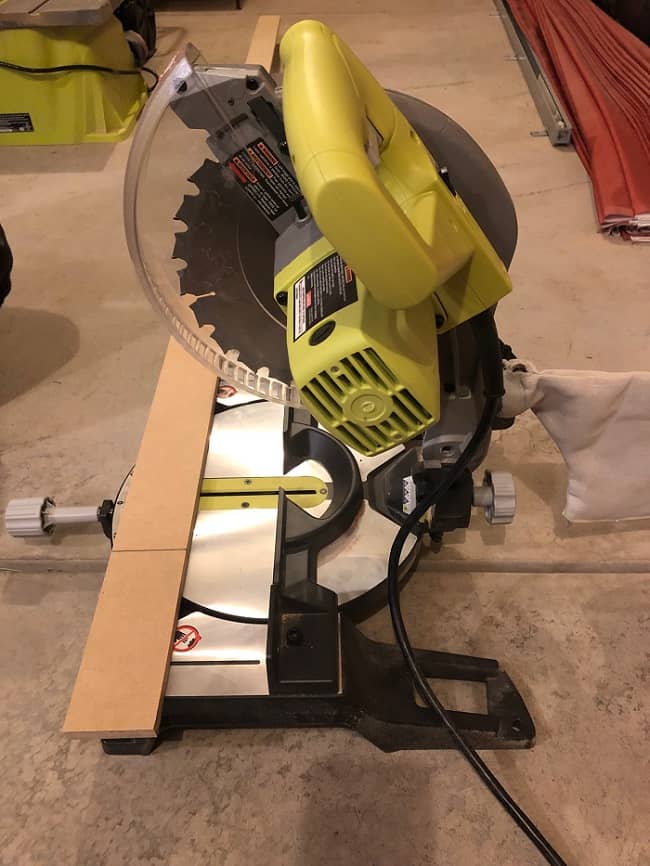
When cutting the MDF board into strips for the vertical paneling, we used a table saw and miter saw.
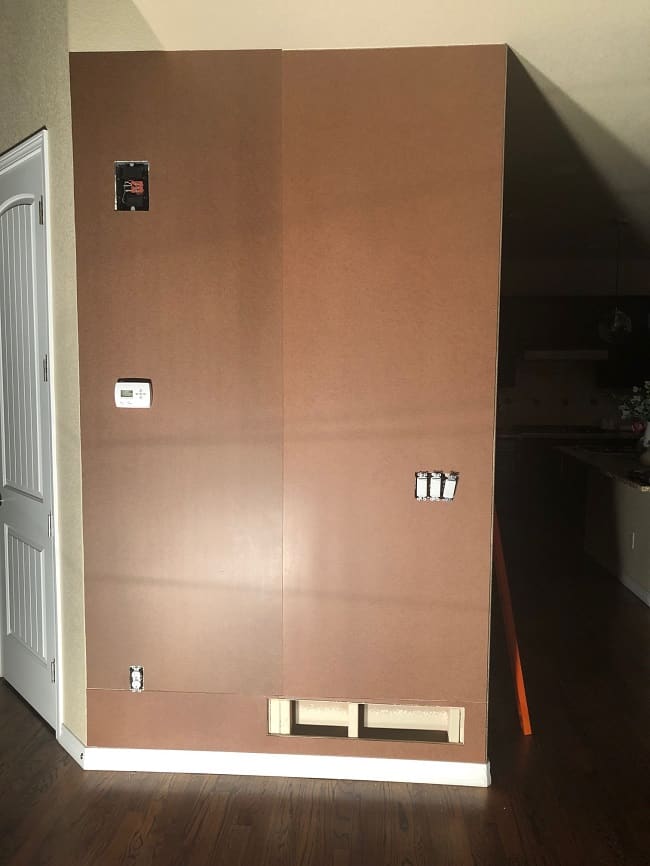
Step 4: Place Hardboard Panels on the Wall
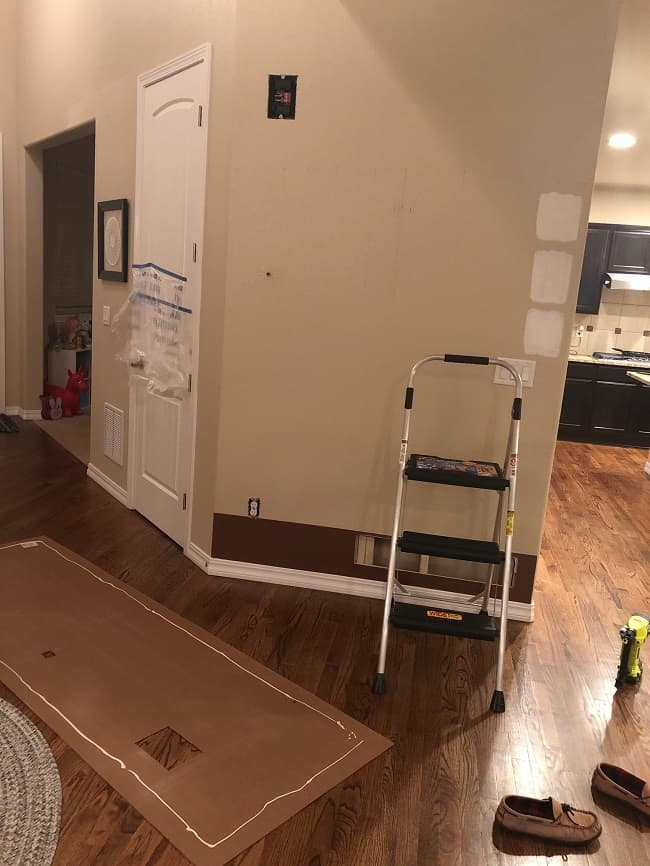
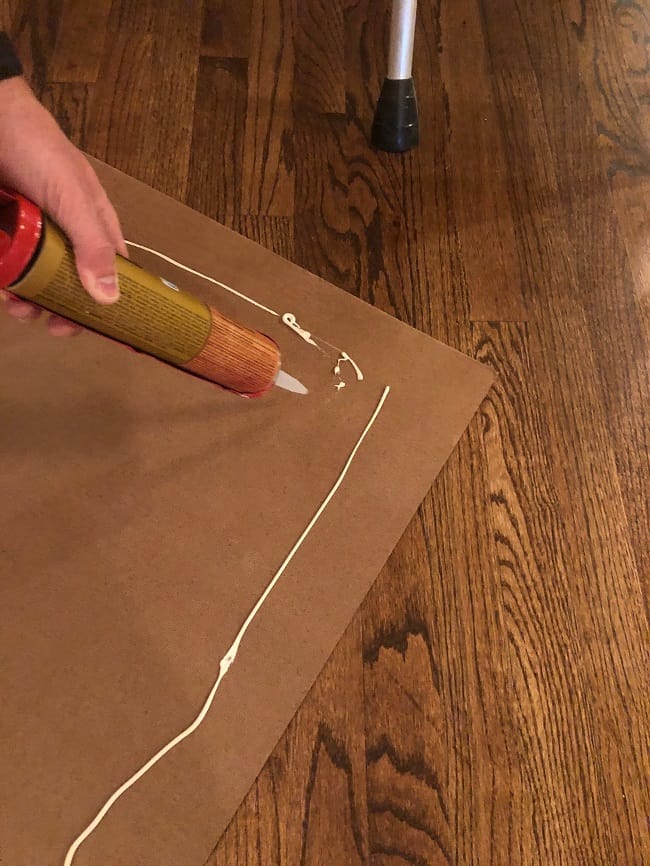
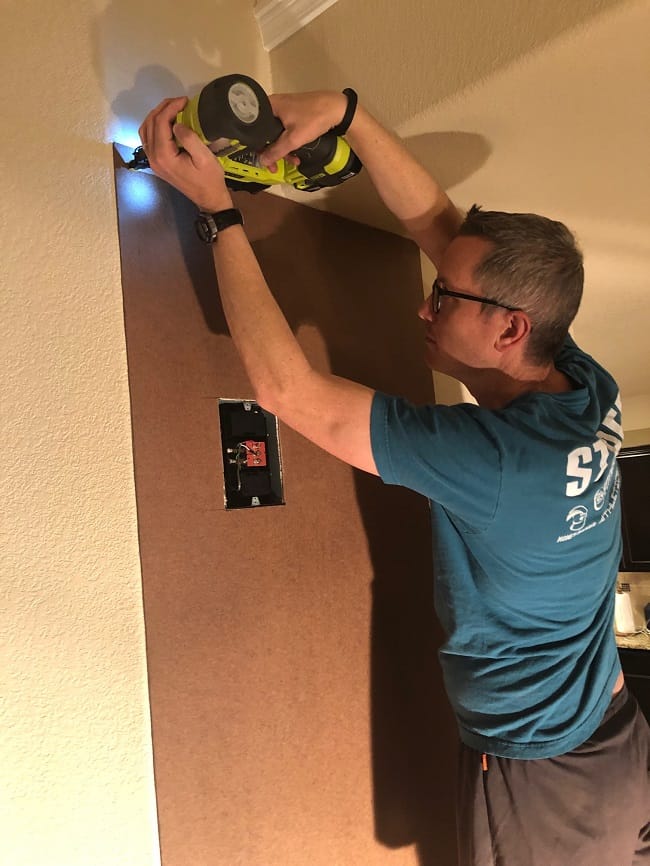
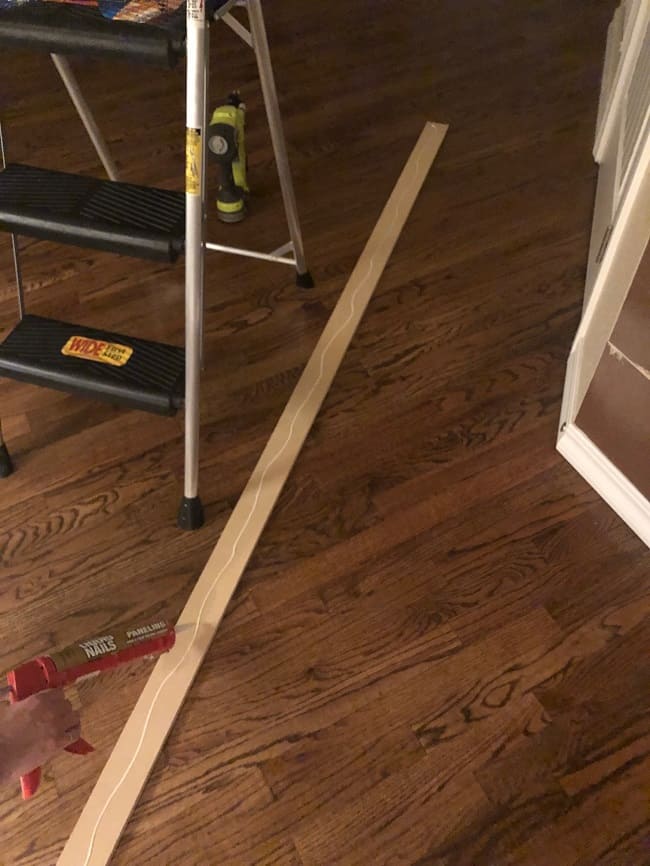
When attaching the hardboard panels on top of your textured walls, you will first need to use liquid nails behind the boards and then secure it with nails.
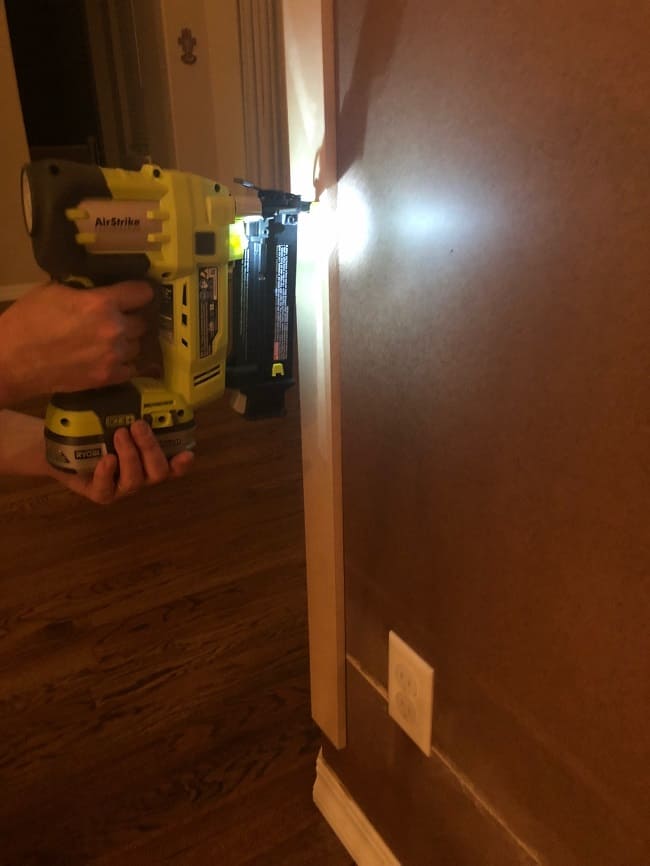
We used a nail gun with 2″ 18 gauge brad nails to secure the boards, making sure to nail into the studs as we went.
Step 5: Place MDF Vertical Panel STrips
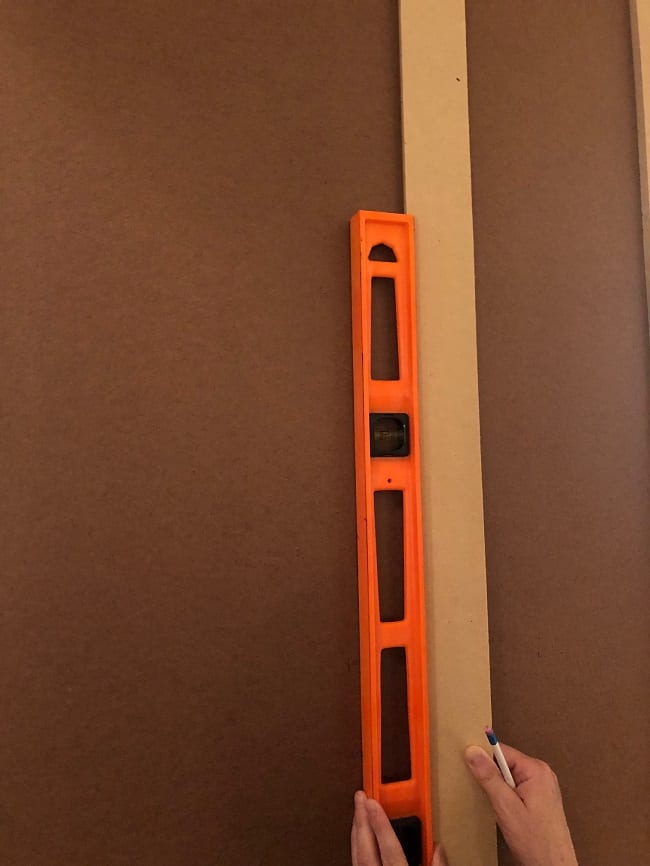
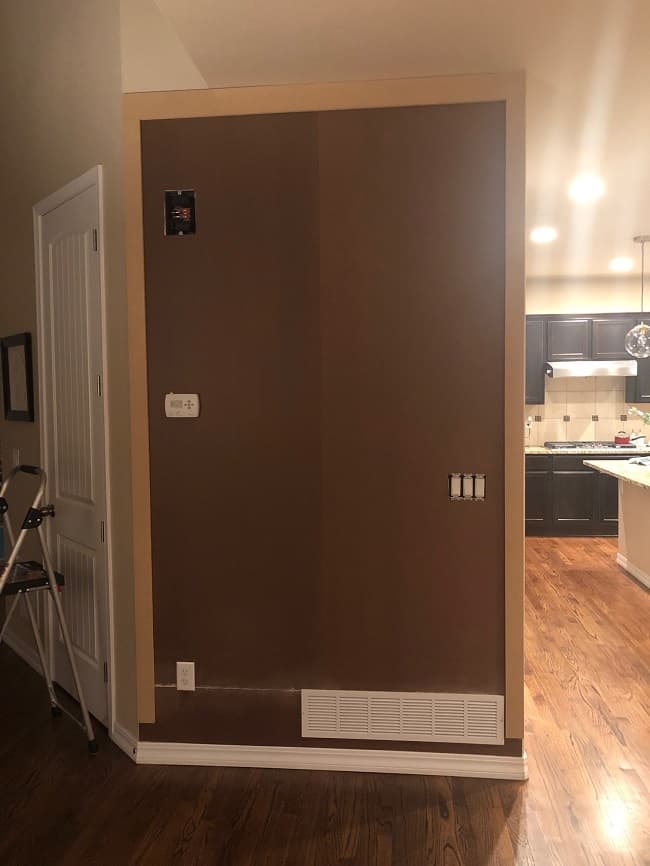
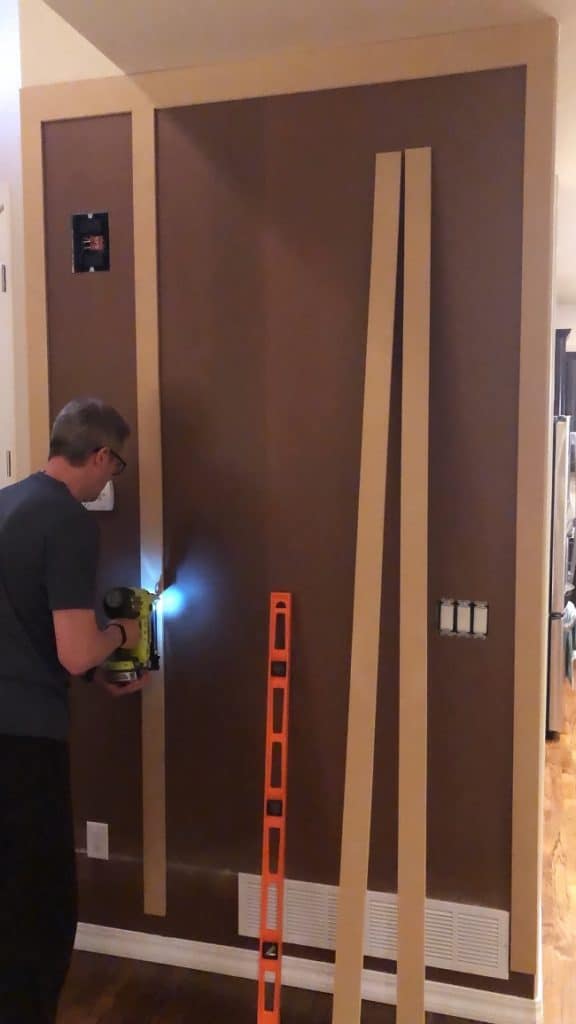
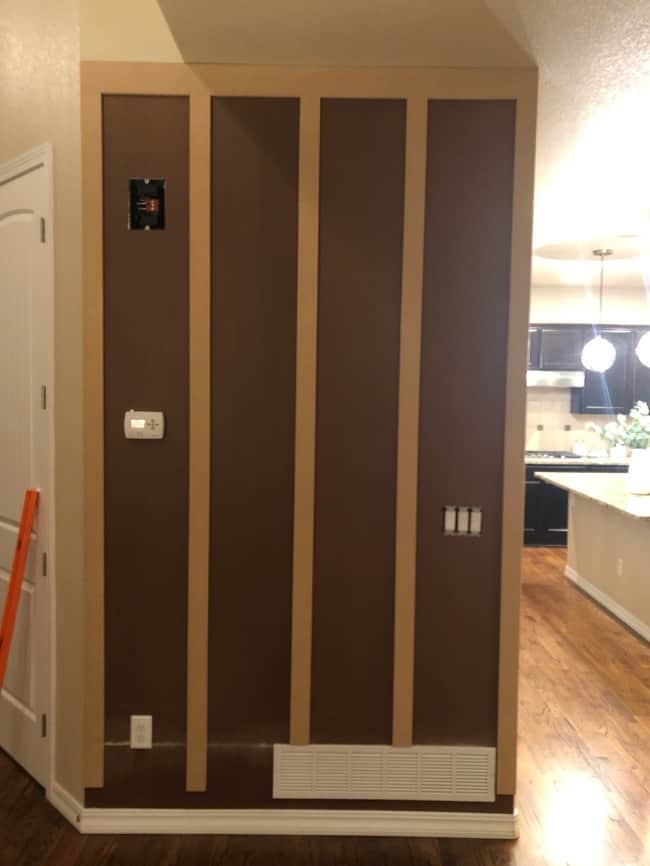
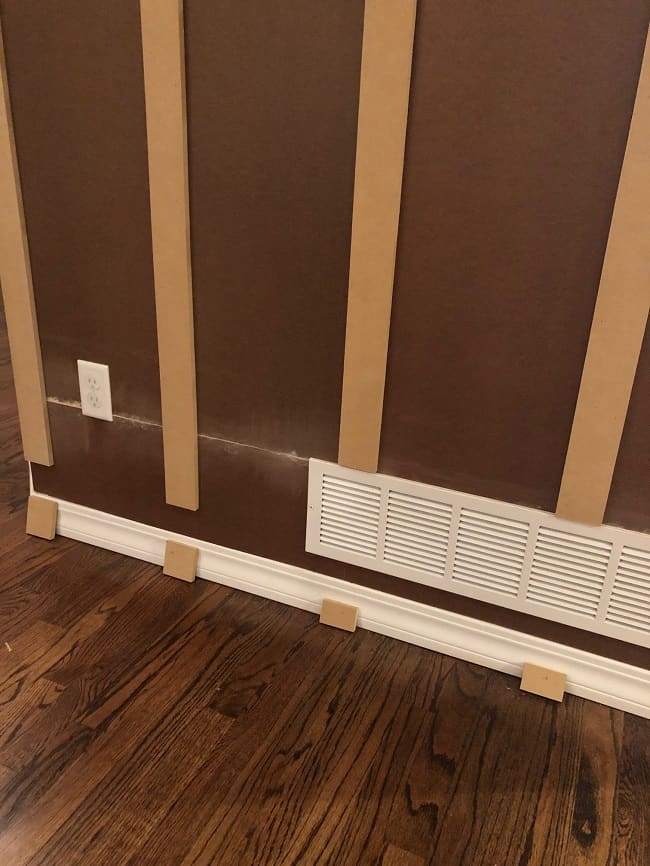
After all the hardboard panels were up, we next placed the MDF vertical strips on top, following the design we created.
We first framed the wall and then placed the middle strips last by using liquid nails and our nail gun. Before we nailed any of the panels, we made sure to use a long level to ensure it was straight.
Step 6: Caulk the Edges
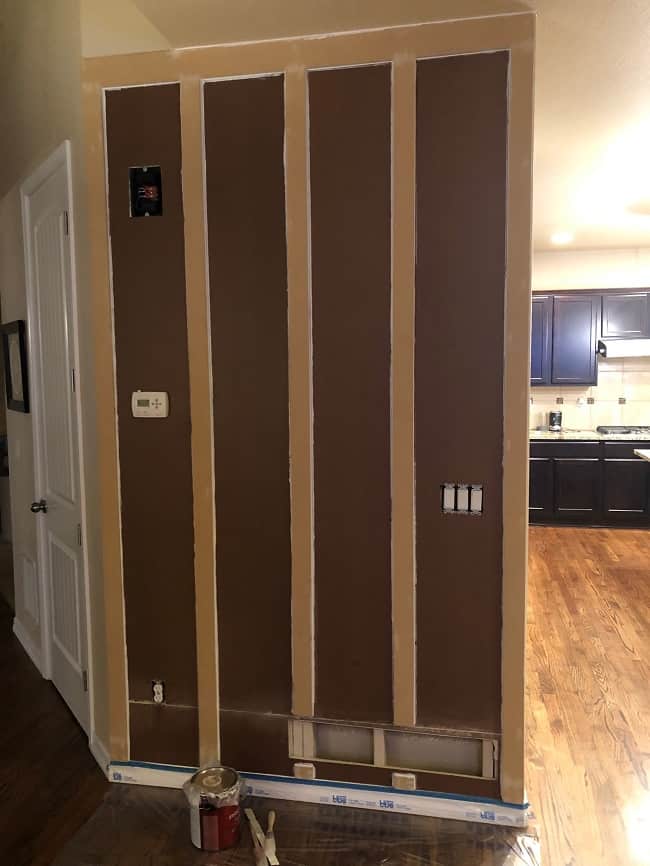
If you want a professional, seamless and clean look, you will not want to skip this step! We used a white paintable caulk and placed it on every edge around the MDF panels and the edges around the wall.
I also highly recommend using a finishing caulking tool like THIS ONE. It makes the job so much easier and saves your fingers from getting caulk all over it!
Baby wipes were also very useful when wiping and cleaning up the caulk. Since we have kids in diapers, baby wipes were easy for us to just grab and use.
Step 7: Fill HOles with Wood Filler
After caulking, we next used wood filler to cover all the holes from the nails and any seams we needed to cover. When the wood filler dried, we used sandpaper to make sure it had a nice smooth surface.
Step 8: Paint
Now to the fun part….painting! After all your wood is up and all the prep work is done, you can paint your beautiful wall and make your vision truly come to life!
Before we started, we used our favorite Frog Tape to seal off the edges of the wall and used paint brushes and rollers to paint it.
And if you haven’t read my blog post on how to get designer paint for cheap, you can check that out HERE. We used Benjamin Moore’s “Chantilly Lace” and got a gallon at an affordable price!
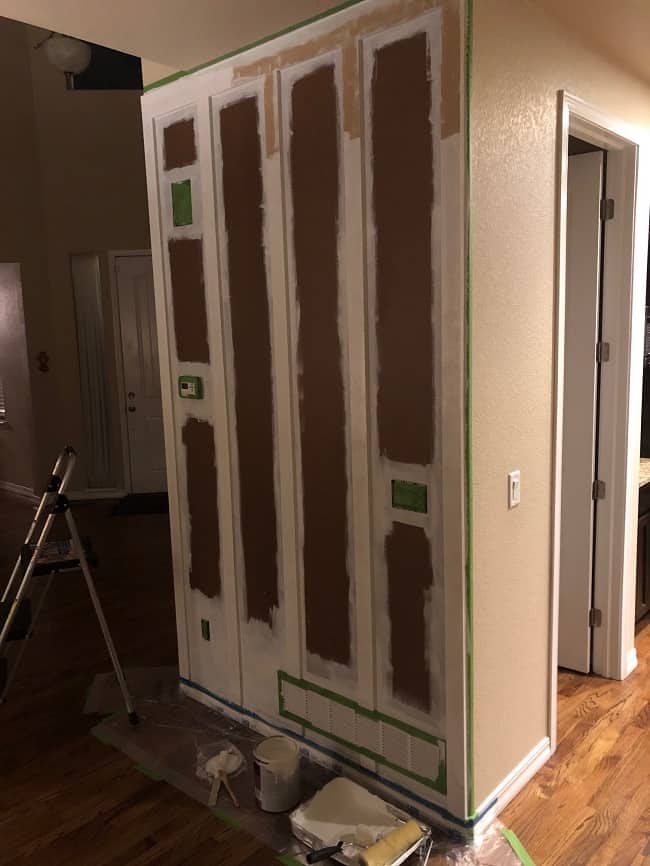
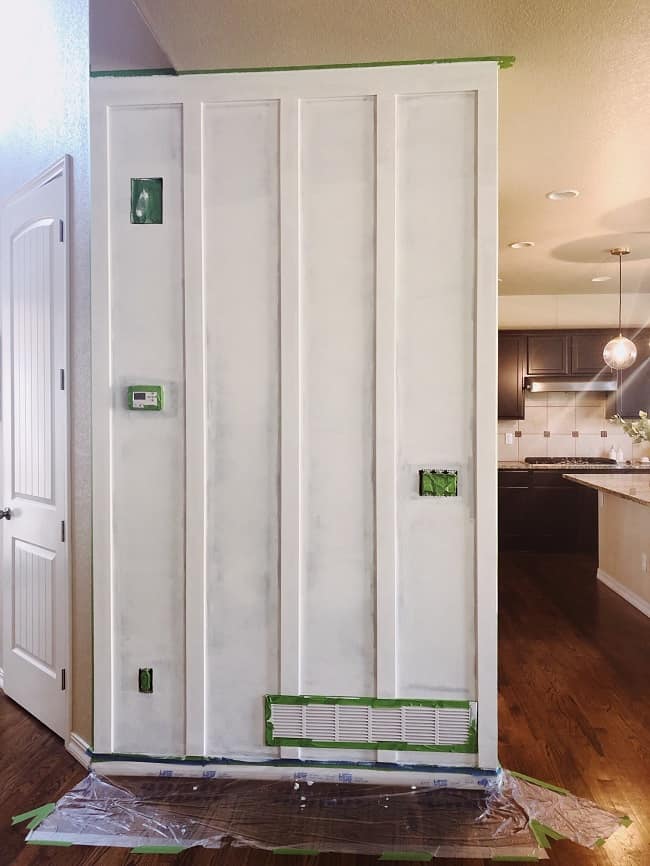
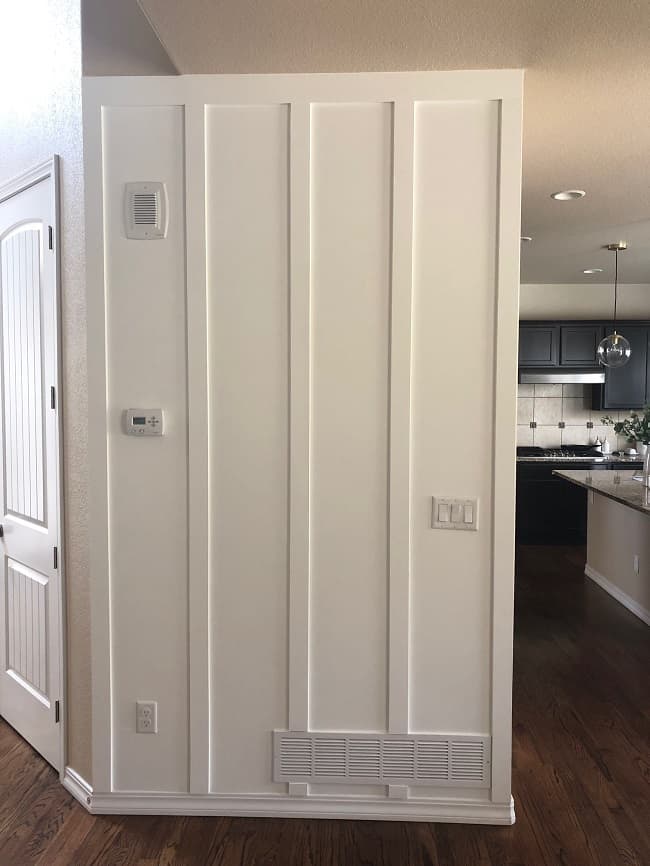
“Chantilly Lace” by Benjamin Moore is my favorite bright white paint color. If you are looking for a beautiful crisp white that doesn’t have warm undertones, this white paint is for you!
Step 9: Final Touch UPs and YOur DIY Vertical Paneled Accent Wall Is Done!
After doing two coats of paint, we touched up any parts that still needed extra coverage and re-attached all the outlet and vent covers. And after that, the wall is done! Yay!!
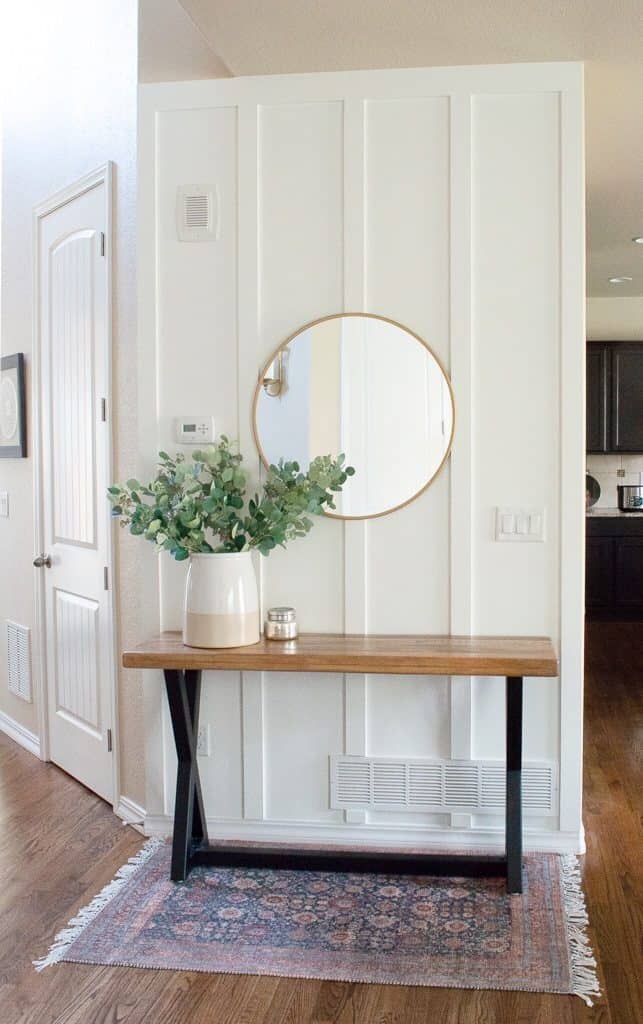
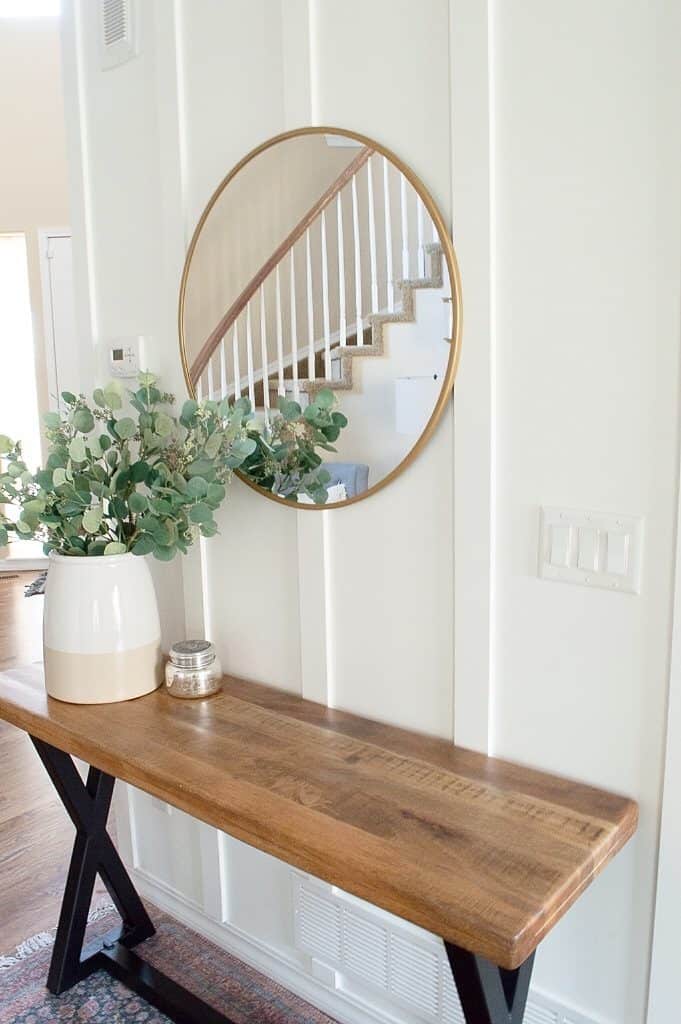
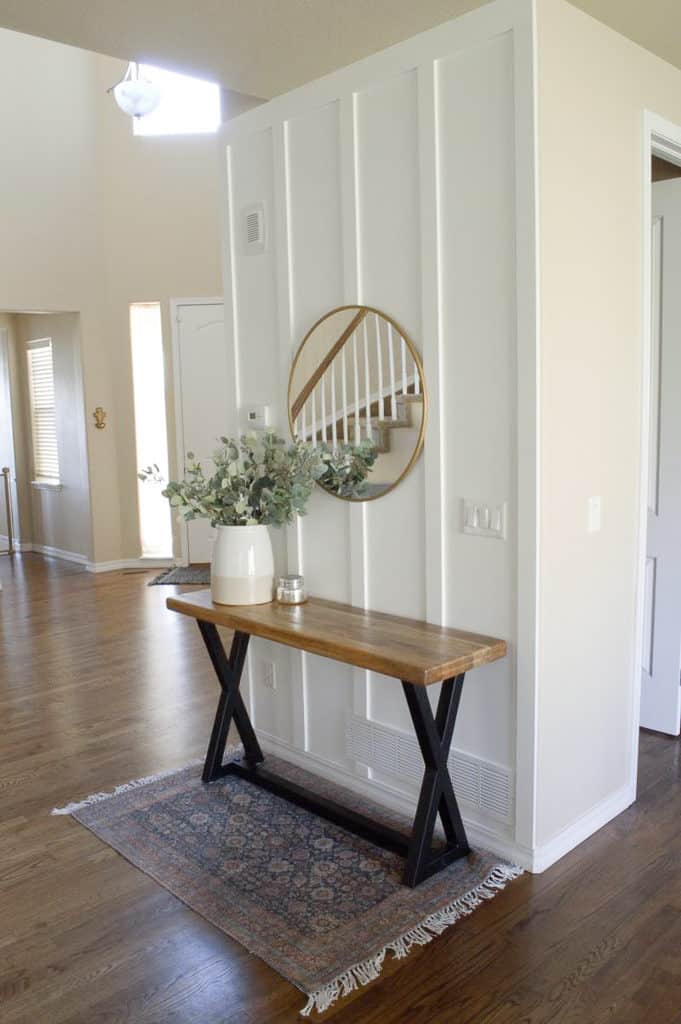
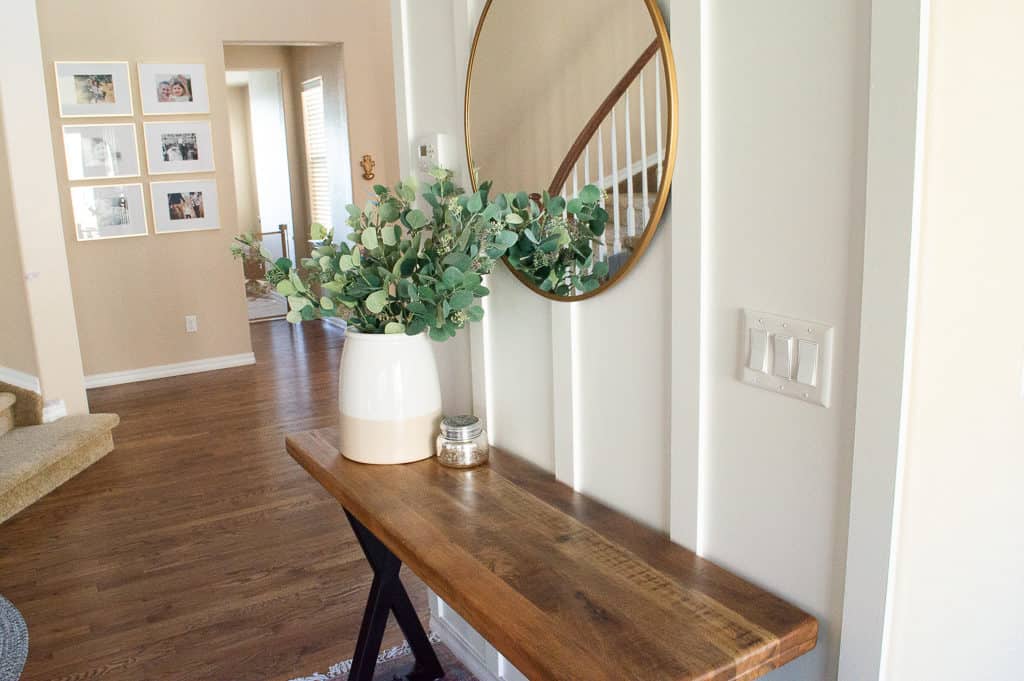
We are so happy with the final result and glad that we went with this design. Doing a DIY Vertical Paneled Accent Wall is so affordable and easy to do. The white paint really made our entry wall pop and the panels gave the wall extra character and interest.
Bye-bye plain Jane beige wall! 🙂
Tip for painting a straight line on textured walls
And one thing we learned that has helped us so much on our journey of doing DIY accent walls, is the straight-line paint trick!
If you have textured walls like we do, curved/rounded edges, or just want a crisp straight line…..you have to check out this YOUTUBE video by the Idaho Painters.
It has saved us from many headaches and fights! No more annoying frustration when painting straight lines. You can thank me later 🙂
