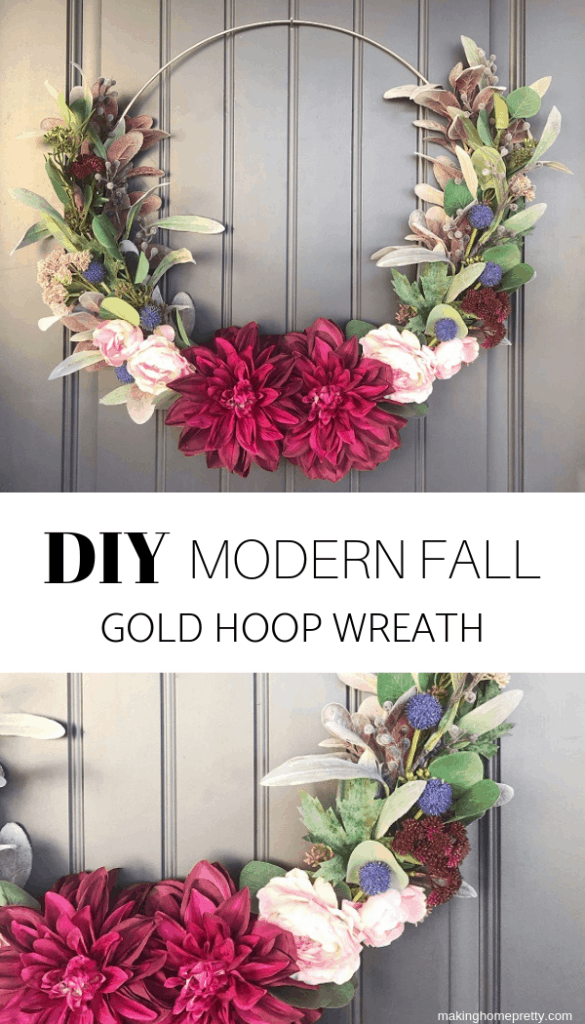
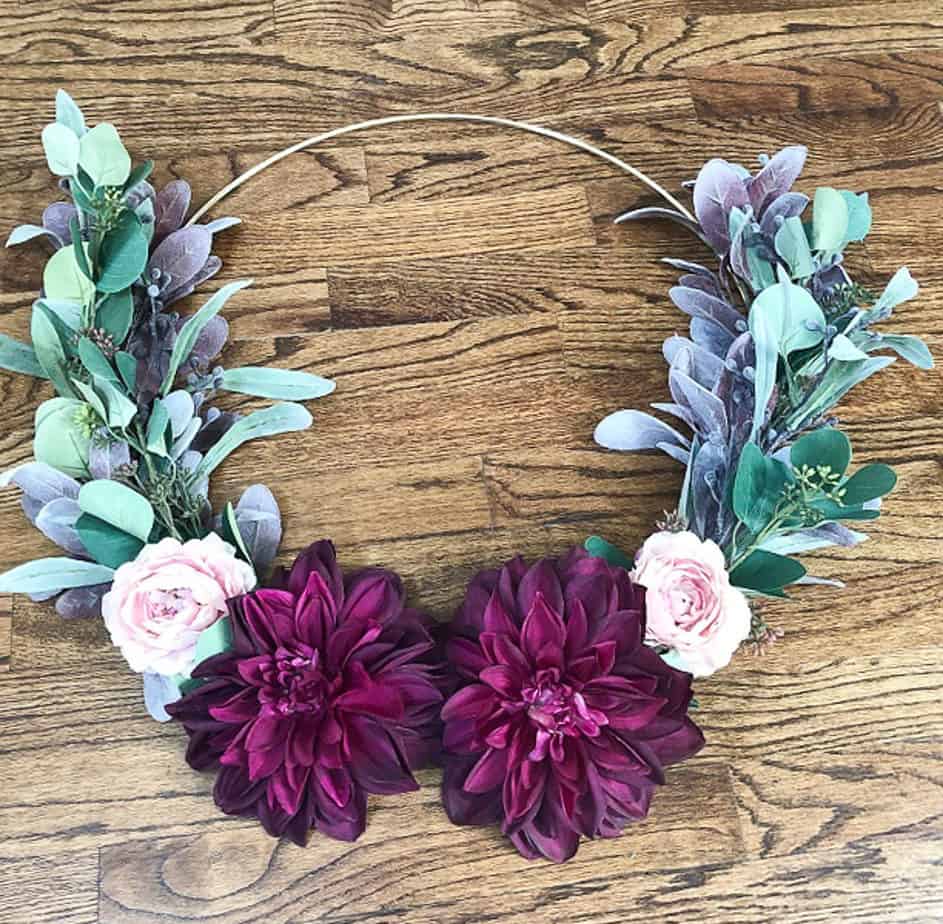
Fall is around the corner! And I have created an easy and modern fall wreath using plum and blush tones and my favorite gold Ring wreath. Check out my step-by-step DIY tutorial below.
This post contains affiliate links. You can read my disclosures policy here.
Fall is my favorite time of year and technically doesn’t start until September 23rd this year. But to be honest, once the Pumpkin Spice Lattes at Starbucks come out, it’s basically fall. Am I right??
Even though it’s a little early, I couldn’t help but create a transitional summer to fall wreath. I decided to do a fall gold ring wreath using modern plum and blush tones, which I totally love!
If you aren’t into the traditional orange and yellow tones or maybe you want to try a different color palette this year….using purple, plum and pink tones is a great alternative to try!
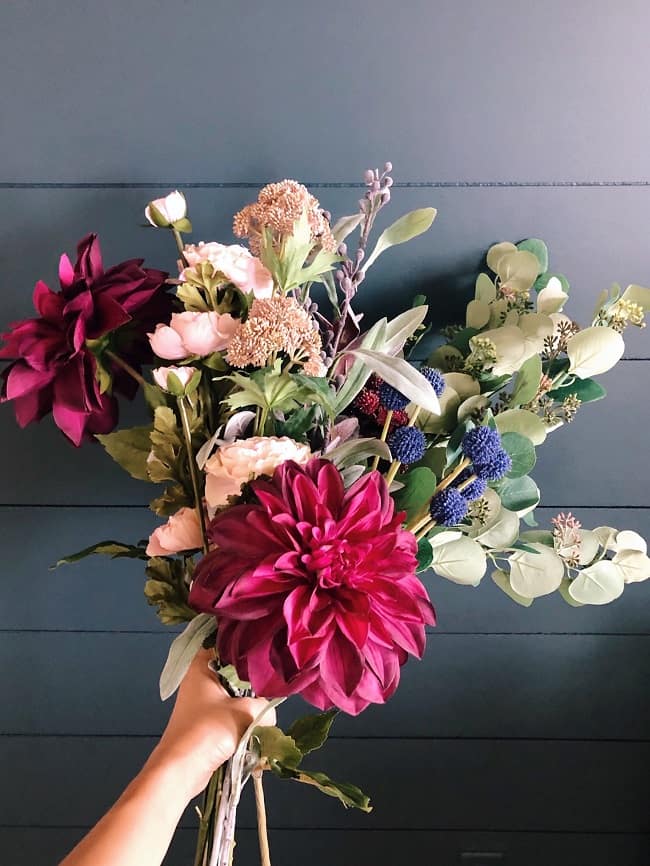
Hobby Lobby is my go-to place to shop for faux florals for my wreaths. They usually have a 50% off sale every other week on their faux greenery and florals and a 40% off sale on their fall stems.
I highly recommend going there to purchase your faux stems and florals for DIY projects!
DIY Modern Fall Gold Ring Wreath Tutorial
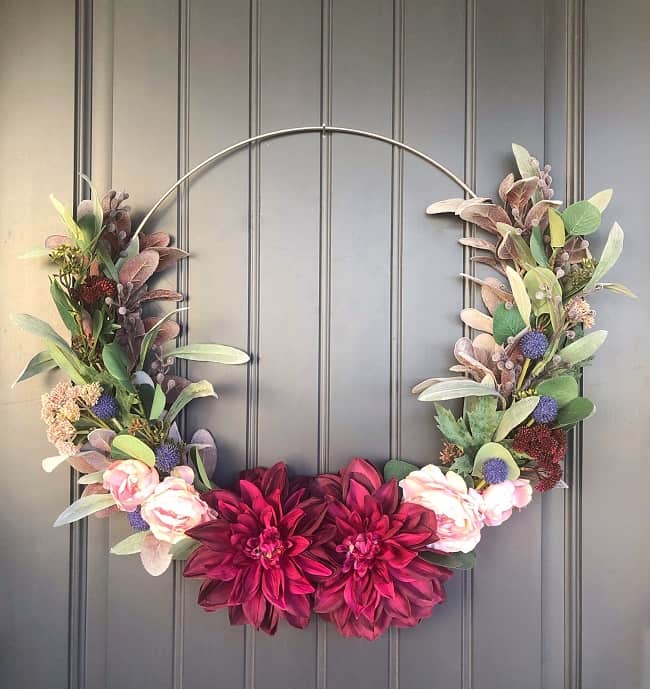
Check out my easy step-by-step tutorial below if you are wanting to create this plum toned fall wreath for your home!
Below I have a listed and linked the materials and tools I used for this wreath:
Materials Needed
- 19″ Gold Ring Wreath
- 2 Seeded Eucalyptus Stems
- 2 Purple Flocked Mimosa Spray Stems
- 2 Burgundy Lambs Ear Stems
- 1 Eggplant Berry Stem
- 1 Blush Berry Stem
- 1 Blue Billy Button Stem
- 2 Pink Rose Stems
- 2 Plum Dahlia Stems
Tools Needed
- Floral Wire
- Hot Glue Gun
- Wire Cutters
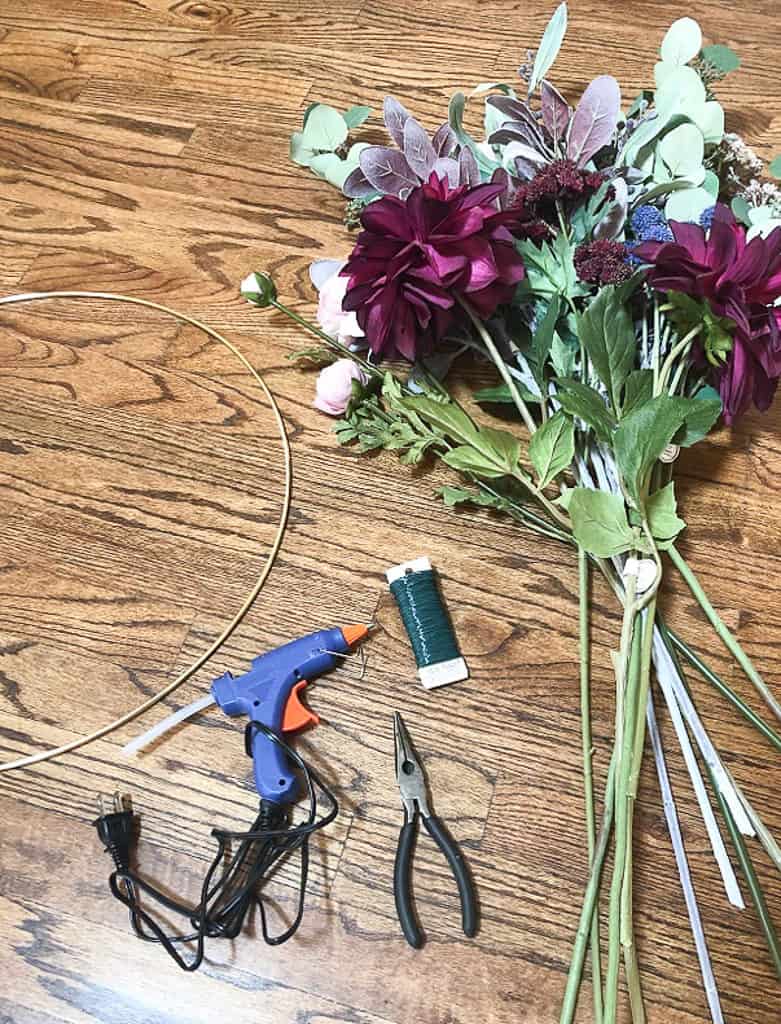
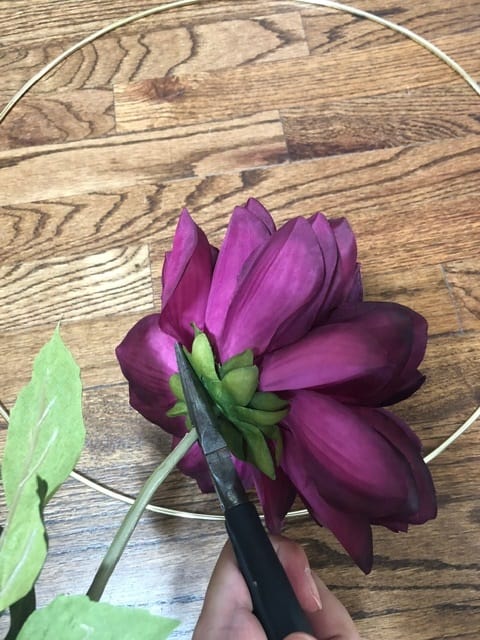
Step 1: Trim Stems and Flowers
To get started, you will first need to trim your stems and florals to the length you want for your wreath. Using a good pair of wire cutters will make cutting through the faux stems quick and easy!
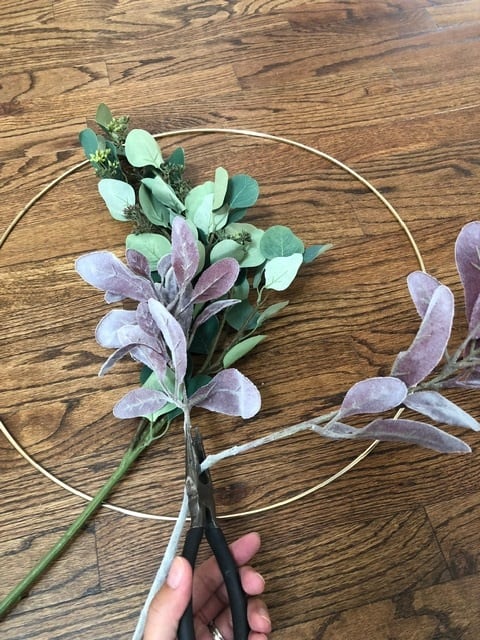
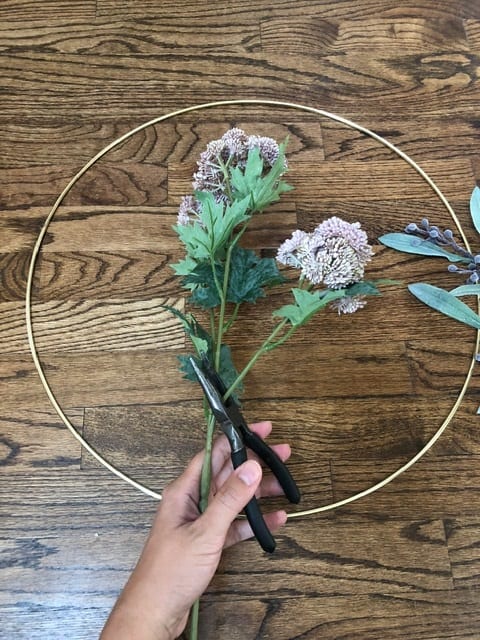
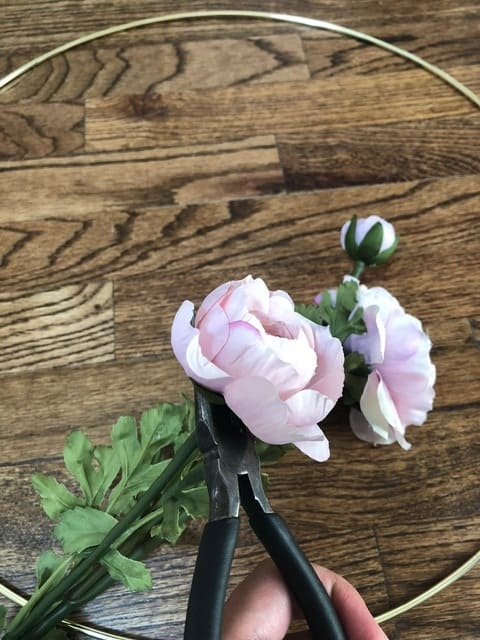
Step 2: Attach Greenery to Gold Ring
Yay! It’s time to start building the wreath!
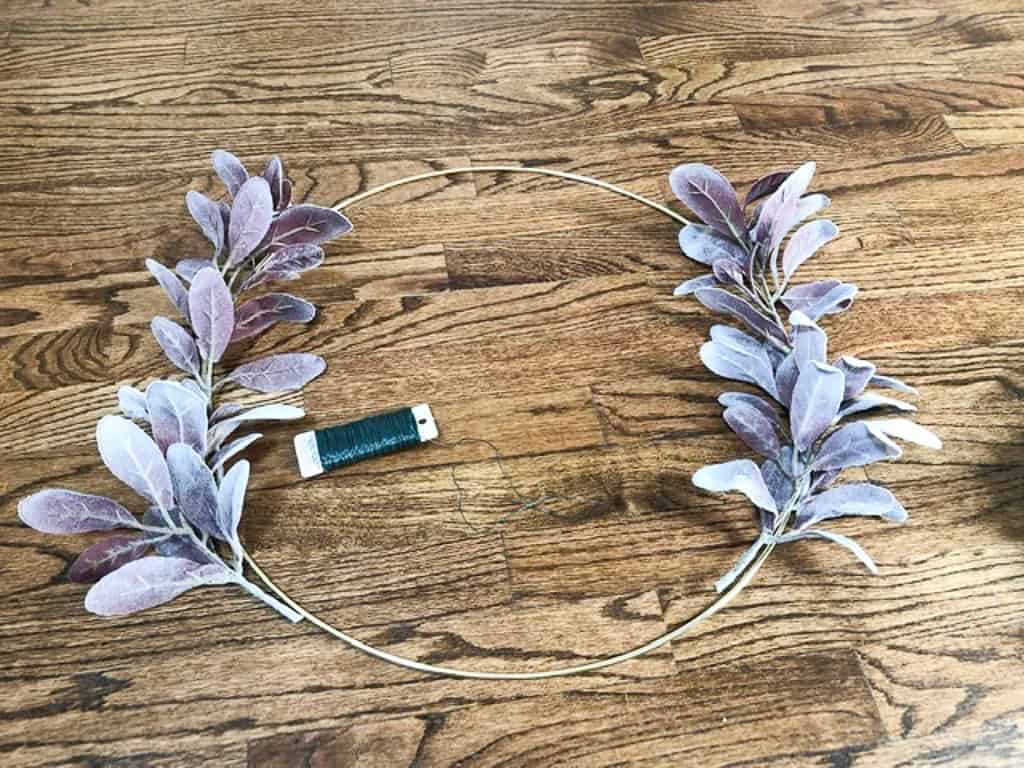
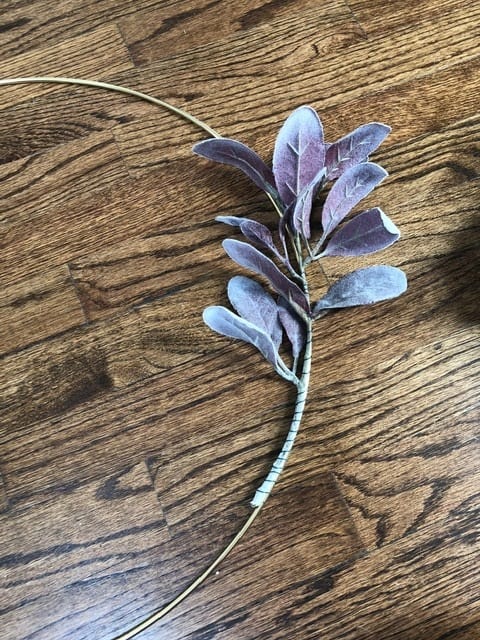
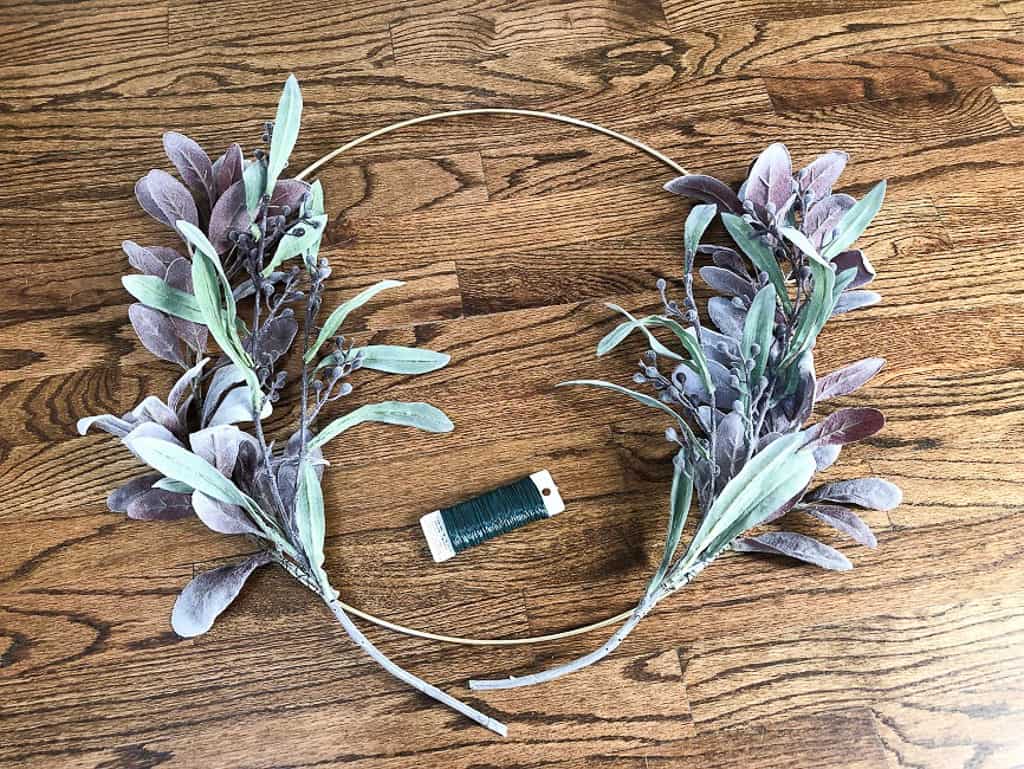
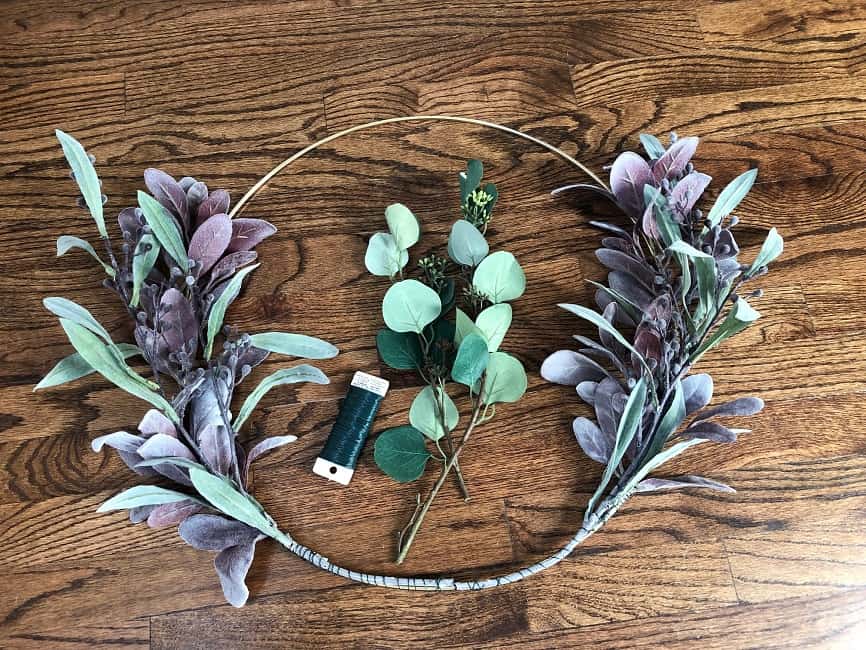
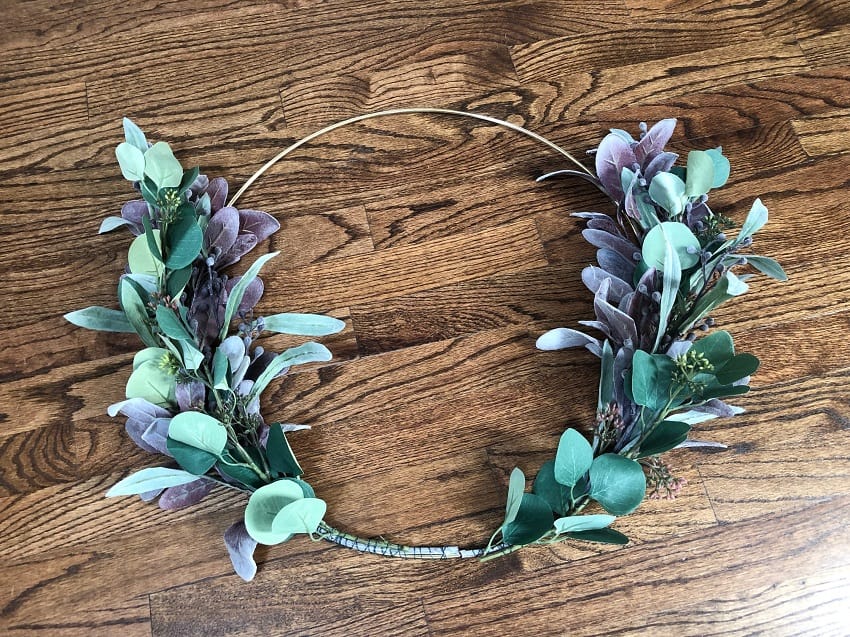
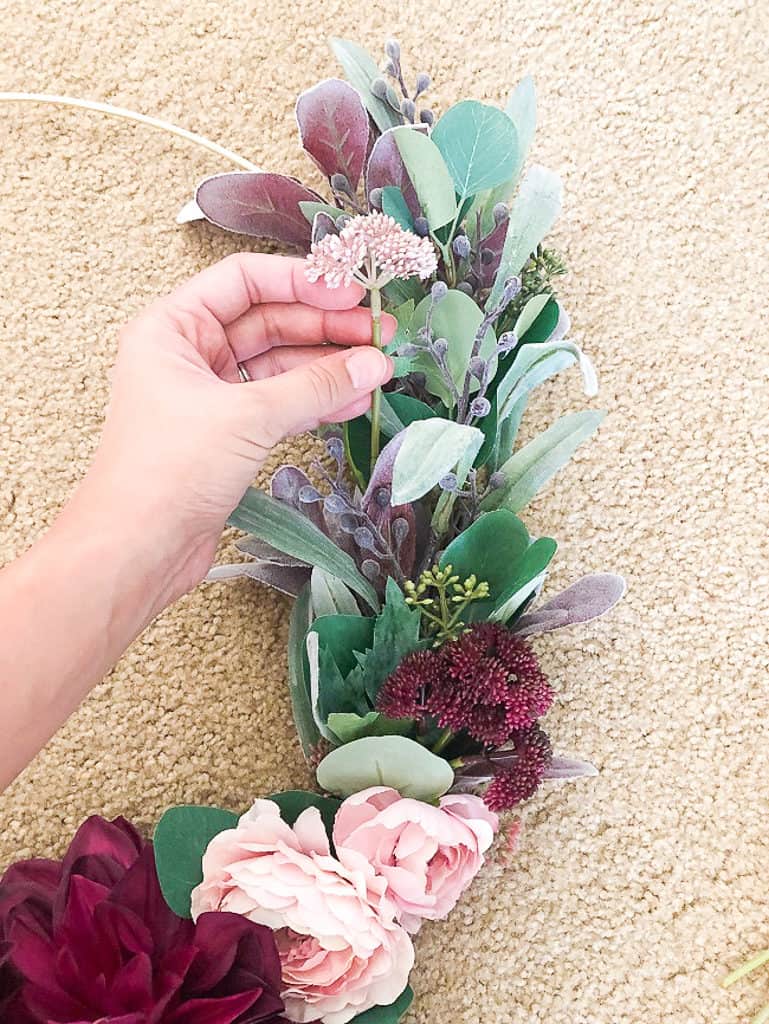
I first started by figuring out the exact placement for the first layer of greenery (purple lambs ear). I like to keep an open space at the top to show off the gold hoop and pre-measure the overall length/look before securing anything down.
Step 3: Hot glue Center Flowers
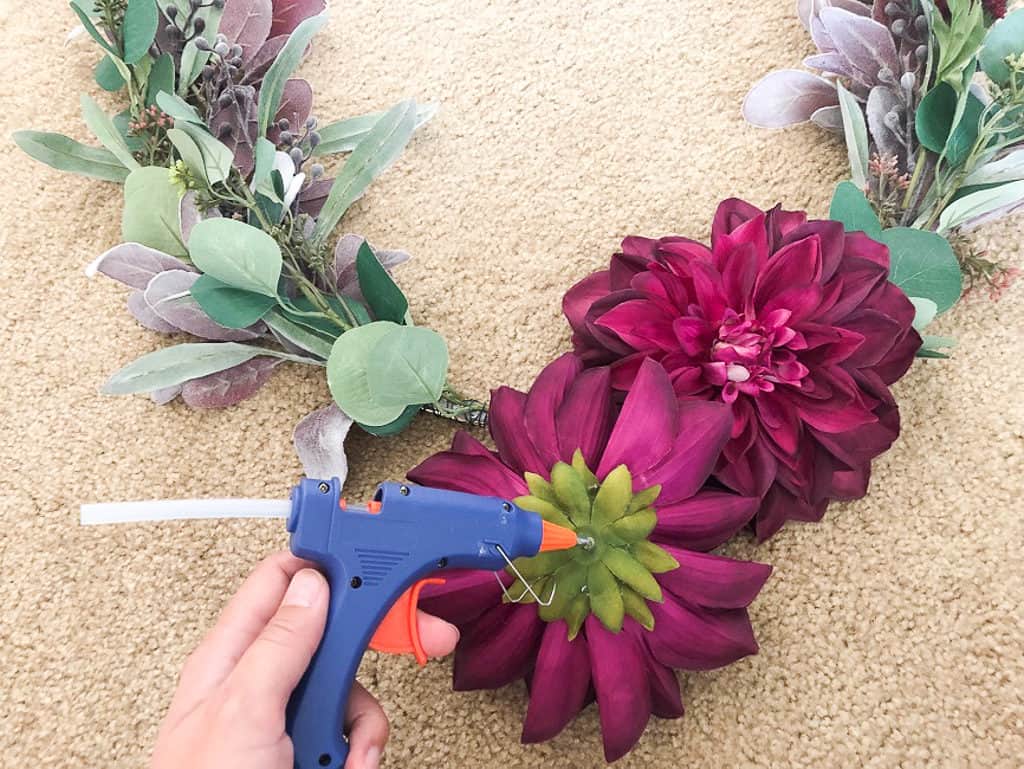
After all the greenery is attached, it is time to attach the flowers!
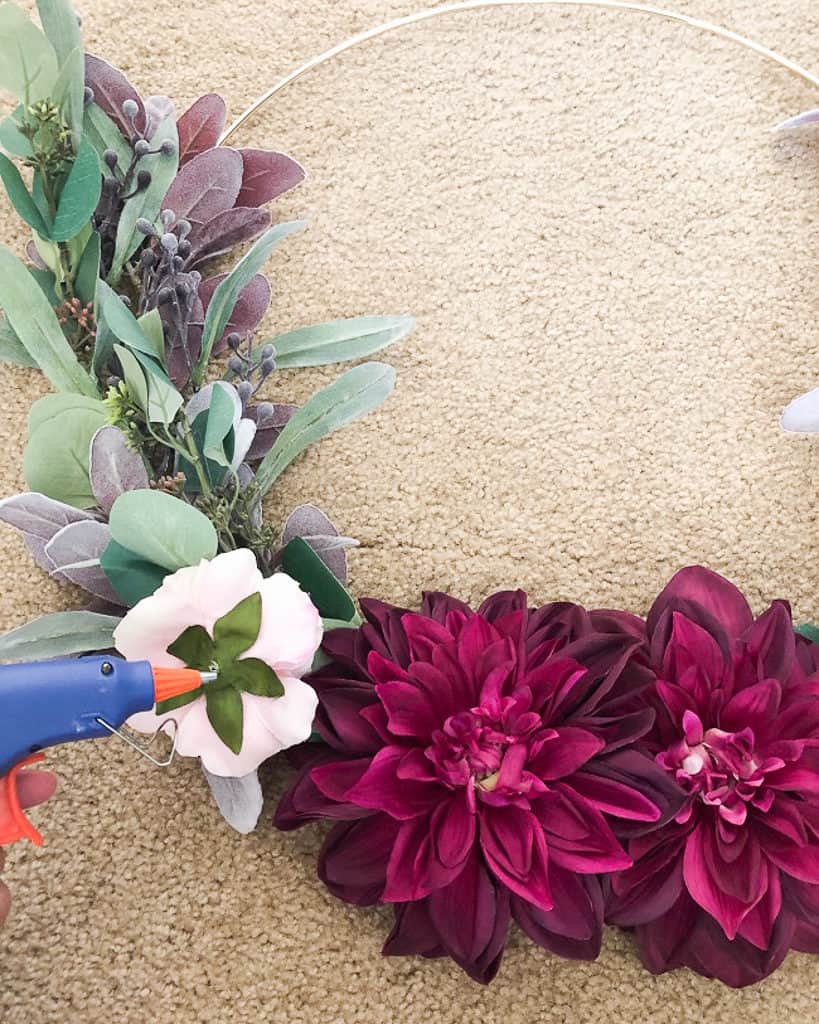
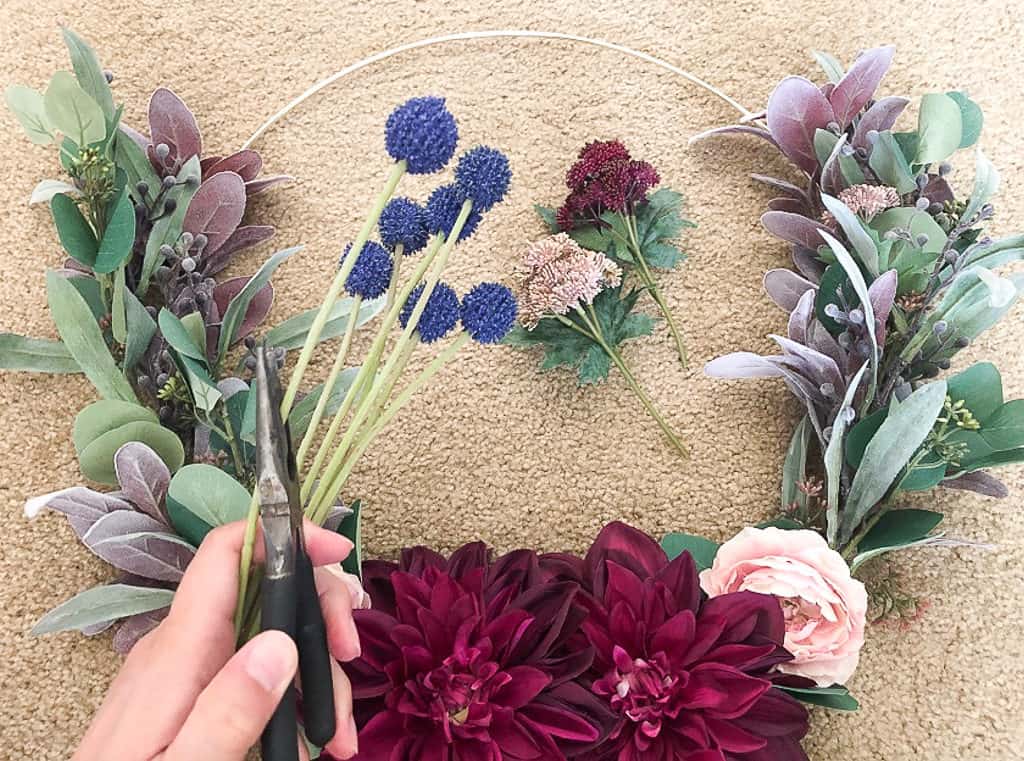
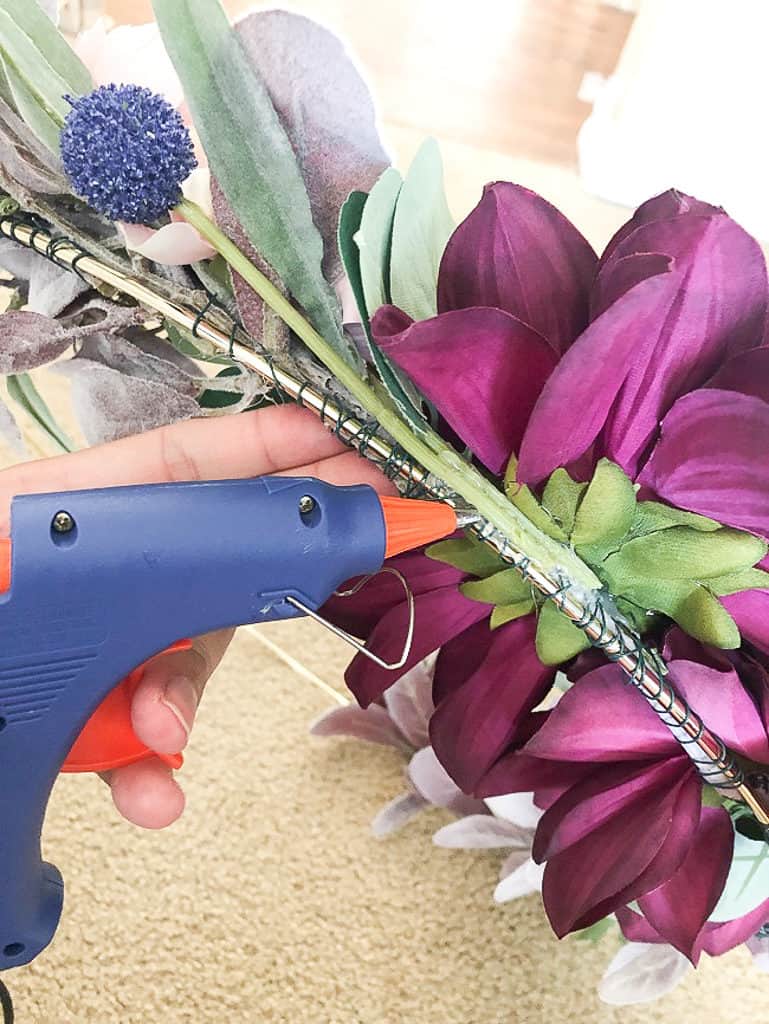
You could also remove all of the stems and glue down the blue button balls directly on top of the wreath. Do whatever you find easiest for you!
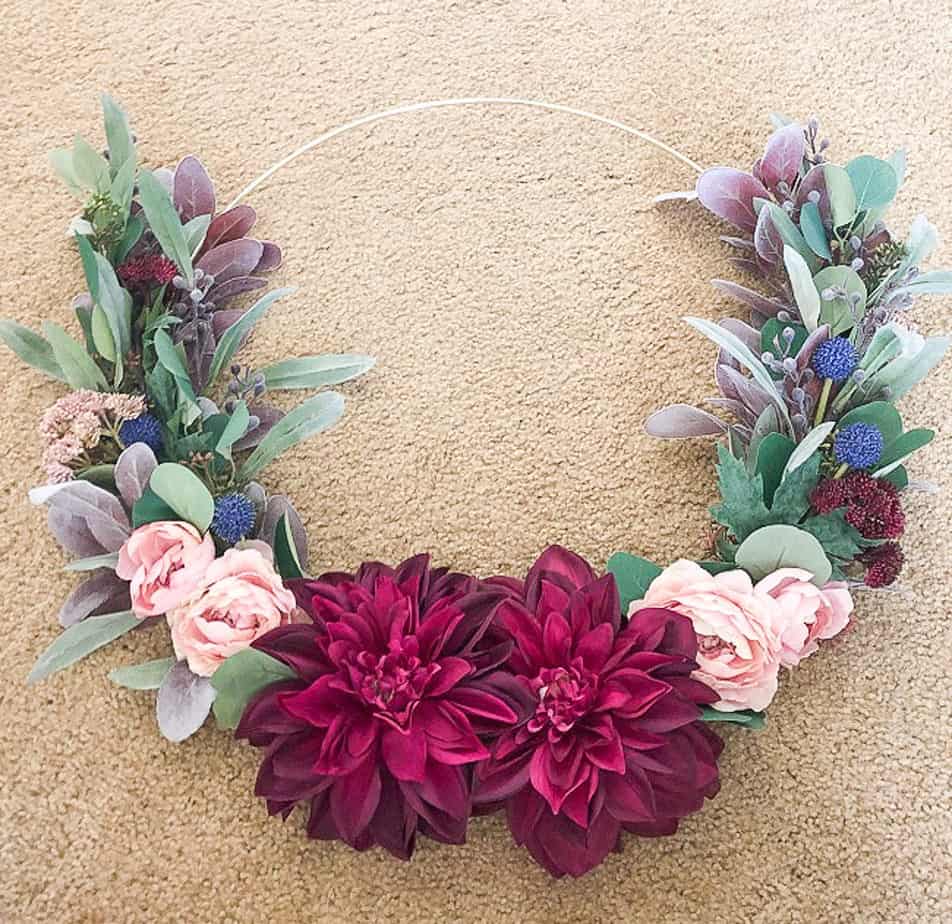
Your Modern Fall Gold Ring Wreath is Done!
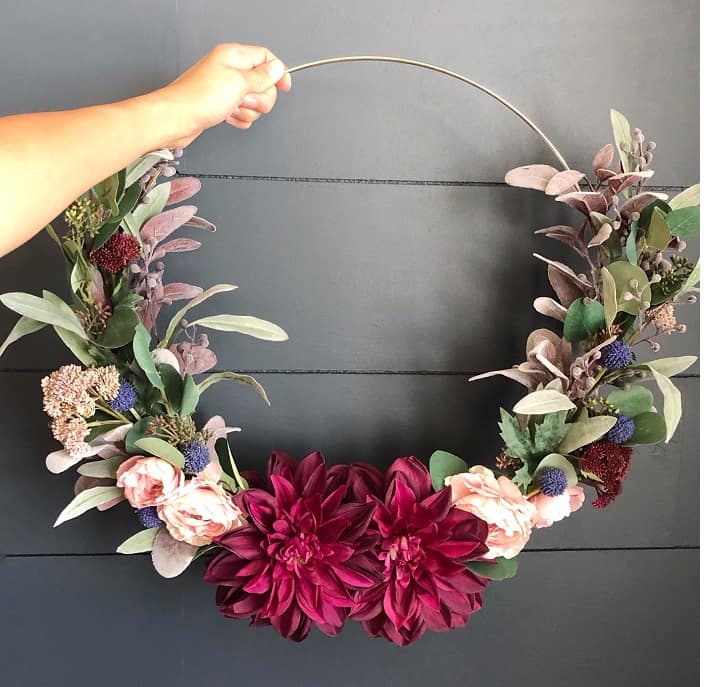
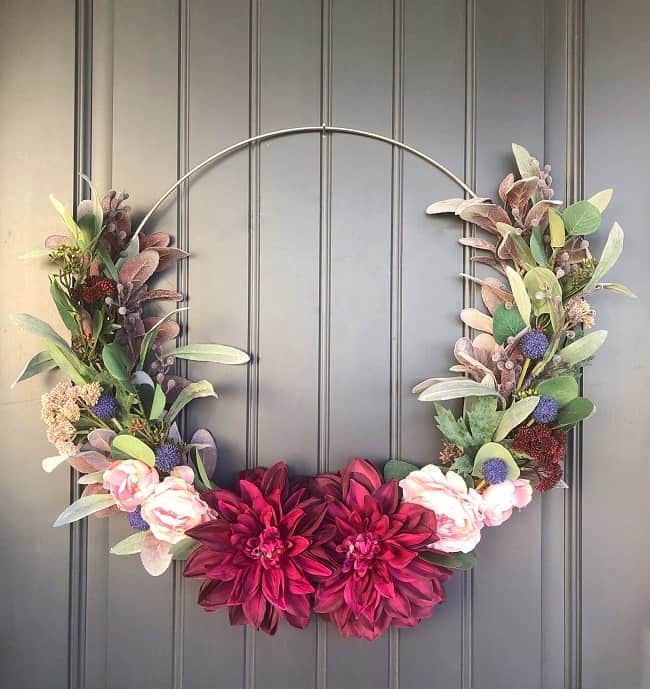
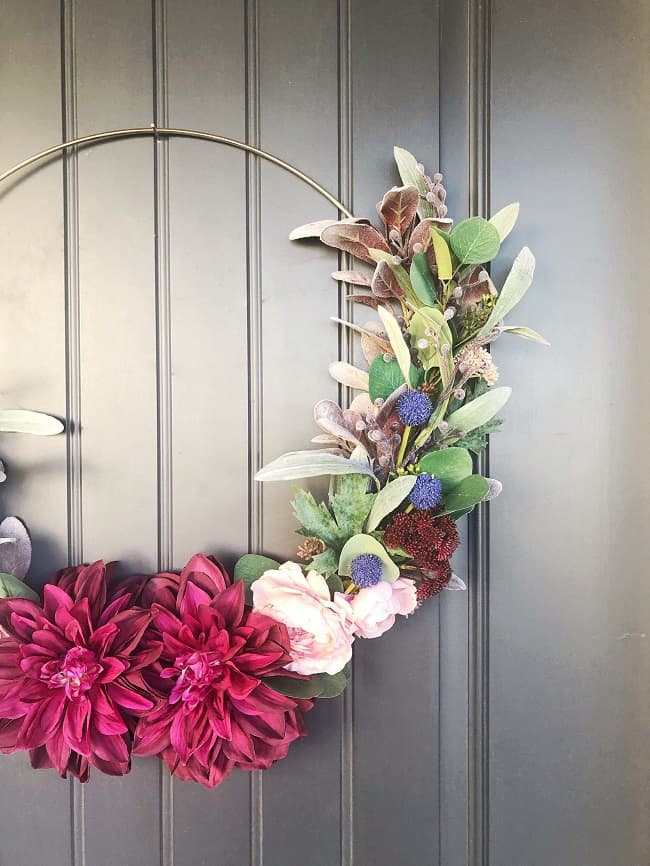
Thank you for checking out my DIY Fall Wreath!
I hope you were able to get some inspiration to create your own modern fall gold ring wreath too! It’s so easy and fun to do. I have two little ones at home and pregnant with my third and was able to finish this wreath in an hour during my daughter’s nap. (woohoo)!
If you want to check out another DIY wreath tutorial, you can check out my DIY Modern Summer Gold Ring Wreath.
Let me know if you decided to make this wreath! You can post and tag me on my Instagram @makinghomepretty and share it with me. I would love to see your modern fall wreath creations too!
I hope you all have a wonderful fall season!
