Making your own DIY fall garland for the home is a fun craft that you can do by yourself or with your kids during the fall season. Come check out my step-by-step tutorial for this quick and easy DIY fall craft below!
This blog post contains affiliate links. You can read my disclosures policy here.
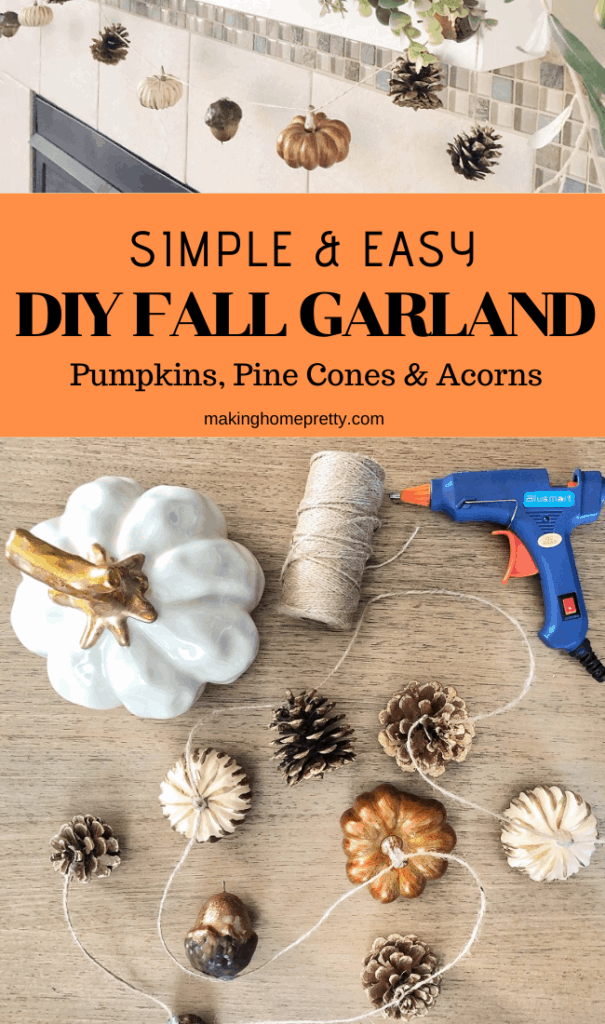
The holiday season always gets me in a creative mood and excited to create festive decor pieces for the home. So this fall season, I decided to create an easy DIY fall garland for my fireplace mantel! I kept it simple by using only a few items (twine, pumpkins, pine cones, and acorns) and all from Hobby Lobby for 50% off!
My fireplace mantel is one of my favorite spots to decorate during Christmas, but this year I was like, why not fall too? I wanted to create something that was simple in design and that would work well from September through Thanksgiving.
As a mom of two toddlers and a baby, I always try to think of home decor crafts that are quick and that require minimal thought (ha-ha because hellooo mom brain).
I have a newborn and many sleepless nights so I am all for easy and veryyyyy uncomplicated!
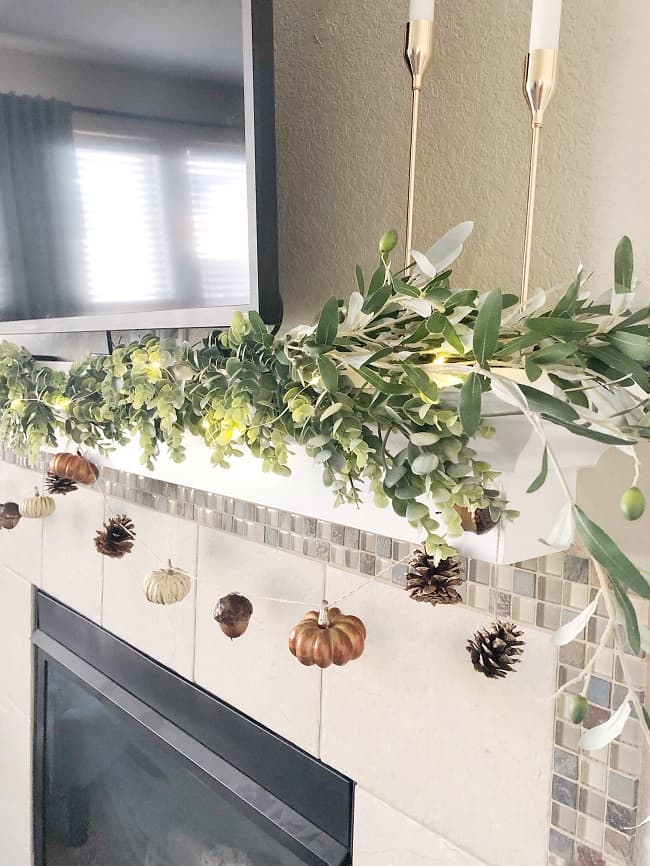
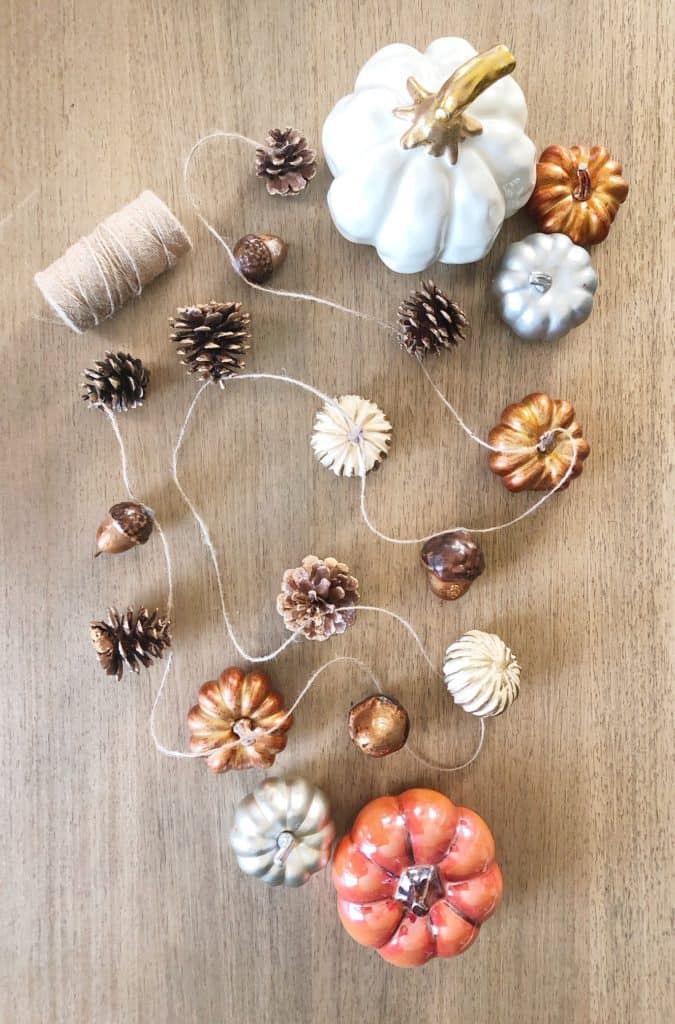
This DIY fall garland only took me 20 minutes or less to make and required very few tools to put it together. As you may know, Hobby Lobby is my best friend and go-to spot for DIY projects. They also seem to always have some sort of sale going on, making this a very affordable little craft project.
DIY Fall Garland Tutorial
So if you are like me and enjoy quick, easy and cheap home decor crafts like this DIY fall garland, come check out my step-by-step tutorial below!
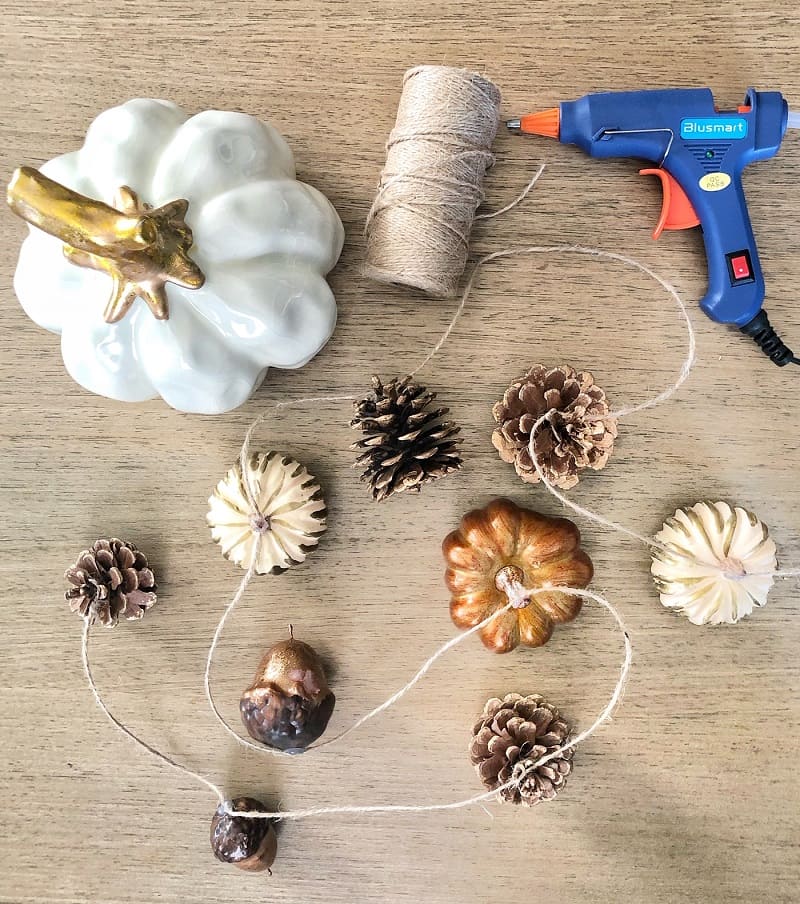
Materials & Supplies Needed
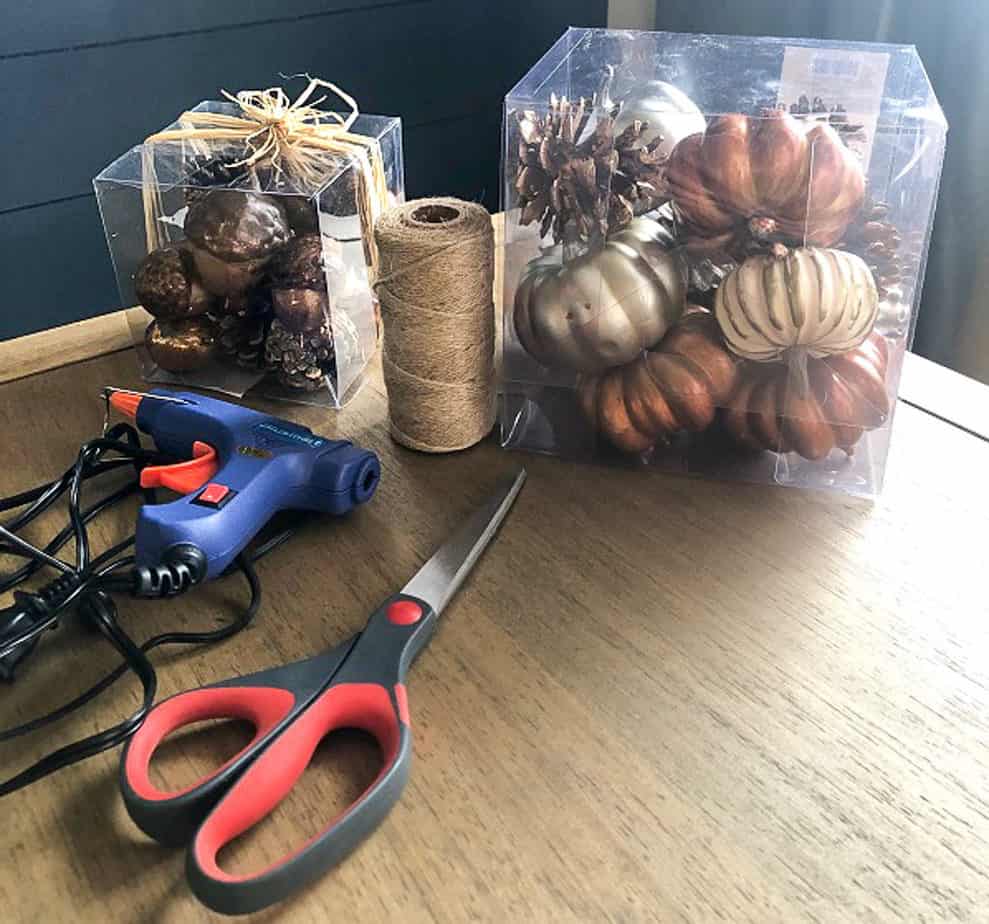
- Jute Twine
- 1 Box of Pumpkins
- 1 Box Mix of Acorns and Pine Cones
- Hot Glue Gun
- Scissors
Each box of pumpkins, acorns & pine cones cost under $5 each and the twine cost around $3. I already owned the glue gun and scissors, so I didn’t have to spend money on those items. The total garland cost me under $15 to make!
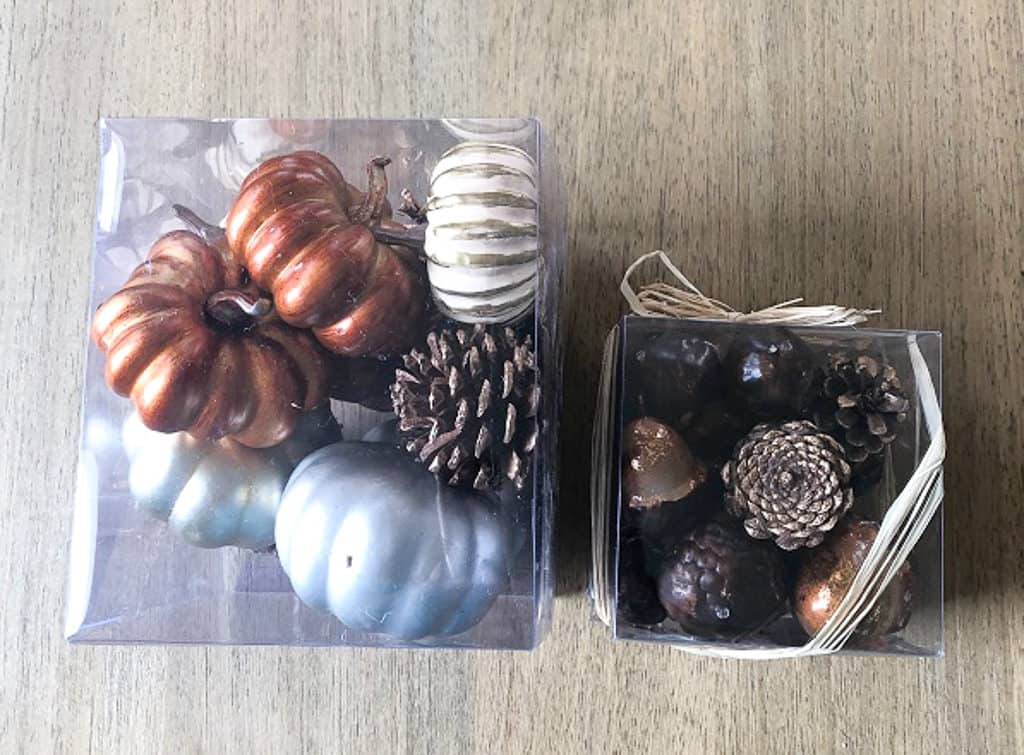
Step 1: Measure and Cut Your Garland Length
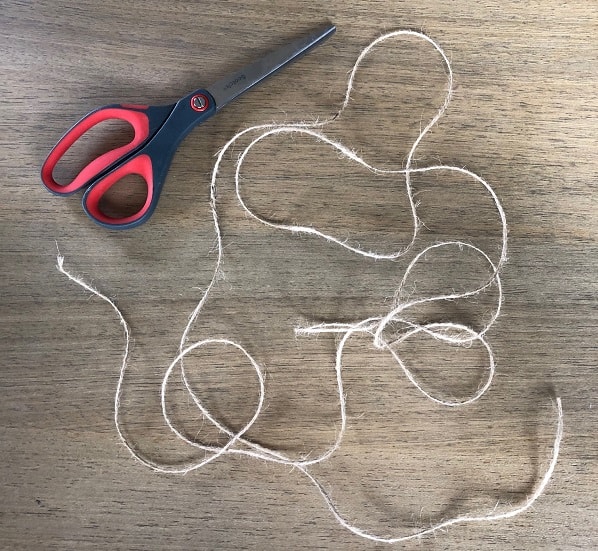
When measuring out the length, I held up the twine to my fireplace mantel and hung it the way I planned the garland to hang. Once you have figured out the length you want, go ahead and cut it.
Step 2: Plan Your Pattern and Number of Pumpkins, Pinecones, and Acorns Needed
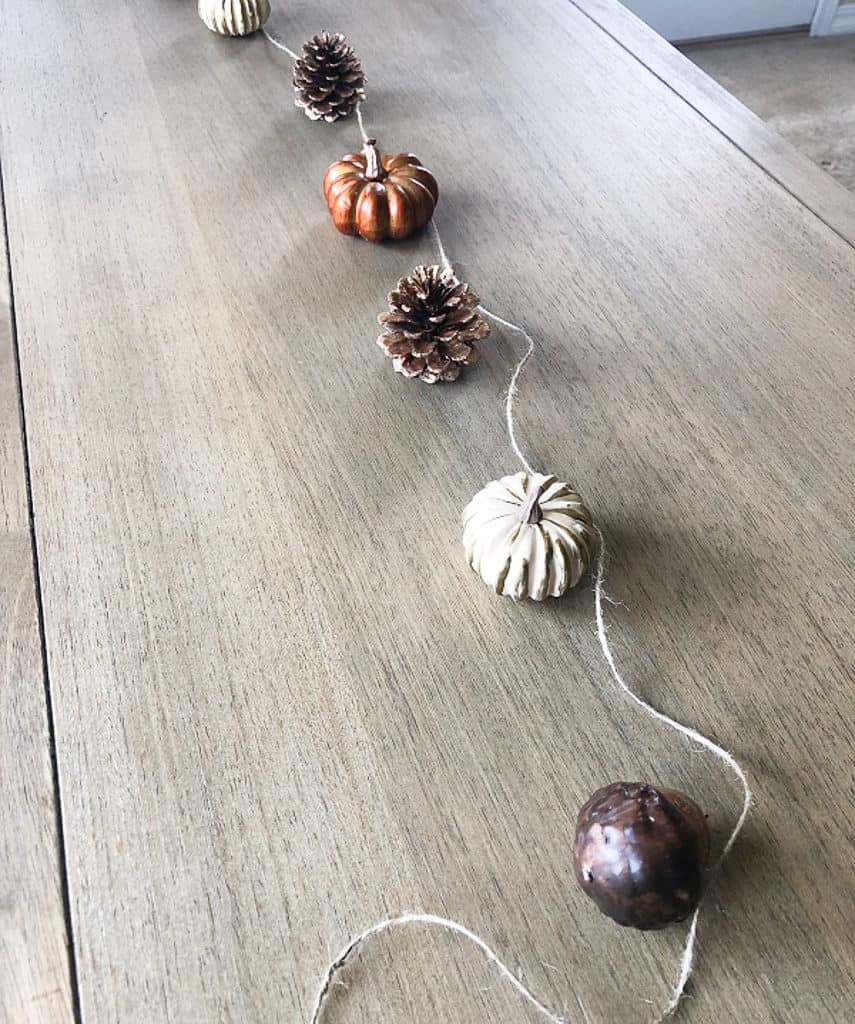
For my fall garland, I wanted to follow a pattern and played around with different ones. You can totally do whatever pattern you like. I decided to do a “pumpkin, acorn, pumpkin, pine cone” pattern for mine.
I also played around with the spacing in between each piece and kept about a 4-inch gap in between them. You can just eyeball it unless you want to take out a measuring tape and be super exact….but ain’t nobody got time for that!
Step 3: Tie and Hot Glue Pieces to The Twine
Here comes the fun part….putting the garland together! Just be careful when using that hot glue….we are gluing small pieces onto twine, so don’t burn your fingers, my friends!
Pine Cones:
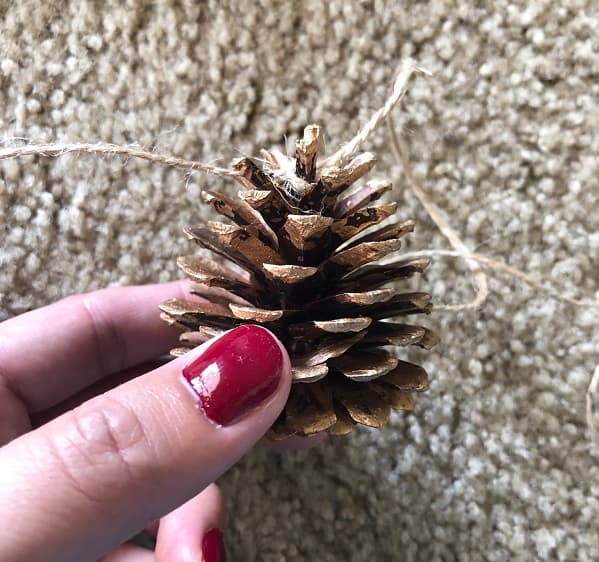
When I attached the pine cones, I tied the twine into a knot along the top of the cone. If you feel like your knot isn’t super secure, you can add hot glue to it too.
Pumpkins:
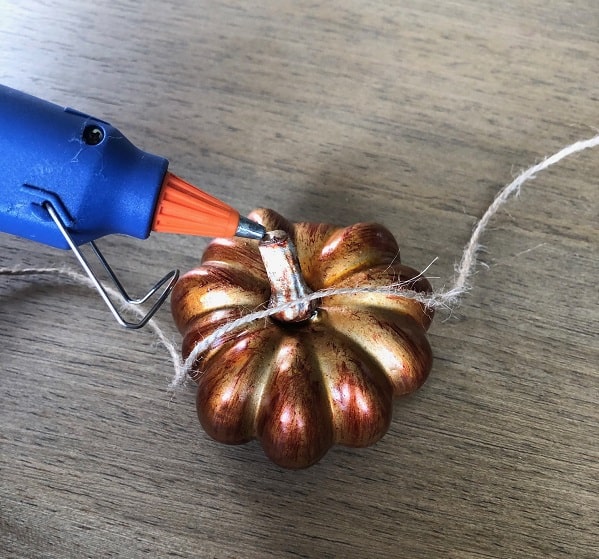
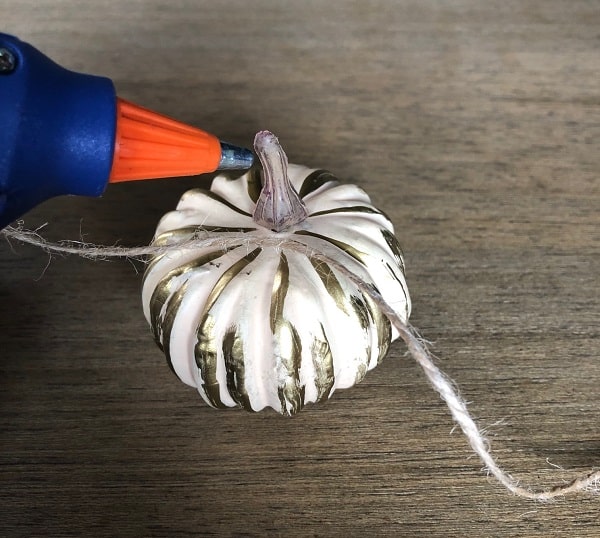
When attaching the pumpkins to the twine, I used my hot glue gun and hot glued the stem of the pumpkin onto the twine. You could probably also tie the twine to the stem of the pumpkins if you want extra security.
I honestly wasn’t sure if hot glue was enough, but it worked! All these pumpkins are made of foam and super lightweight.
Acorns:
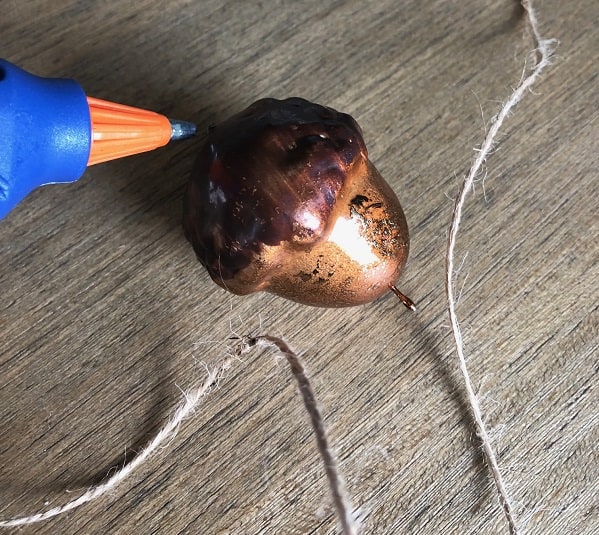
To attach the acorns, I hot glued the bottom side of the acorn to the twine. When attaching the twine to the hot glue, you need to attach it quickly and make sure you hold the twine in place until the glue cools down.
Step 4: Repeat steps until Your Fall Garland Is Done
Keep gluing your pumpkins, pine cones and acorns until all are applied to the twine. I ended up using 14 pieces (4 pumpkins, 6 pine cones, and 4 acorns) in total.
I also tied off a pine cone at each end of the garland to give it a finished look. After I completed all of this, my fall mantel garland was done! Yippie!
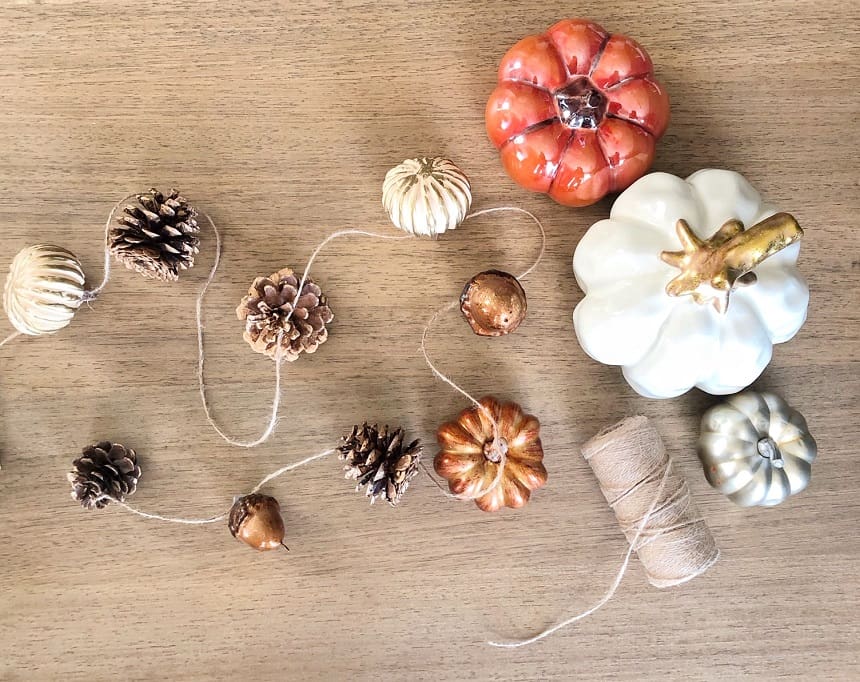
DIY Fall Garland Is Done!
And that’s it! I told you this fall garland is super easy and quick to do. It didn’t require many supplies or materials and took me literally under 20 minutes to do.
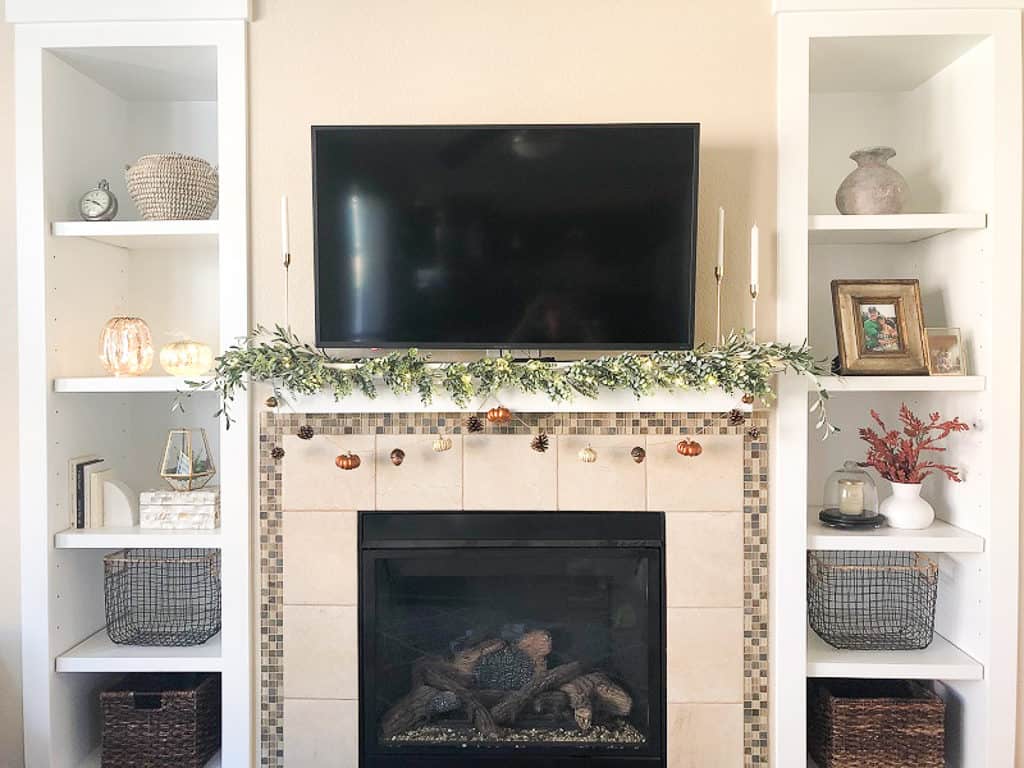
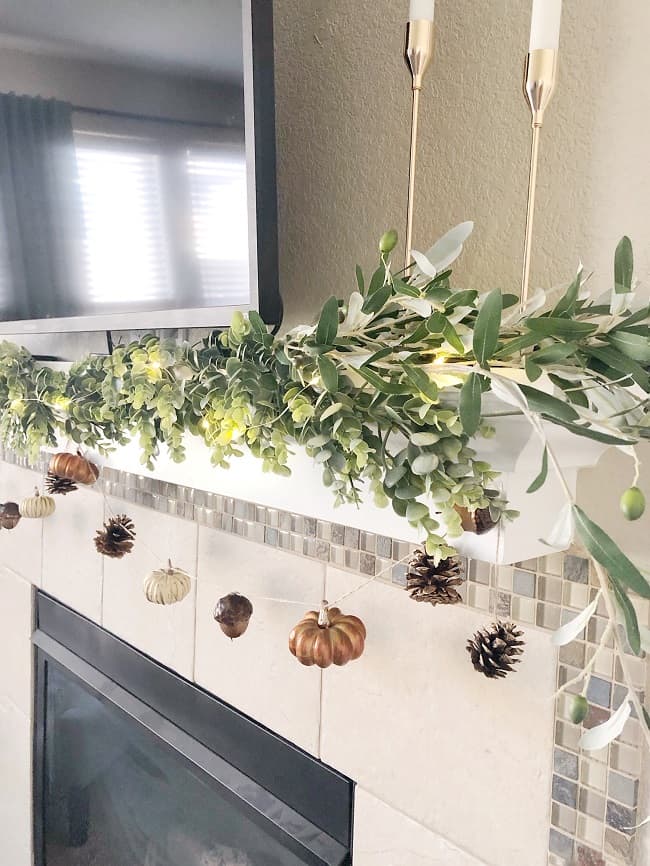
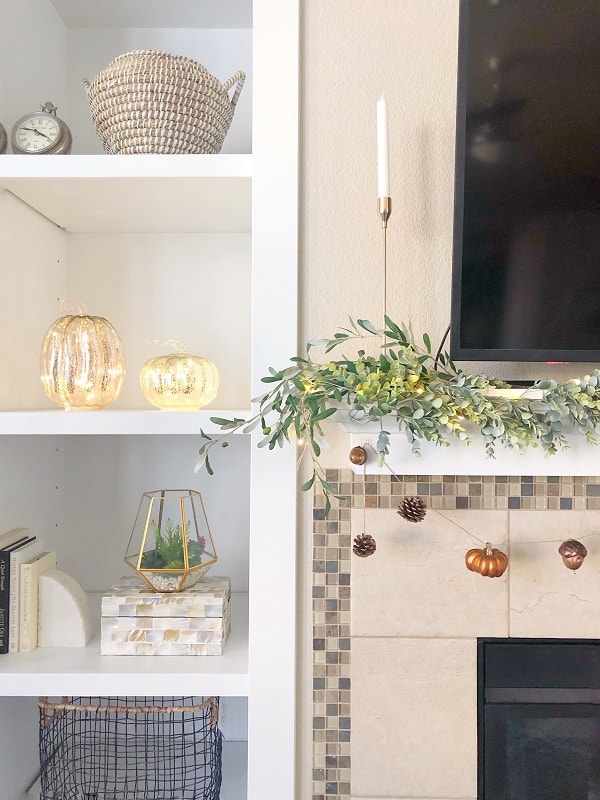
If you are wanting to make a quick DIY fall mantel garland or just a fall-themed garland to add to your home, this one is a great option. And with Hobby Lobby offering so many fall decor and craft options at 50% off, it makes it very affordable too.
DIY Fall Mantel Garland
Have a Great Crafty Fall Season
Thank you so much for following along with this DIY craft of mine! The fall season always gets me in a crafty mood and is the perfect time to do fun craft projects with friends or family.
If you want another great DIY decor idea, come check out the DIY Modern Fall Wreath that I did for my front door or my simple DIY Wood Bead Garland. Have a great day!
