If you are looking to add a simple and affordable board and batten to your home, check out my easy tutorial below!
This post contains affiliate links. You can review my disclosures policy here.
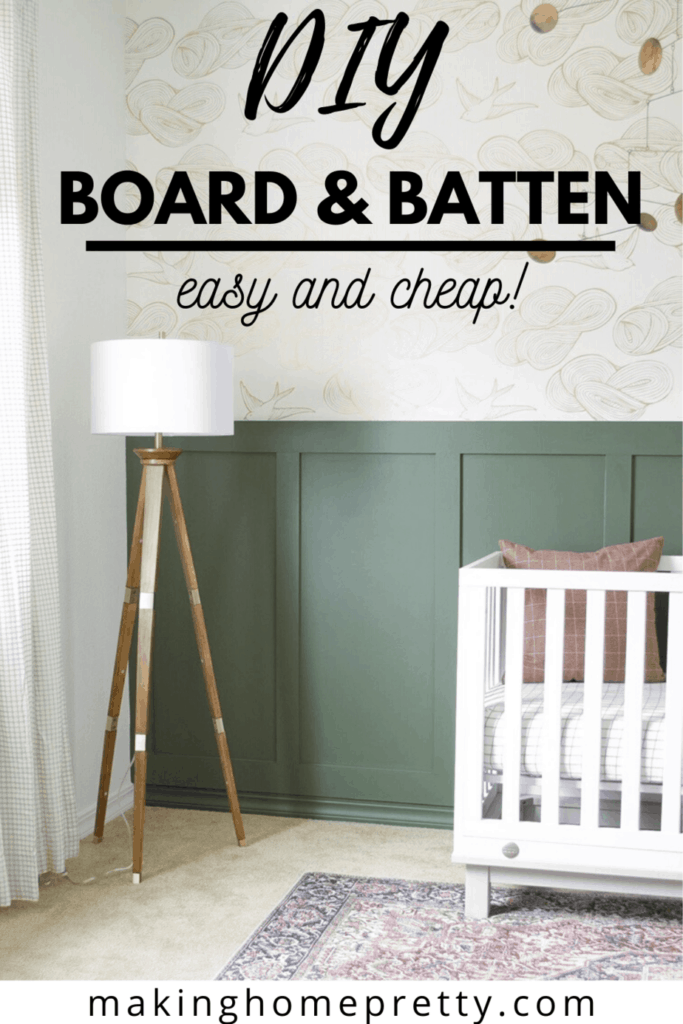
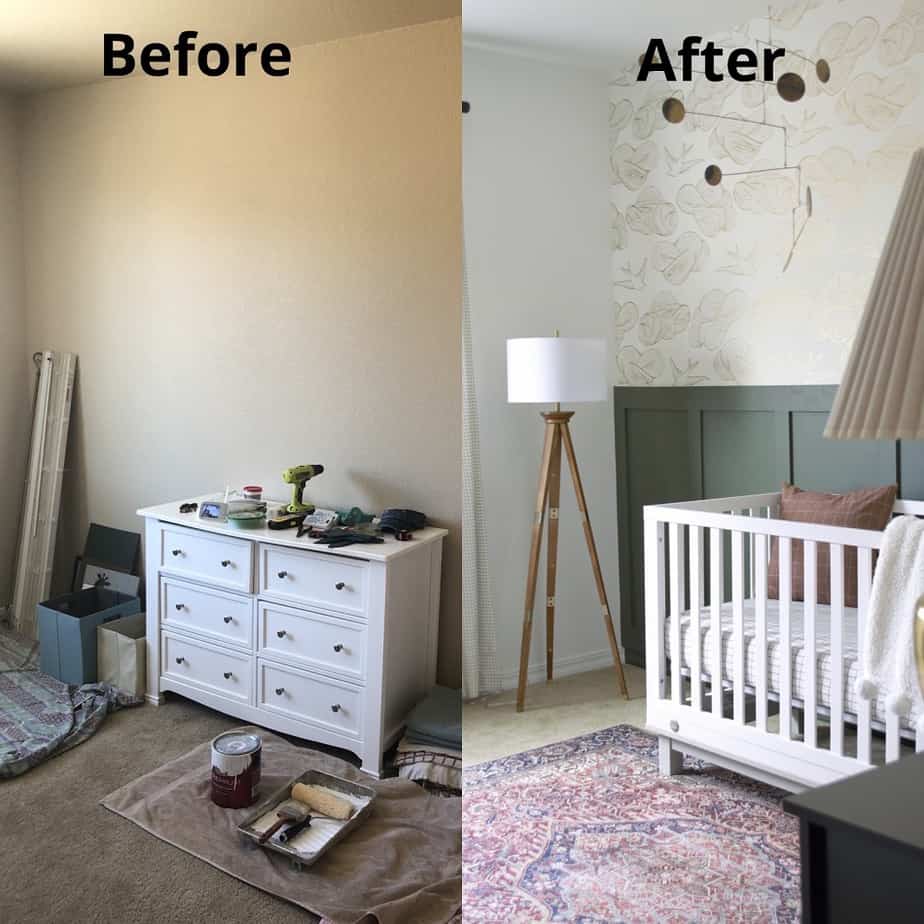
One of the first things we did in my son’s nursery was installing this DIY Board and Batten wall. And let me tell you….it was the best. decision. ever. And installing wallpaper above the board and batten took it to a whole other level. It has literally transformed his room and is absolutely gorgeous!
And the coolest thing about it all is that you can do it for cheap ($100) and you don’t have to be a pro to do it! My husband and I are just regular people with little kids at home with a small home renovation budget. If you have the right tools at home, this project is totally achievable!
What is Board and Batten?
Board and batten is basically putting boards up on your wall and installing MDF strips on top of it. You can pick whatever pattern or style you want and customize it to your wall. And let me tell you, it definitely has not gone out of style! So many homeowners DIY this because it’s an easy way to add character and elevate a space in your home for cheap.
Can You do Board And Batten On Textured Walls?
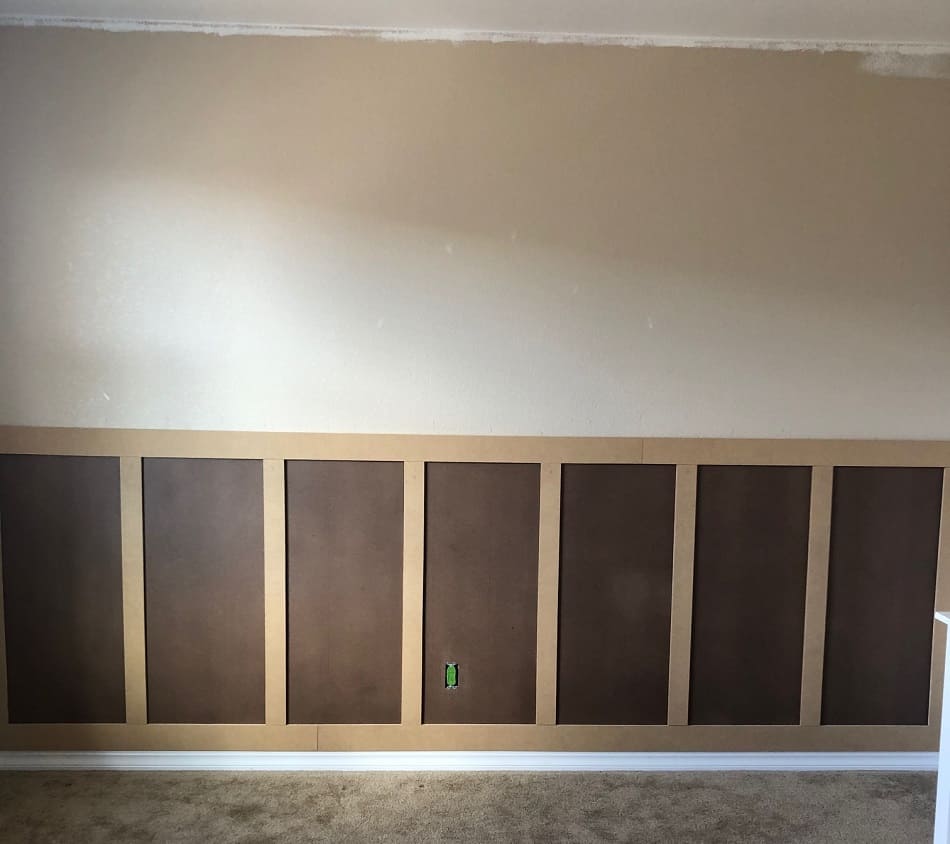
We have textured walls (orange peel) and haven’t had any issues with installing board and batten. I personally dislike the look of our textured walls and love covering them up! haha. If you want to save even more money and don’t mind the look of your textured walls, you can put MDF strips directly on top without the boards. It really depends on your preference. But I personally think it looks more professional and pretty with a smooth wall.
Okay enough talk, let’s make a board and batten wall!
DIY Board and Batten Tutorial
Just a heads up. Having the right tools already at home makes this project easy! But if you don’t own a lot of tools, you may have to invest in a few (good if you plan to do future projects) or borrow from someone who does. You can also have Home Depot or Lowe’s cut the hardboard panels for you for free! You will want to cut your own MDF at home because you want to make sure you have the exact measurements and cuts.
You will learn with walls, the floor and ceilings are never perfectly leveled!
Tools Needed
- Circular Saw (for cutting Hardboard)
- Jig Saw (for cutting holes for outlets)
- Table Saw (for cutting MDF strips)
- Miter Saw (for trimming MDF strips)
- Nail Gun
- Caulking Gun
- Sandpaper (220 Grit)
- Level
- Stud Finder
- Nail Setter
Materials Needed
- (2) 4×8 1/8″ Hardboard Panels
- (1) 1/2″ Thick MDF
- White Paintable Caulk
- Plastic Wood
- Liquid Nails
- 2″ Brad Nails
- Paint (We did “Backwoods” by Benjamin Moore)
Step 1: Measure and Plan Design
First, you will need to plan, measure, and design your board and batten wall. We wanted our board and batten to be seen above the crib, so we took the height of the crib into consideration. And we also made the top and bottom horizontal MDF strips wider than the vertical strips.
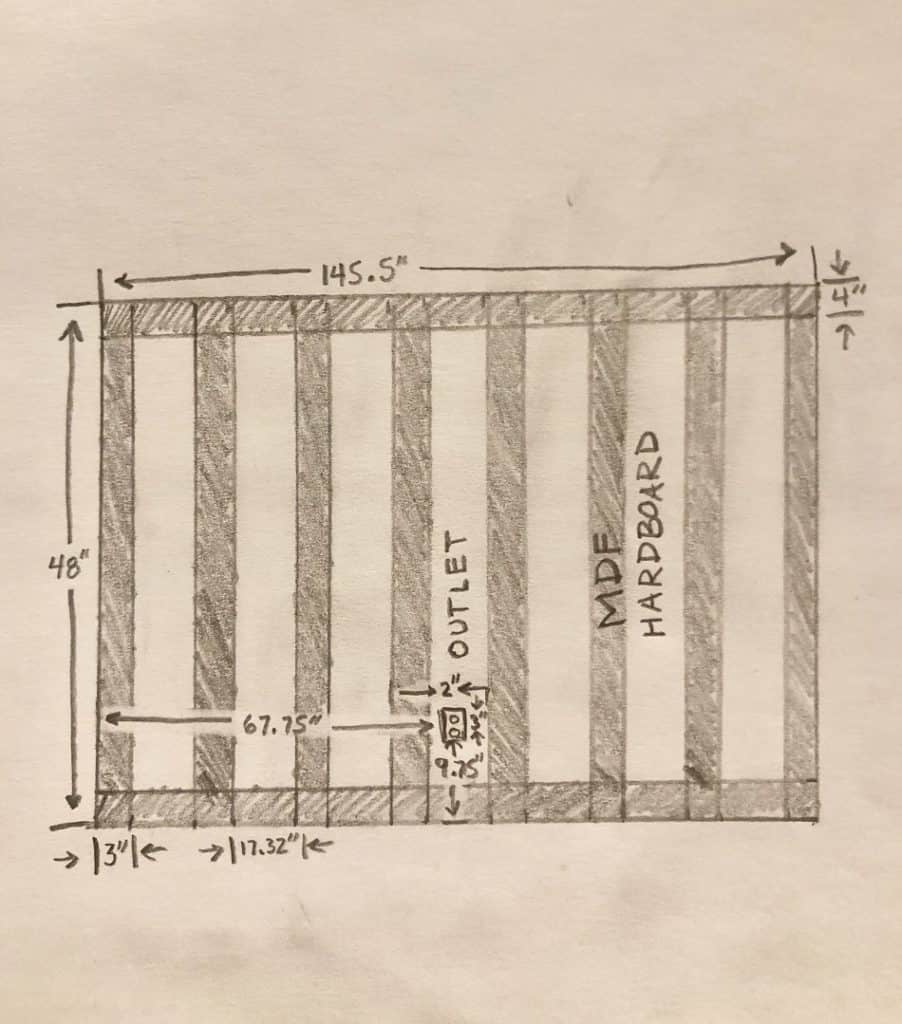
We decided to make the horizontal strips 4″ inches wide and the vertical strips 3″ wide.
Another key thing we measured out was the spacing between each strip (each section should be equal in width). You will need to do a bit of math here to figure this out (that is my husband’s job and not mine haha).
Step 2: Buy Materials
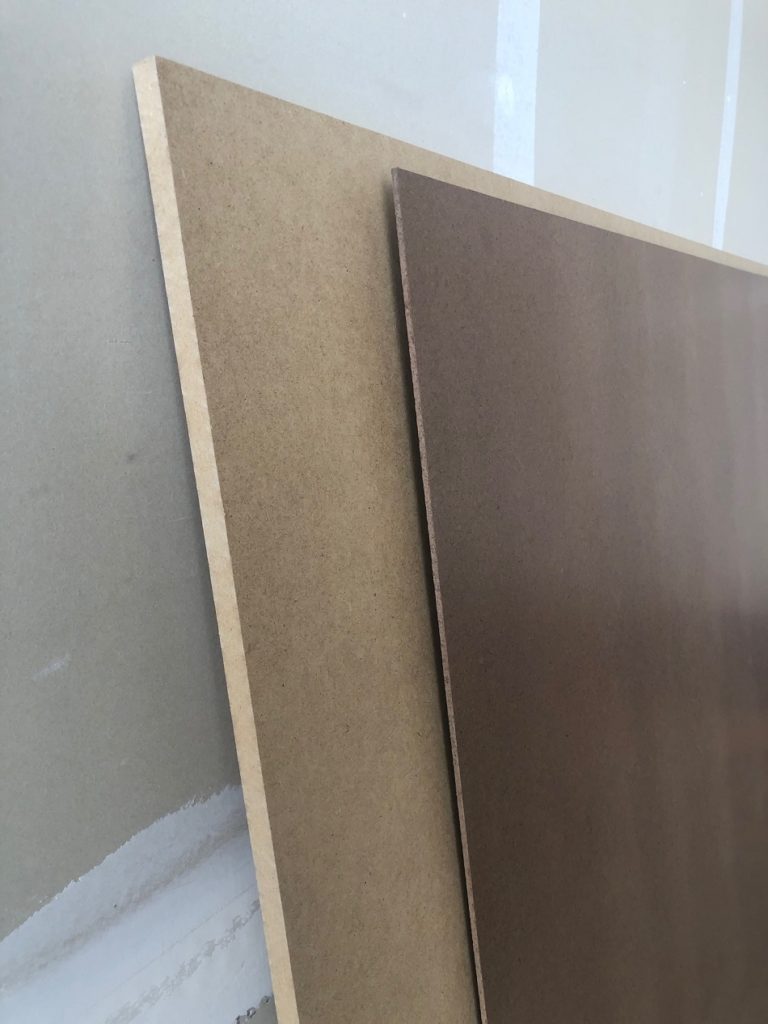
We bought all of our wood and materials at Home Depot. For our wall size, we only needed two sheets of the hardboard panels and one of the MDF. They sell them in 4’x8′ ft sheets.
Step 3: Mark Your Studs
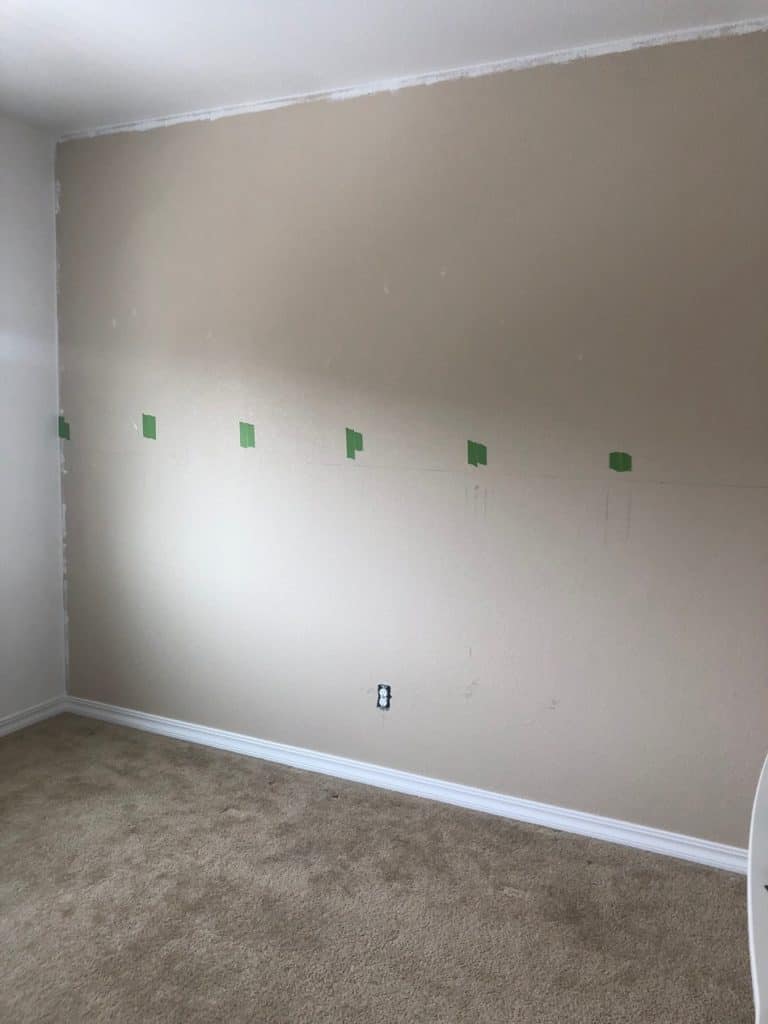
You will need to use a stud finder to mark the studs in your wall. We used painters tape to mark each stud, which helped when nailing!
Step 4: Cut Your Wood
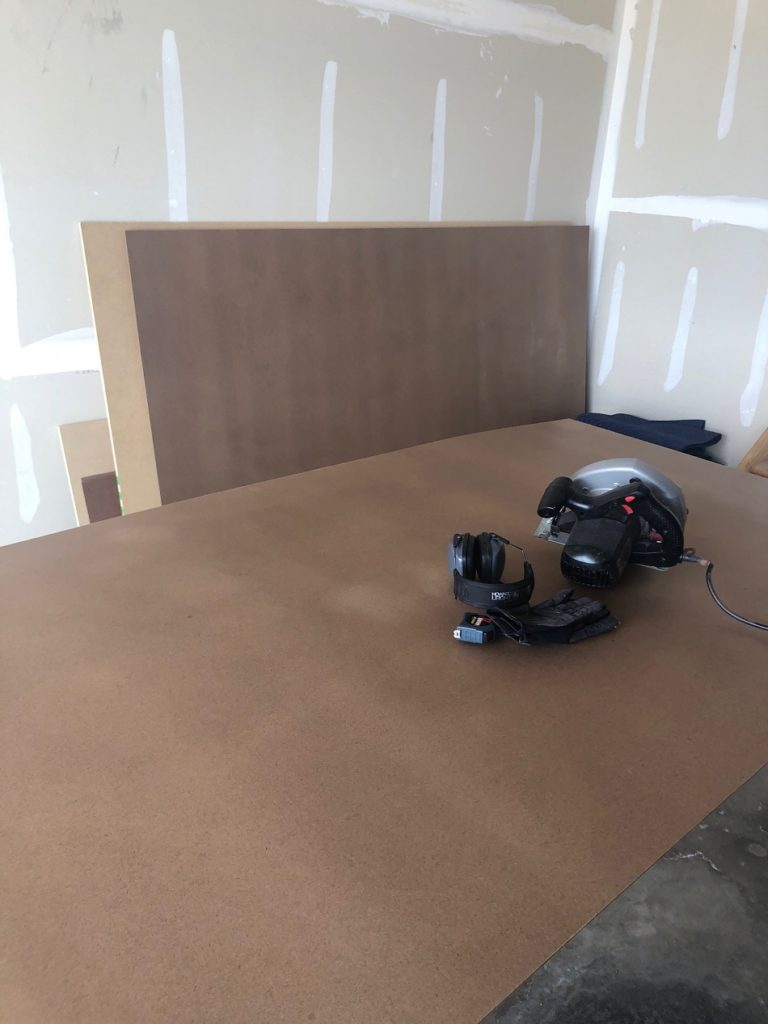
We first cut the hardboard panels by using a circular saw. These thin boards are perfect for creating a smooth flat surface for your board and batten walls. And they are cheap too ($8.36 each)!
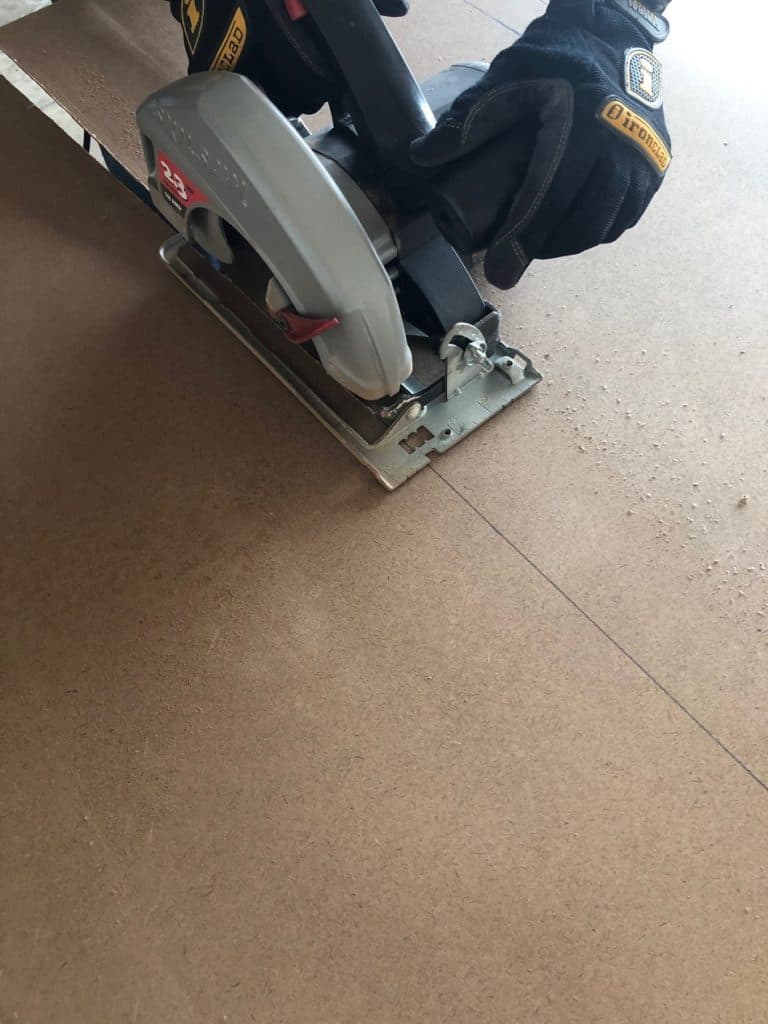
Our wall had one outlet, so we also measured and cut the hole using a jigsaw.
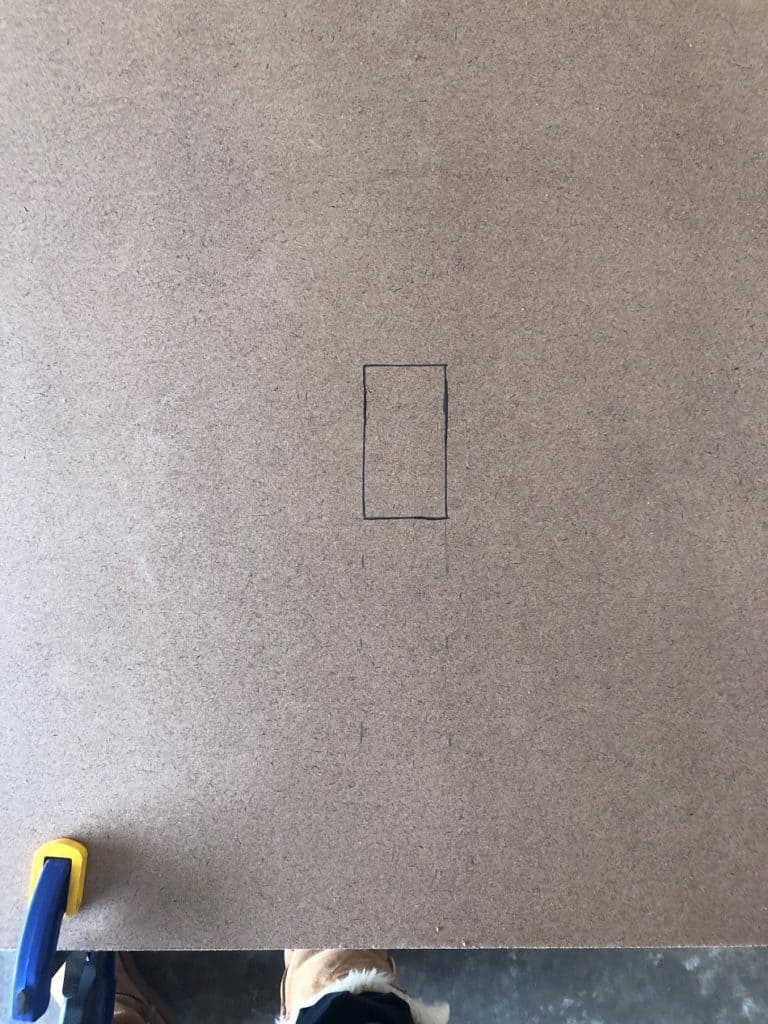
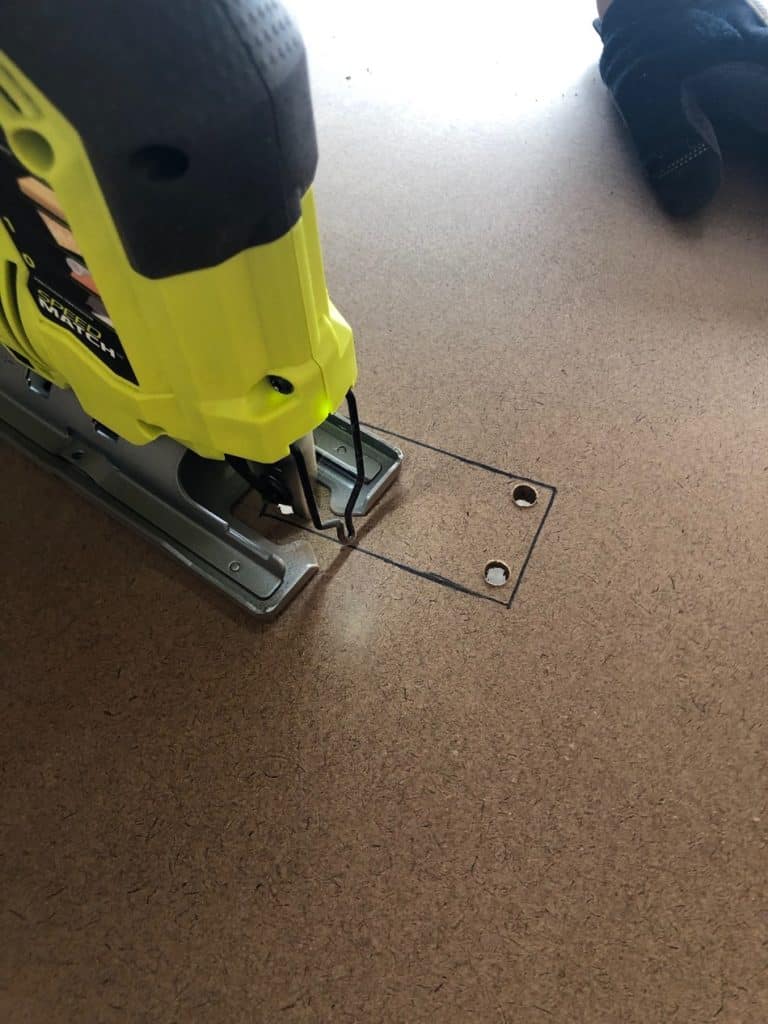
After the hardboard panels were cut to size, we next cut the MDF into the width we wanted for our strips (4″ inch width for the horizontal and 3″ inch width for the vertical strips). Using a table saw is best for this step!
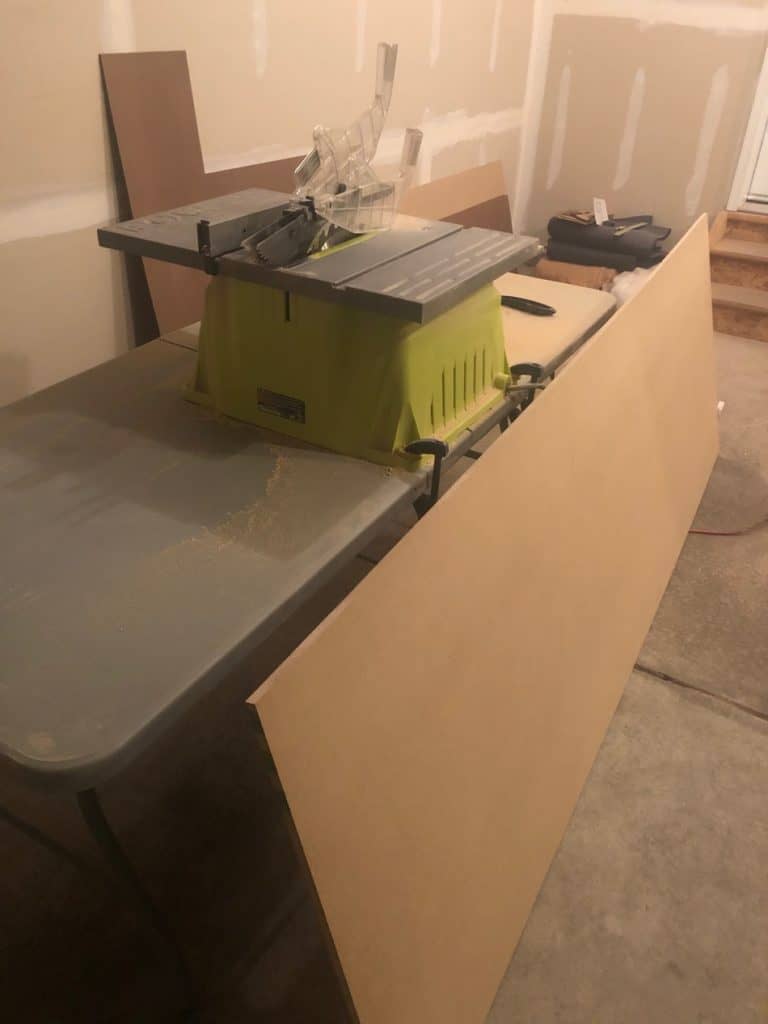
Now that all our wood was cut, we brought them into the room for nailing and more measuring.
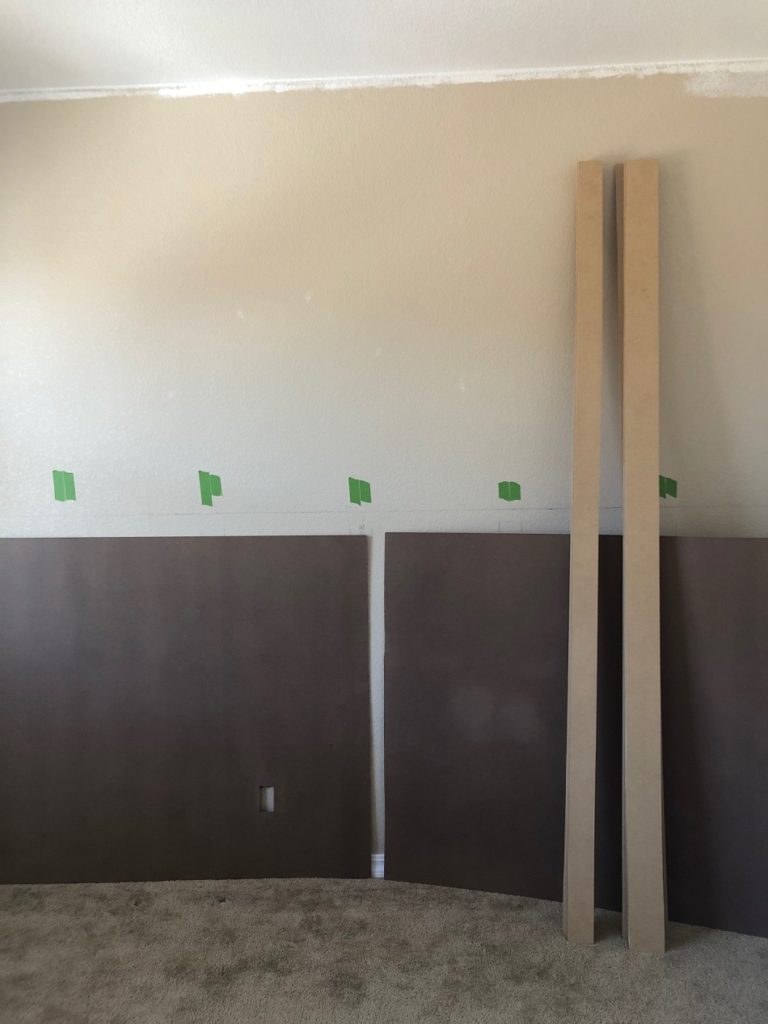
Step 5: Nail Hardboard Panels
To attach the hardboard panels onto the wall, we used liquid nails behind the boards and then used a nail gun to nail it to the wall. You will want to make sure to nail the boards along the studs when doing this!
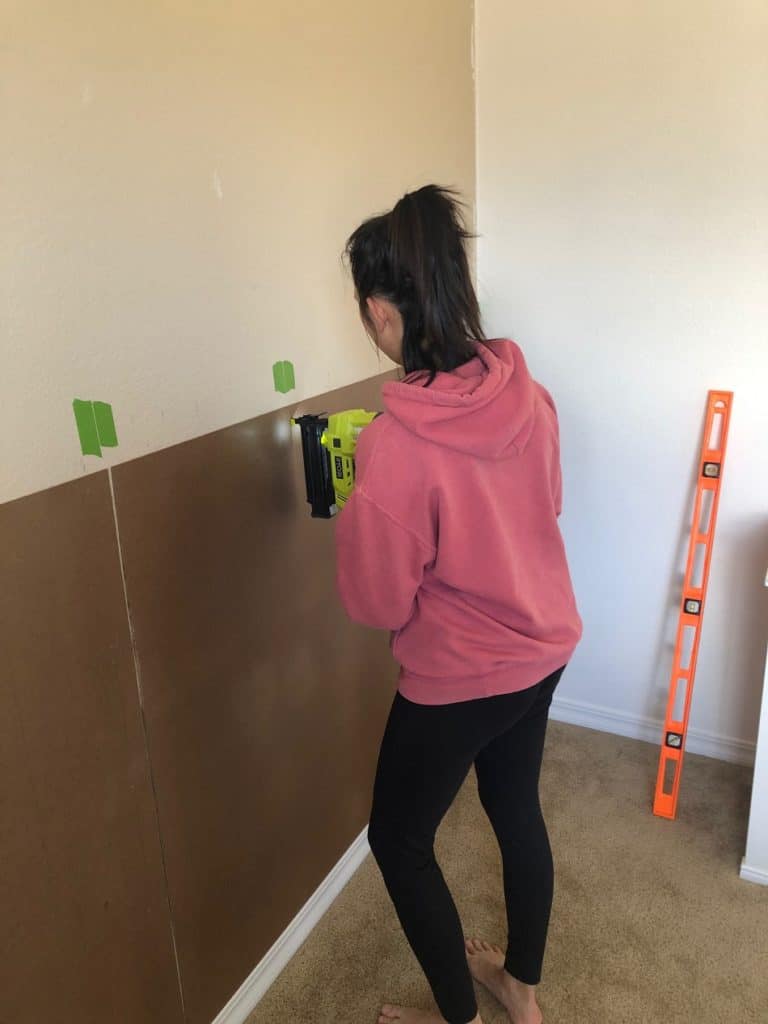
We only had one long seam between two of the boards (it will be covered by an MDF strip). So we weren’t too worried if the seams didn’t have a super tight fit. When you plan your boards, it’s best to plan your seams to line up with an MDF strip to cover it.
Step 6: Nail Top and Bottom MDF Strips
Now that our boards were up, it was easiest to frame out our design and put the top and bottom horizontal MDF strips next. That way, you can level the top and take exact measurements for the vertical MDF strips that will go in the middle.
As I mentioned earlier, the floor and walls are usually not leveled which means your middle strips may not all be the same length. Ours were slightly off and you want to make sure you get as tight of a fit as possible!
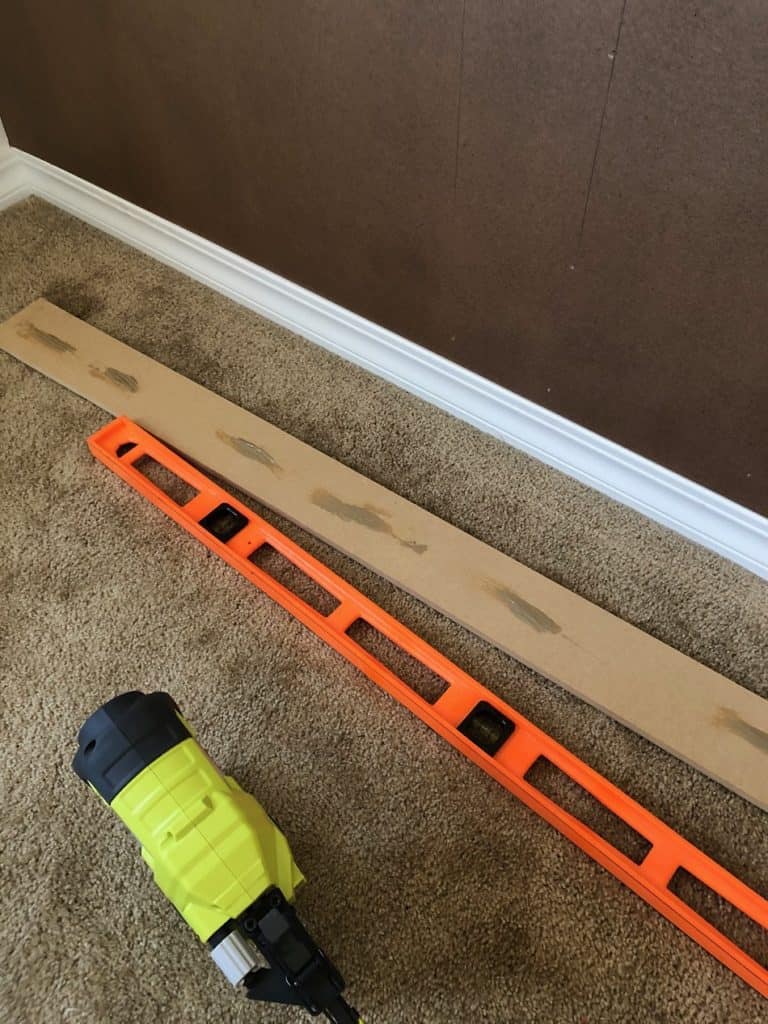
When putting up the MDF, we used liquid nails, a nail gun and a level. Always double check with your level before you start nailing! With this wall, we decided to attach the bottom MDF strip right over the baseboard and it turned out looking just fine! You can remove your baseboard if you want, but that would take a little extra work.
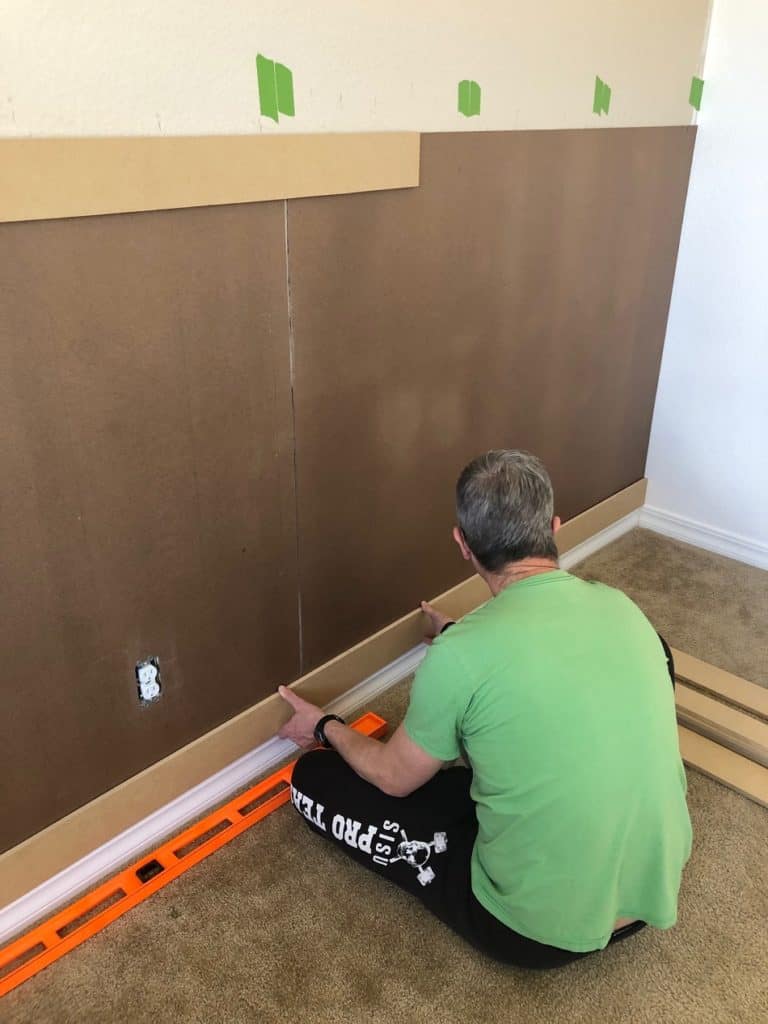
Now that our top and bottom horizontal MDF is up, we can now measure the vertical pieces!
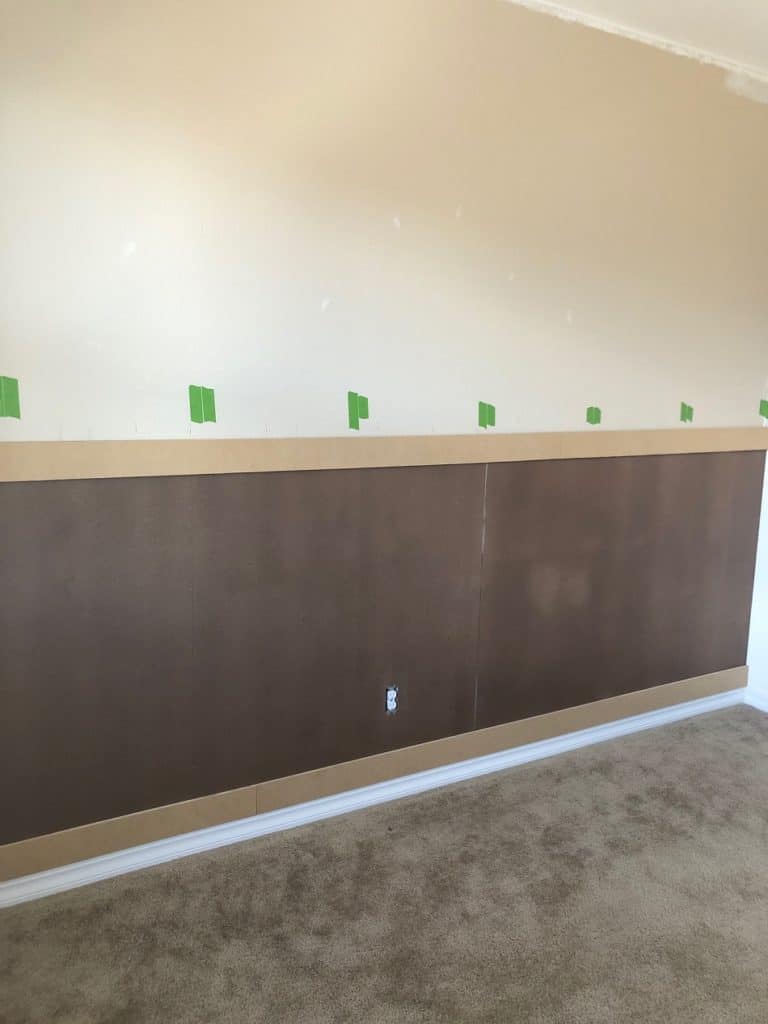
Step 7: Measure, Cut and Nail Middle MDF STrips
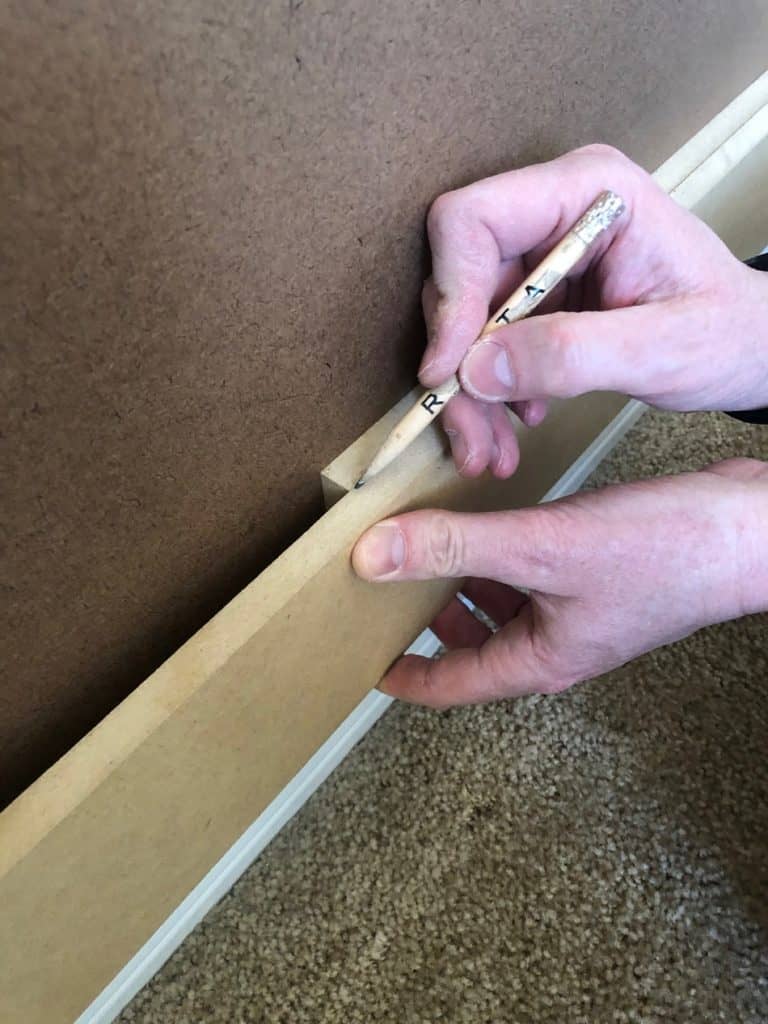
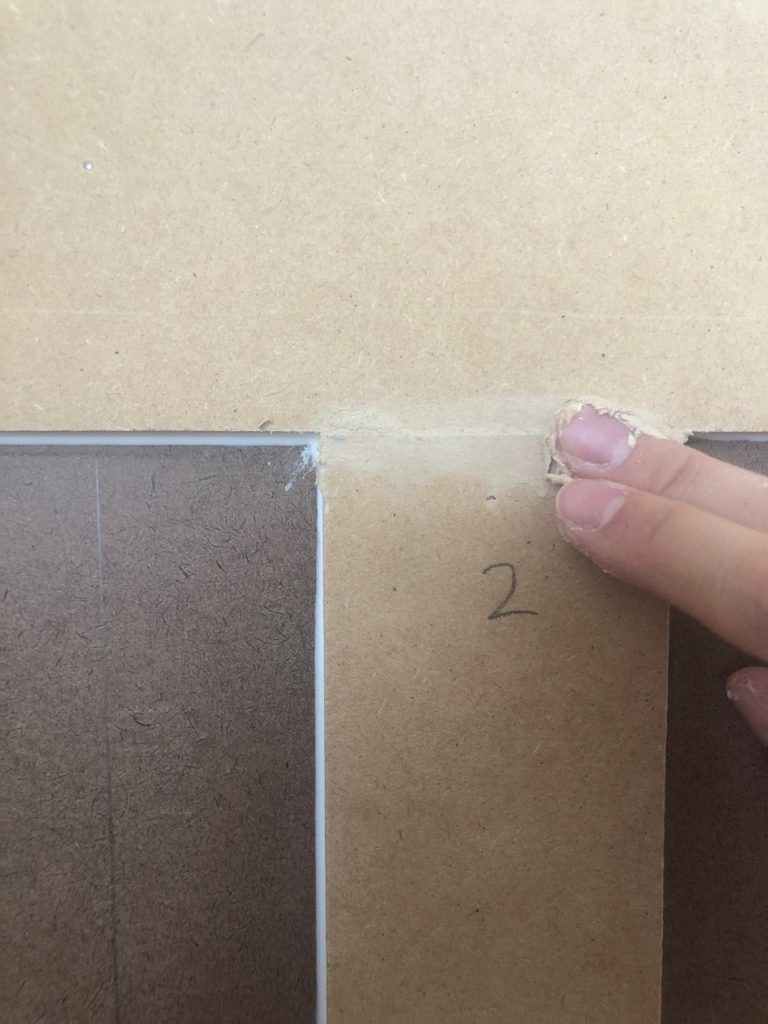
Next up, you will want to measure and cut your custom vertical strips! To help us track which vertical board went where, we numbered each vertical strip with a pencil. Trust me, the more organized you are, the better! Especially when each vertical piece is slightly different. After each MDF strip was marked with their cut lines, we used a miter saw to trim them to size.
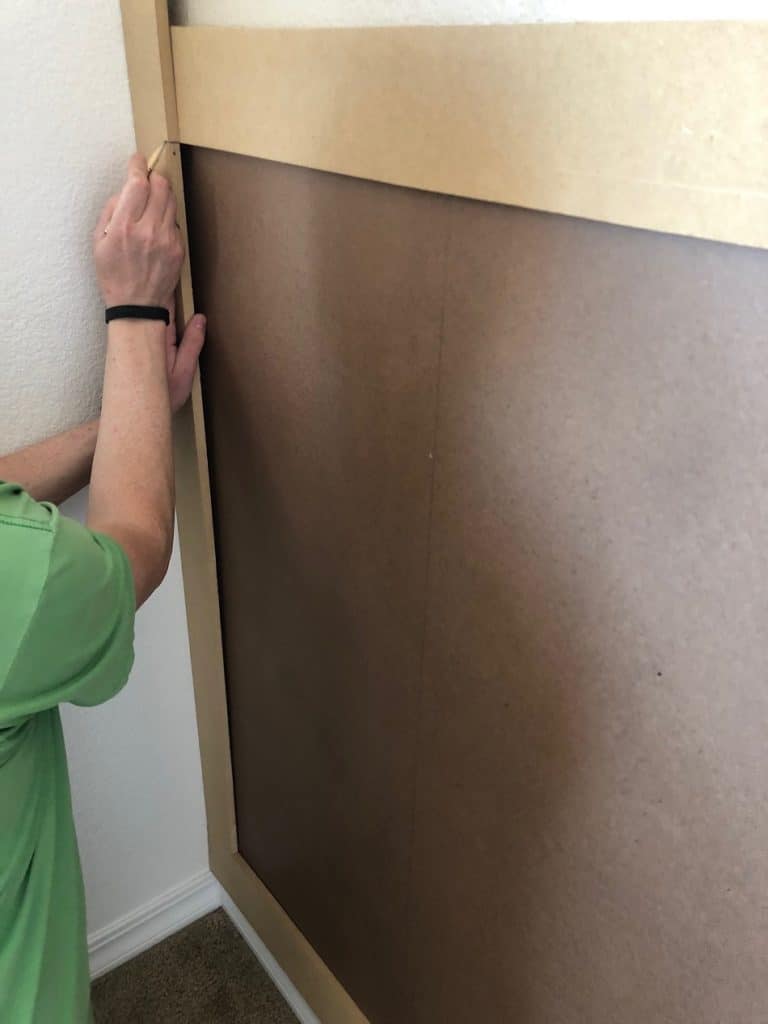
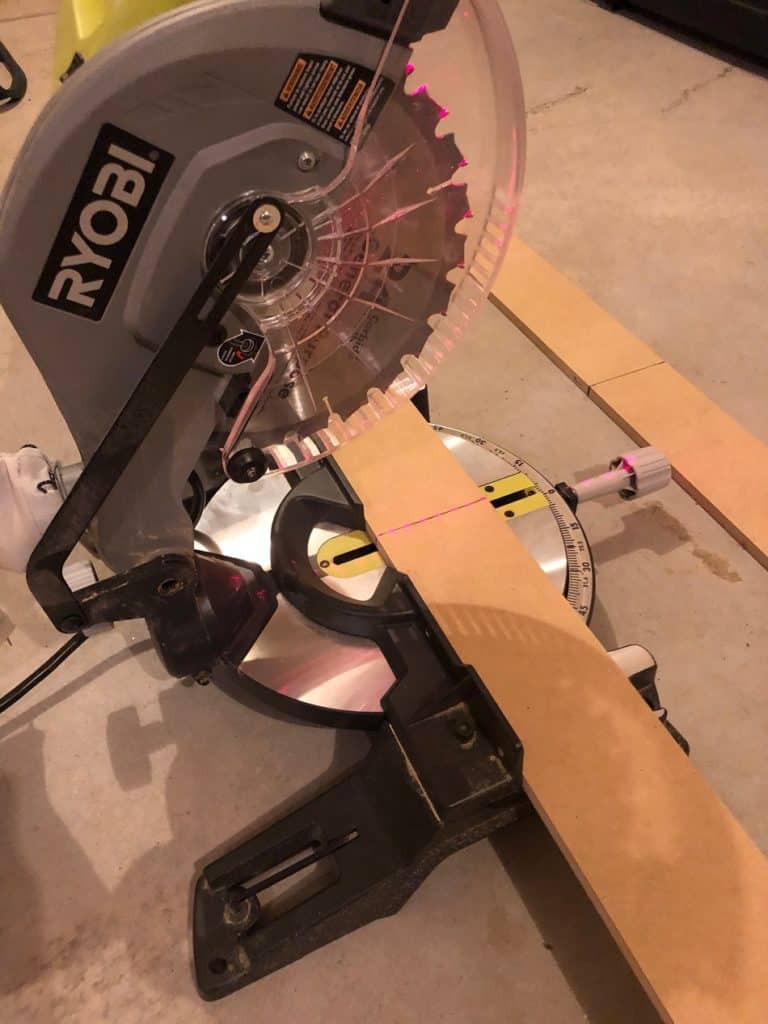
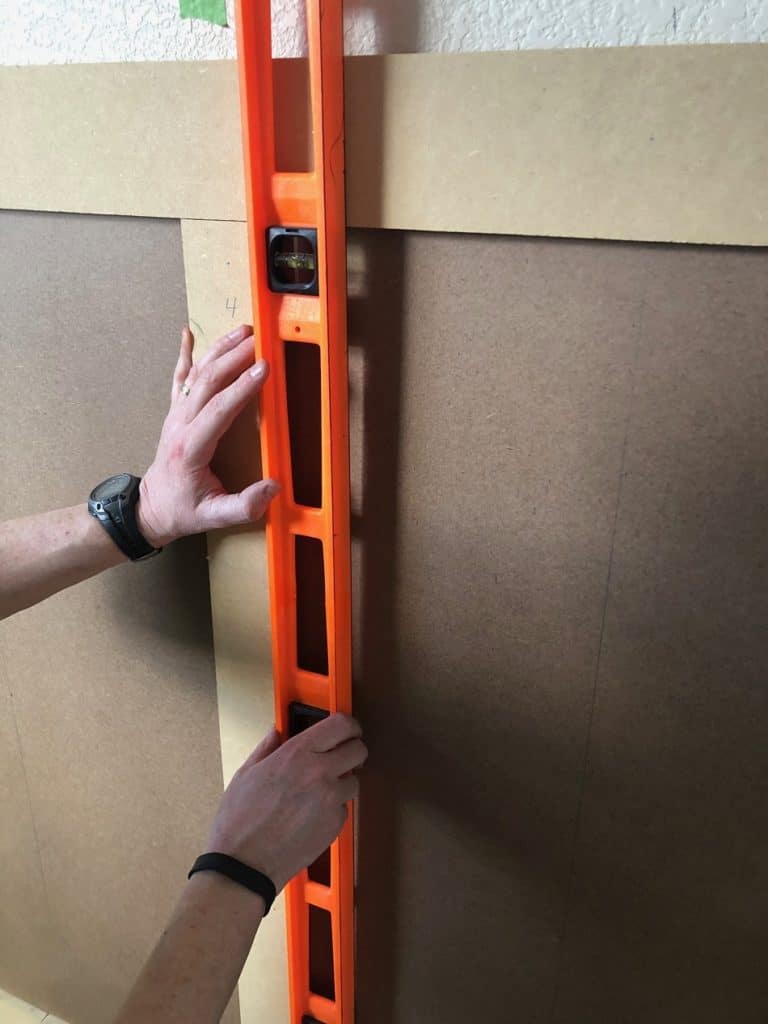
Just like the horizontal strips, we also used a level on the vertical ones and used liquid nails and a nail gun to attach them to the wall.
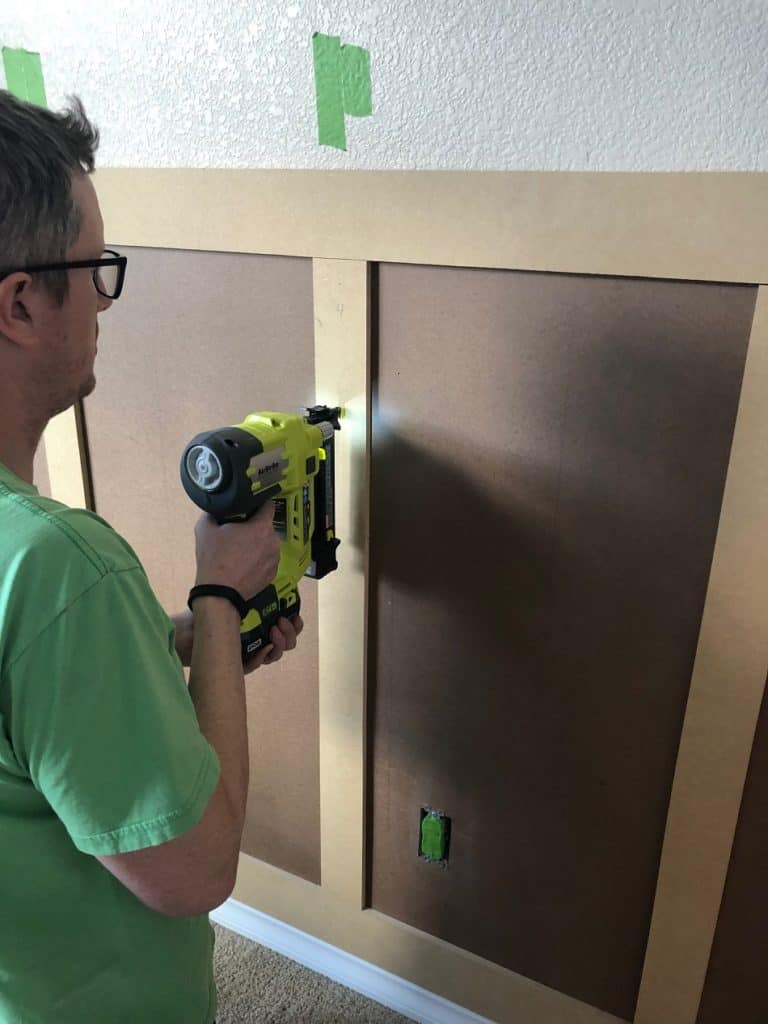
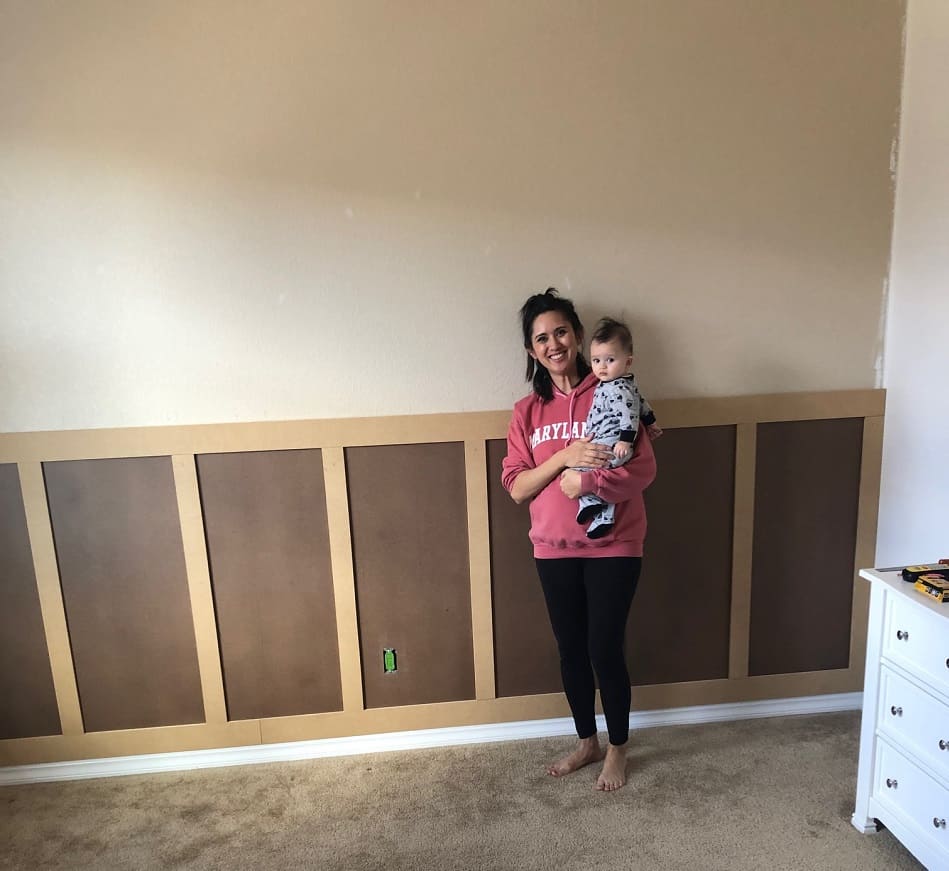
Yay! Check out that board and batten wall. Once all your wood is up, you can really see your design take shape.
Step 8: Use A Nail Setter
Now that all the wood is up, the next step you will want to do is to use a nail setter to hammer in any nails that are sticking out too far. With the nail gun, you can occasionally get that stubborn nail that didn’t go all the way in (unless you are super amazing with the nail gun and get every nail in perfectly….you can skip this step).
But if you did make any mistakes, this little tool will allow you to push the nail in so that it’s more flush with the wood. This step is key if you want a professional and smooth finish on your board and batten wall.
Trust me…when you start painting, all these little details and imperfections show up like a sore thumb!
Step 9: CAulk, Wood Fill & Sand
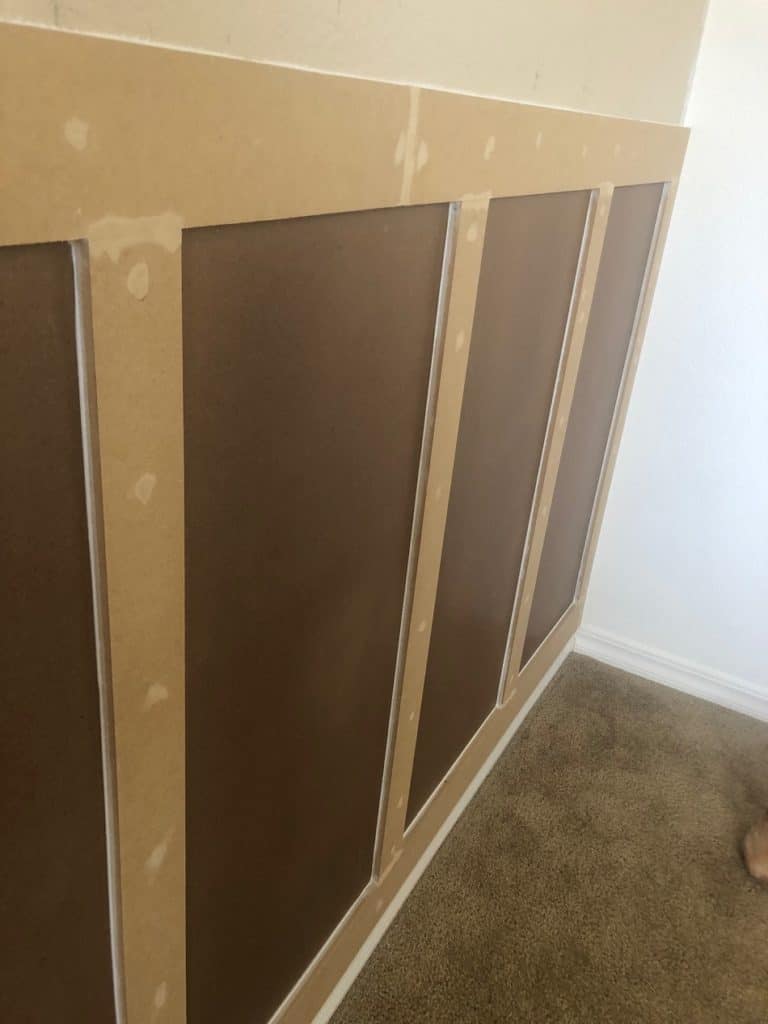
Now it’s time for the finishing touches! You definitely don’t want to skip this step. You will want to caulk all the seams between the MDF and hardboards and the edges along the side and top of the board and batten. And you will need to fill all the holes from the nails and the cracks between the MDF strips with plastic wood or some kind of wood filler. After the plastic wood dries, you will need to sand it down so that it has a nice smooth surface.
It’s a tedious job and not my favorite part, but doing all this detailed work will help make your board and batten wall look smooth and professional!
Step 10: Paint
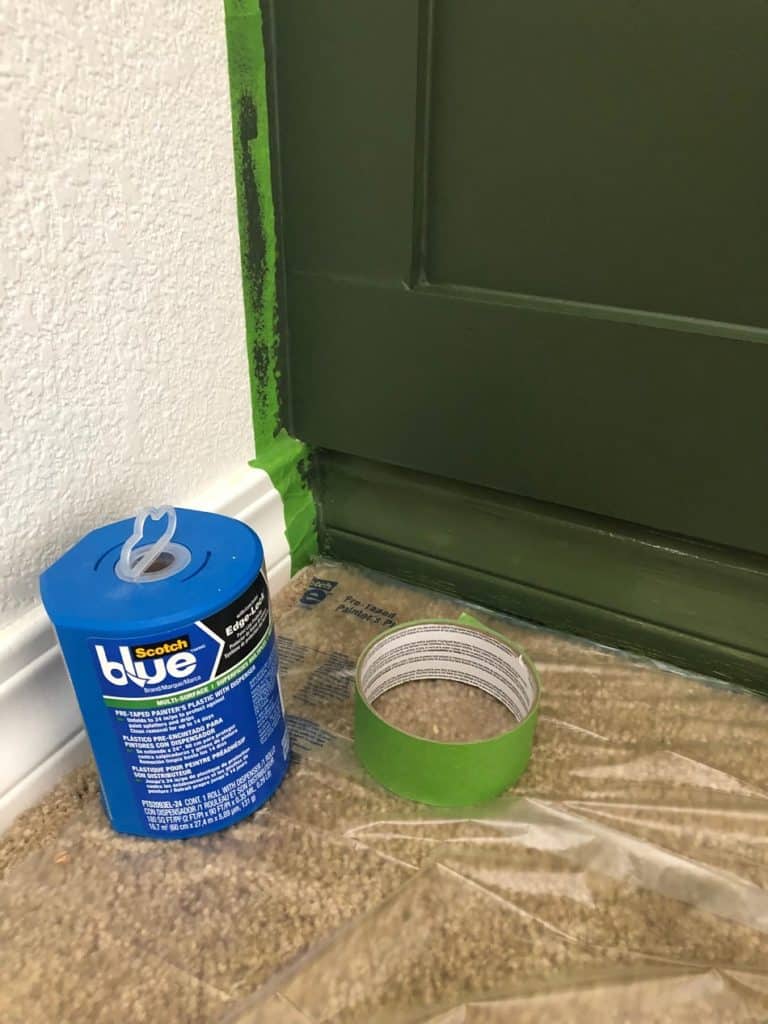
Now, this is the fun part….painting! We used “Backwoods” by Benjamin Moore and decided to paint the baseboard as well. We felt this gave the wall a more uniform look. And our two favorite painters tape for this is Frog Tape (awesome for getting straight lines, especially on textured walls) and Edge Lock tape to cover the carpet. The Edge Lock tape has plastic attached to the tape, which is so genius and saves you an extra step!
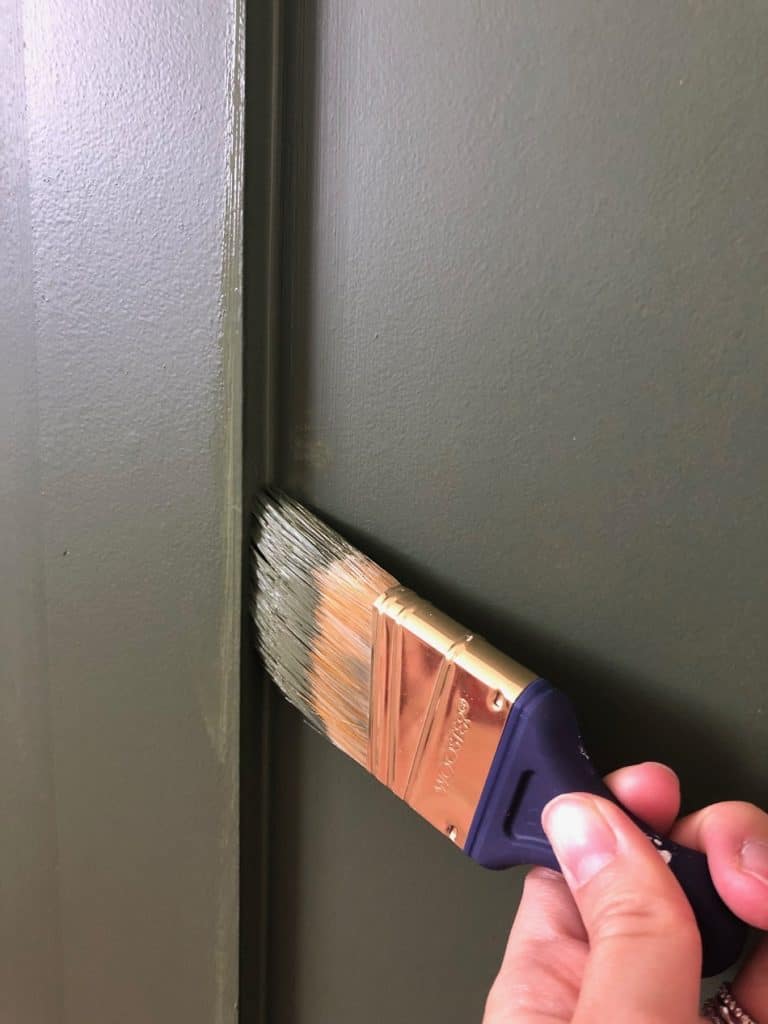
I also loved using this paintbrush! It’s flexible and small and perfect for getting those edges along the MDF strips. You can buy it HERE.
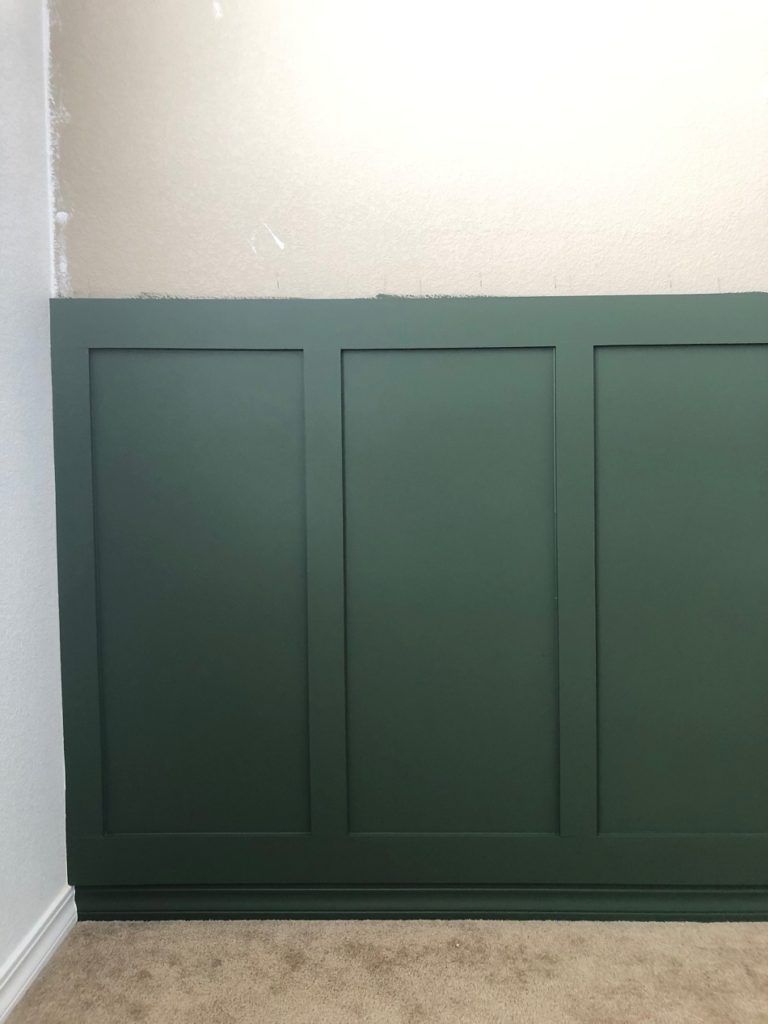
Look how pretty that board and batten wall is! I was so excited with how it turned out. We weren’t too worried about the paint line on the top of the board and batten, because we were putting wallpaper there.
And Your DIY Board and Batten Is Done!
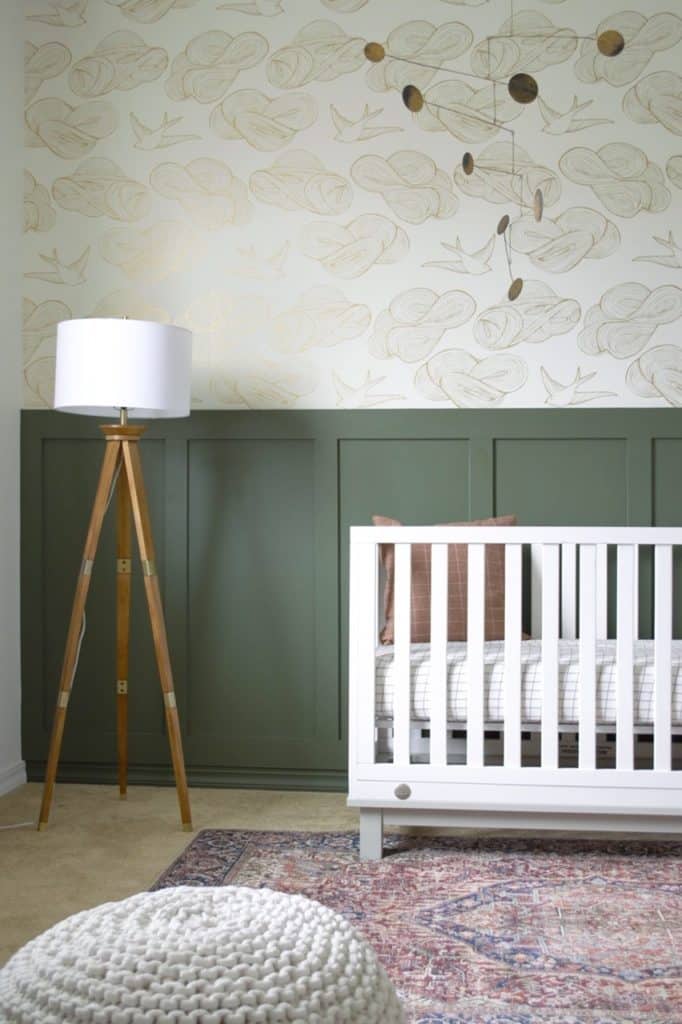
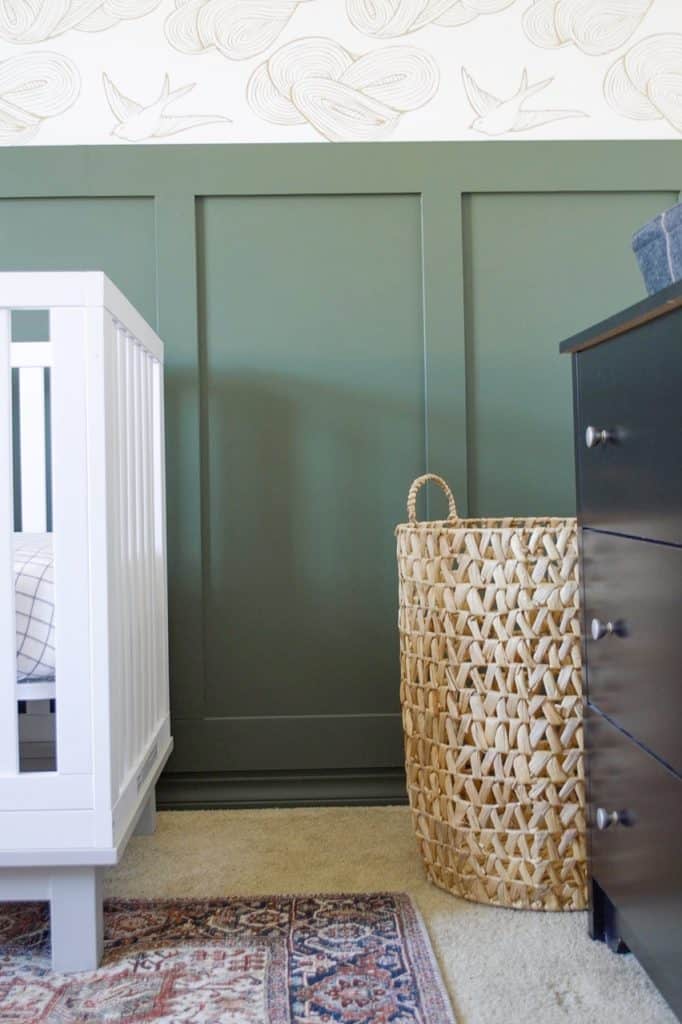
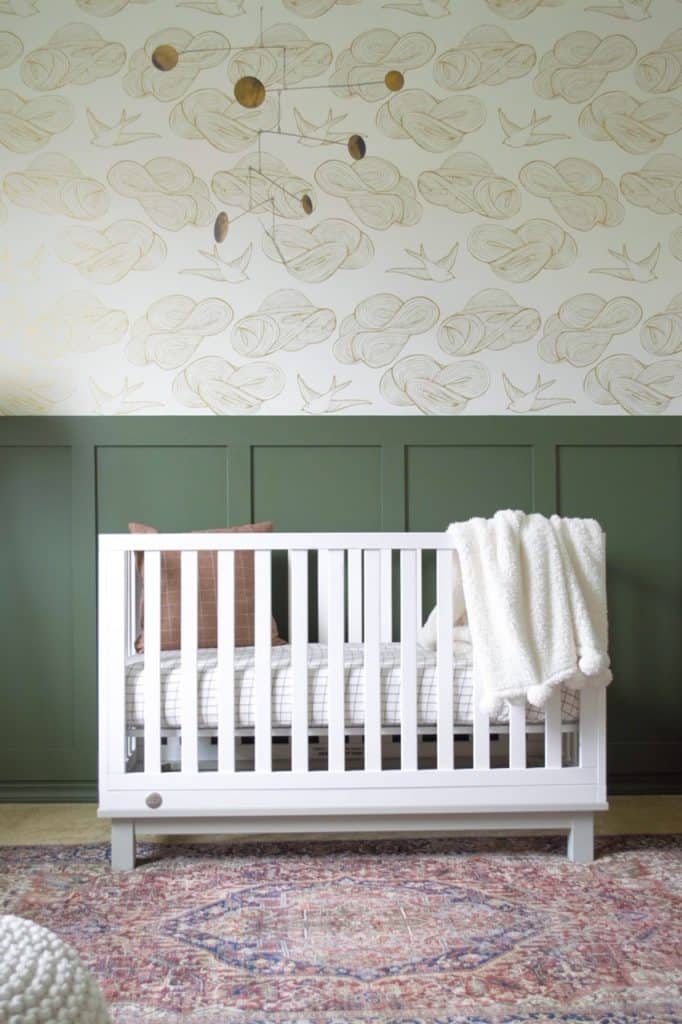
If you want to take tour of my son’s nursery, you can check out my blog post “A Modern and Vintage Boy Nursery Reveal”.
Thank you for checking out my DIY Board and Batten Tutorial
I hope this DIY Board and Batten wall tutorial was helpful for you! I love how this accent wall turned out in his nursery. It completely transformed his room and added the perfect amount of character I wanted.
And if you loved this tutorial and want to refer back to it later, make sure to PIN this image below!
Have a great day!

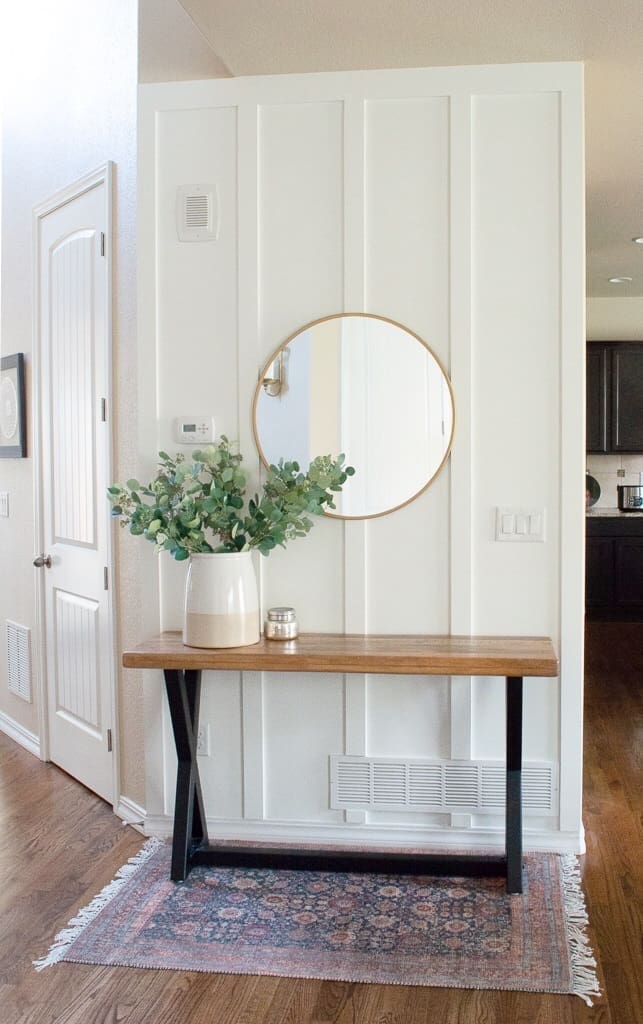
RELEVANT POST: Check out my other tutorials like my DIY Vertical Paneled Wall!
[…] designing my son’s nursery, we built a DIY Board and Batten accent wall with wallpaper above it and wanted a green color that would pair well with the vintage […]